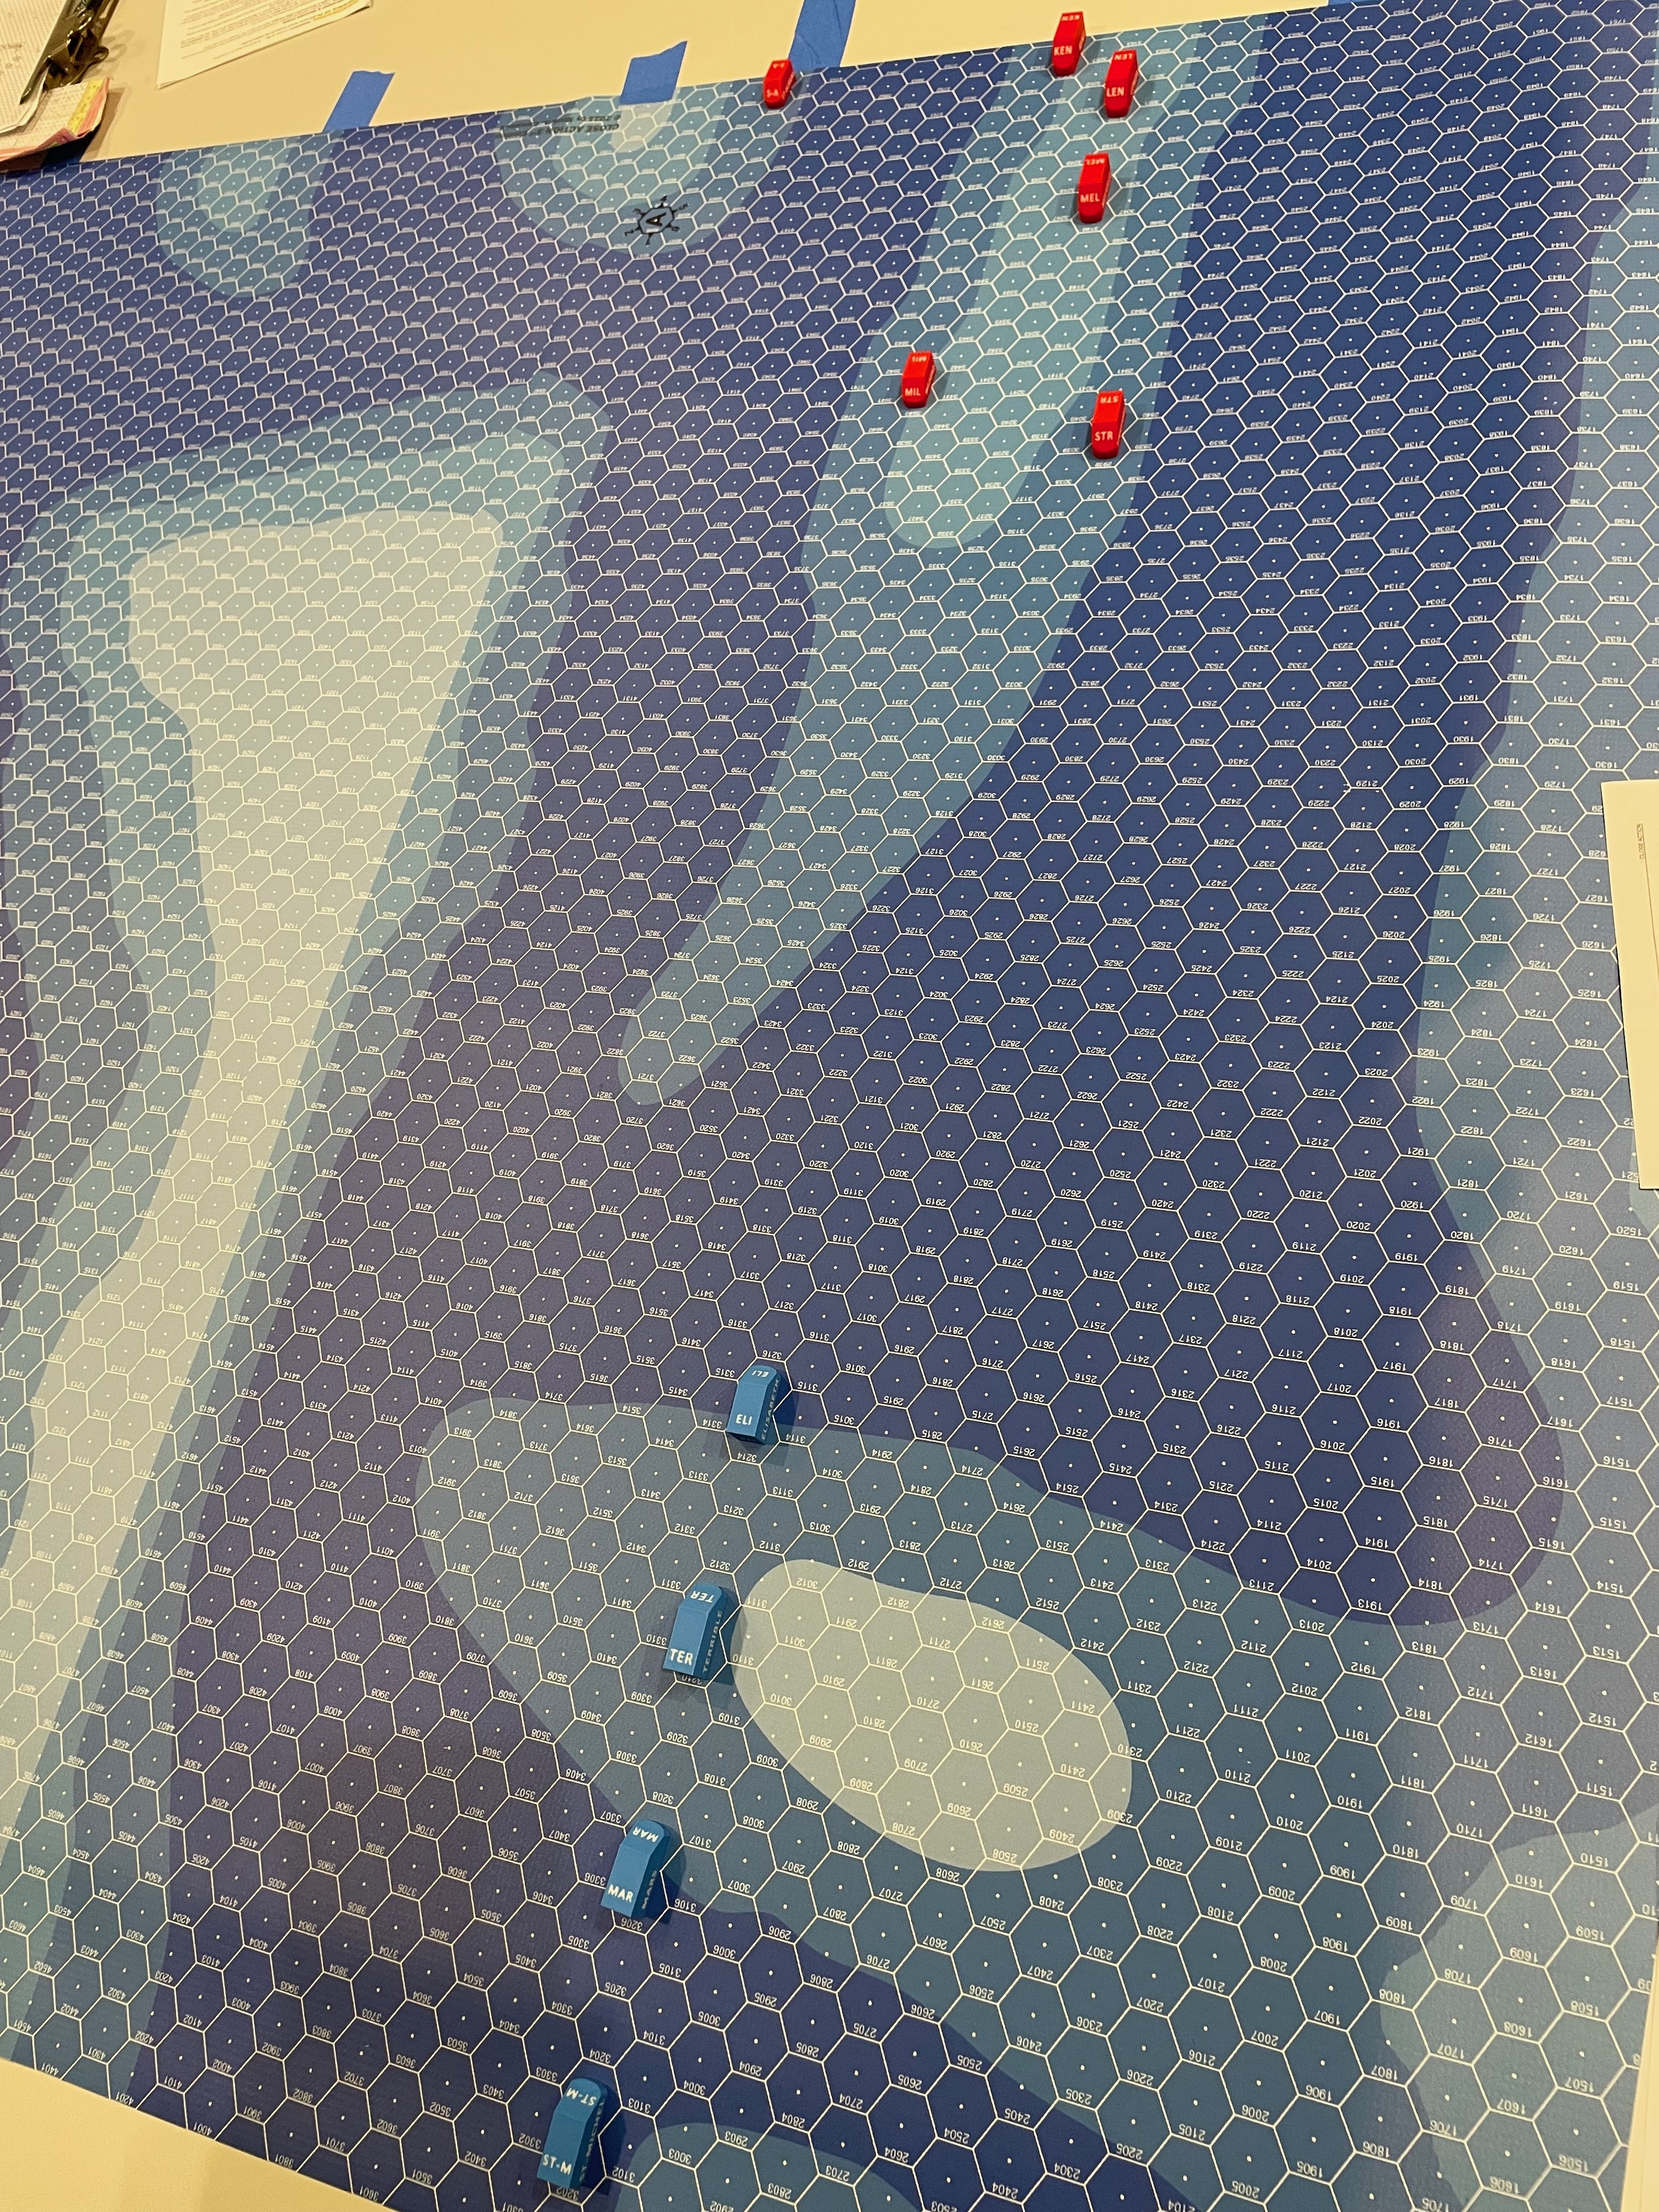
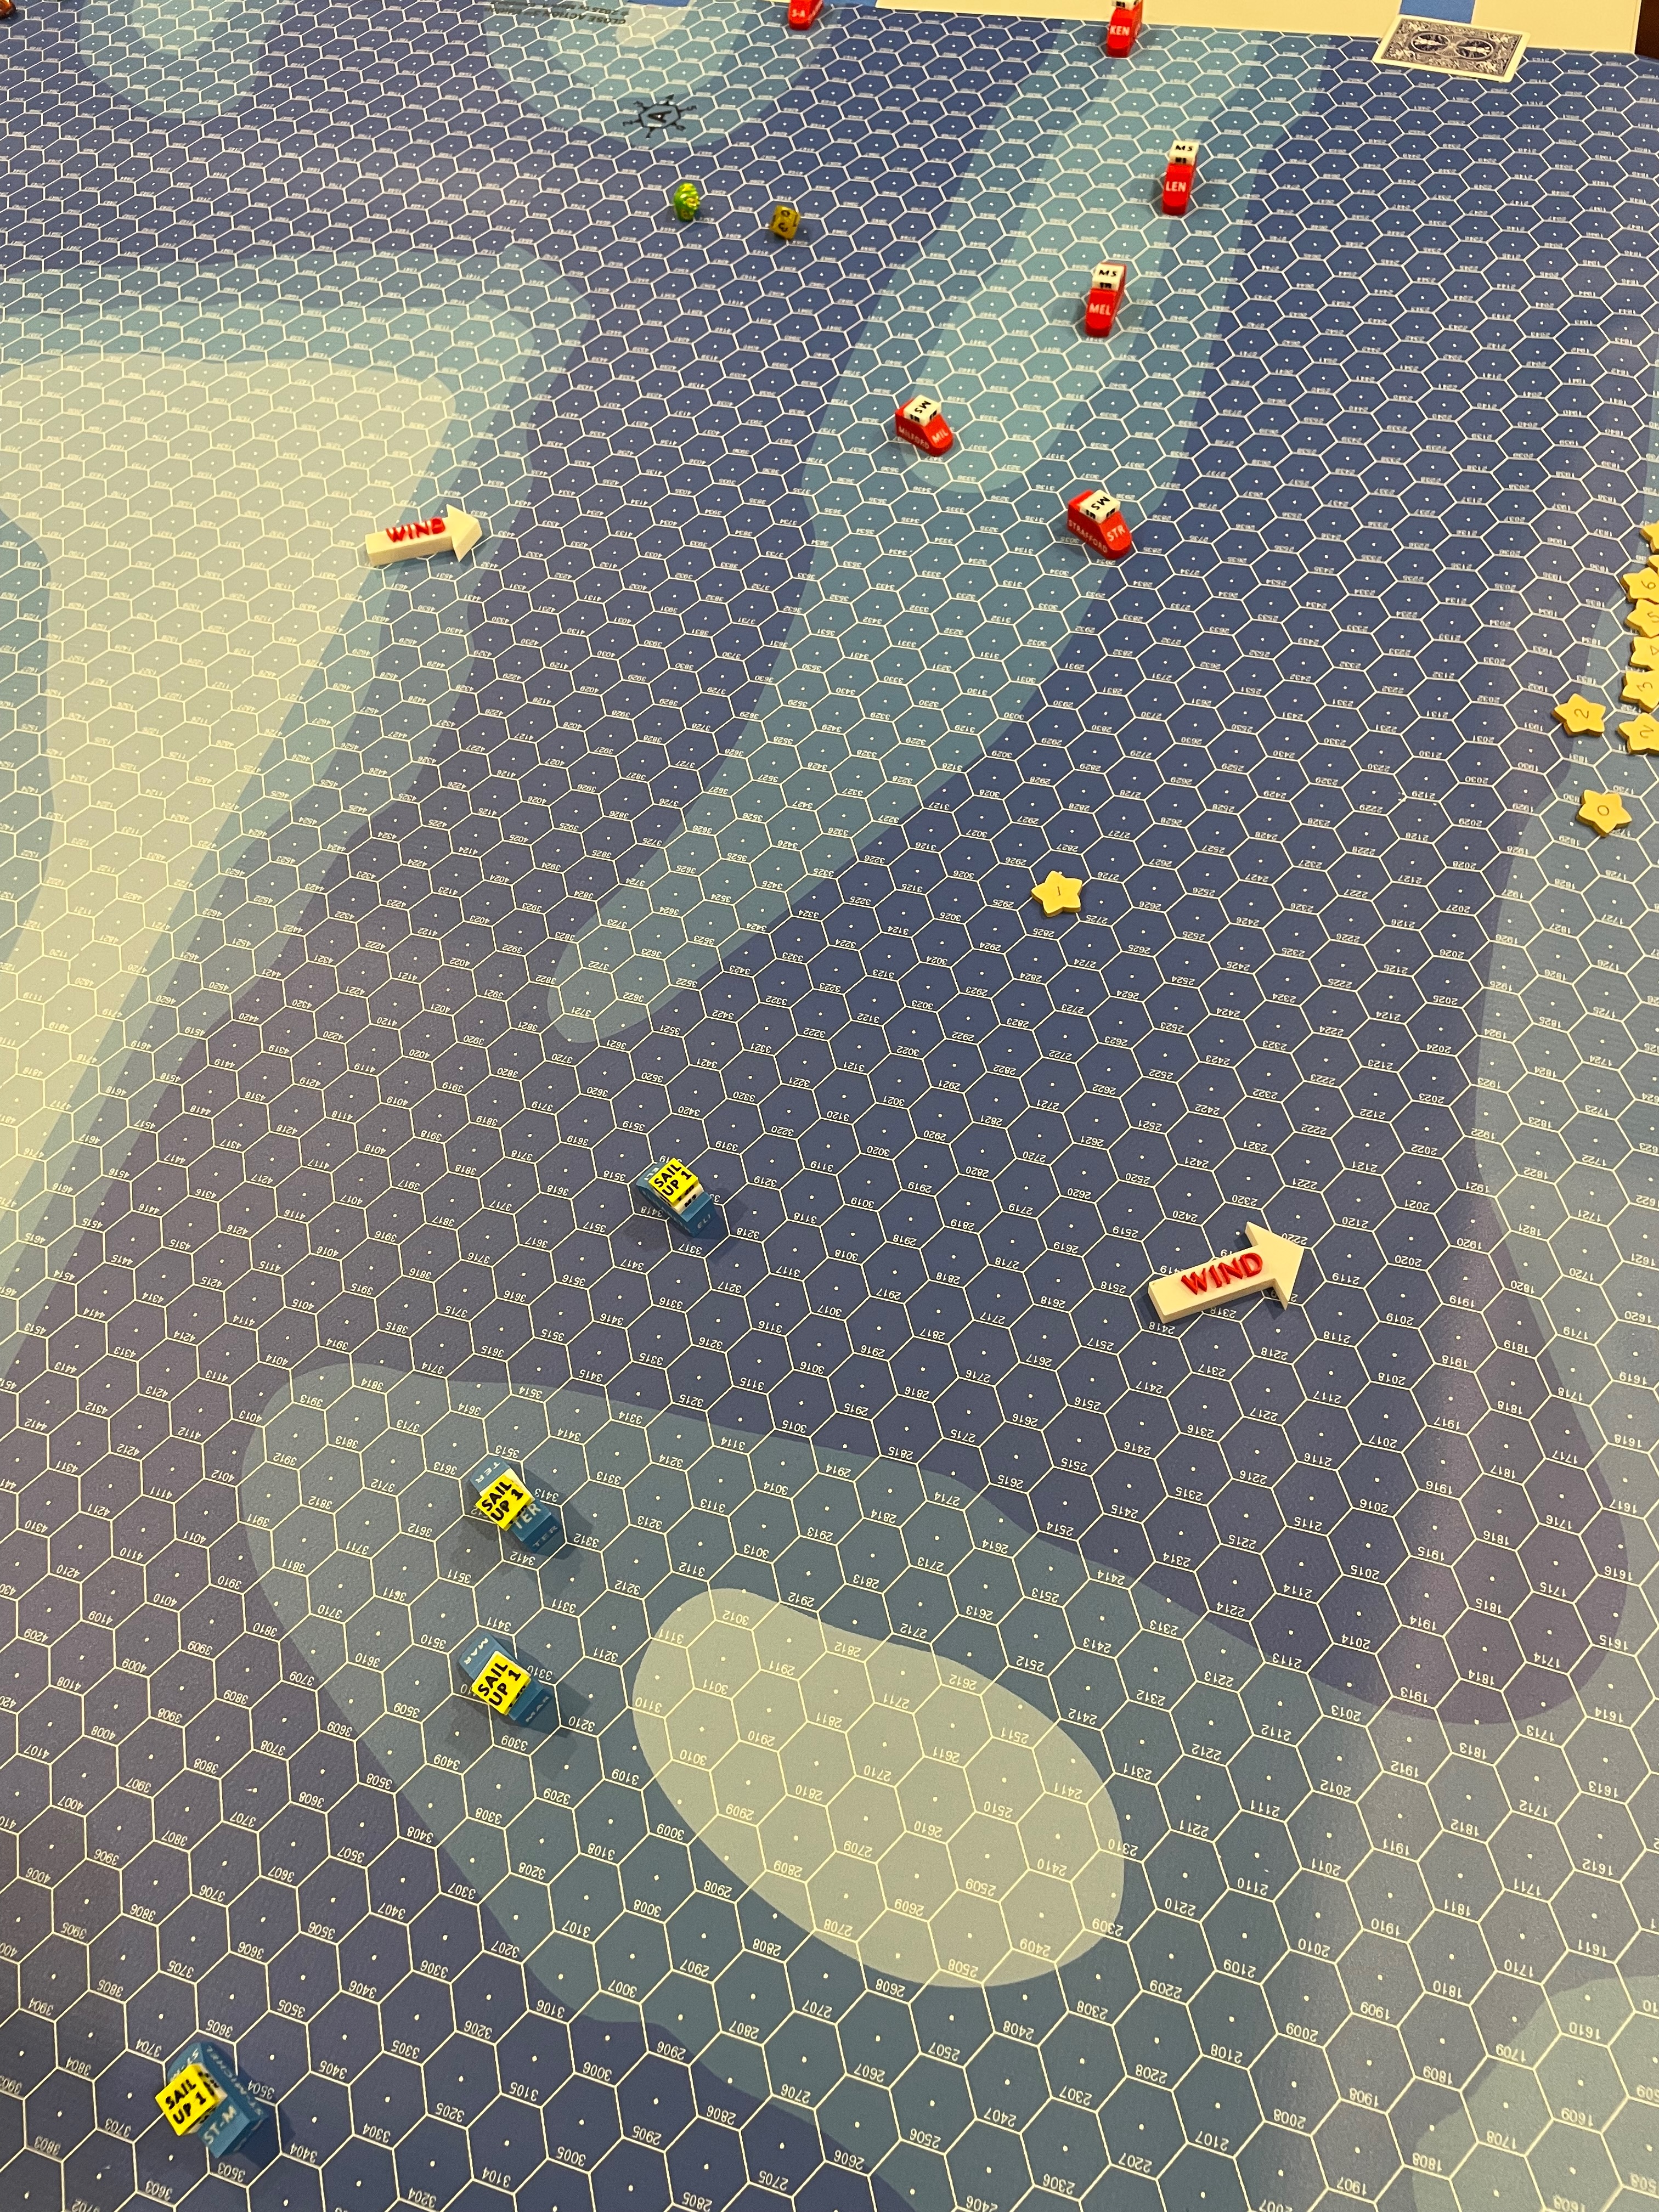
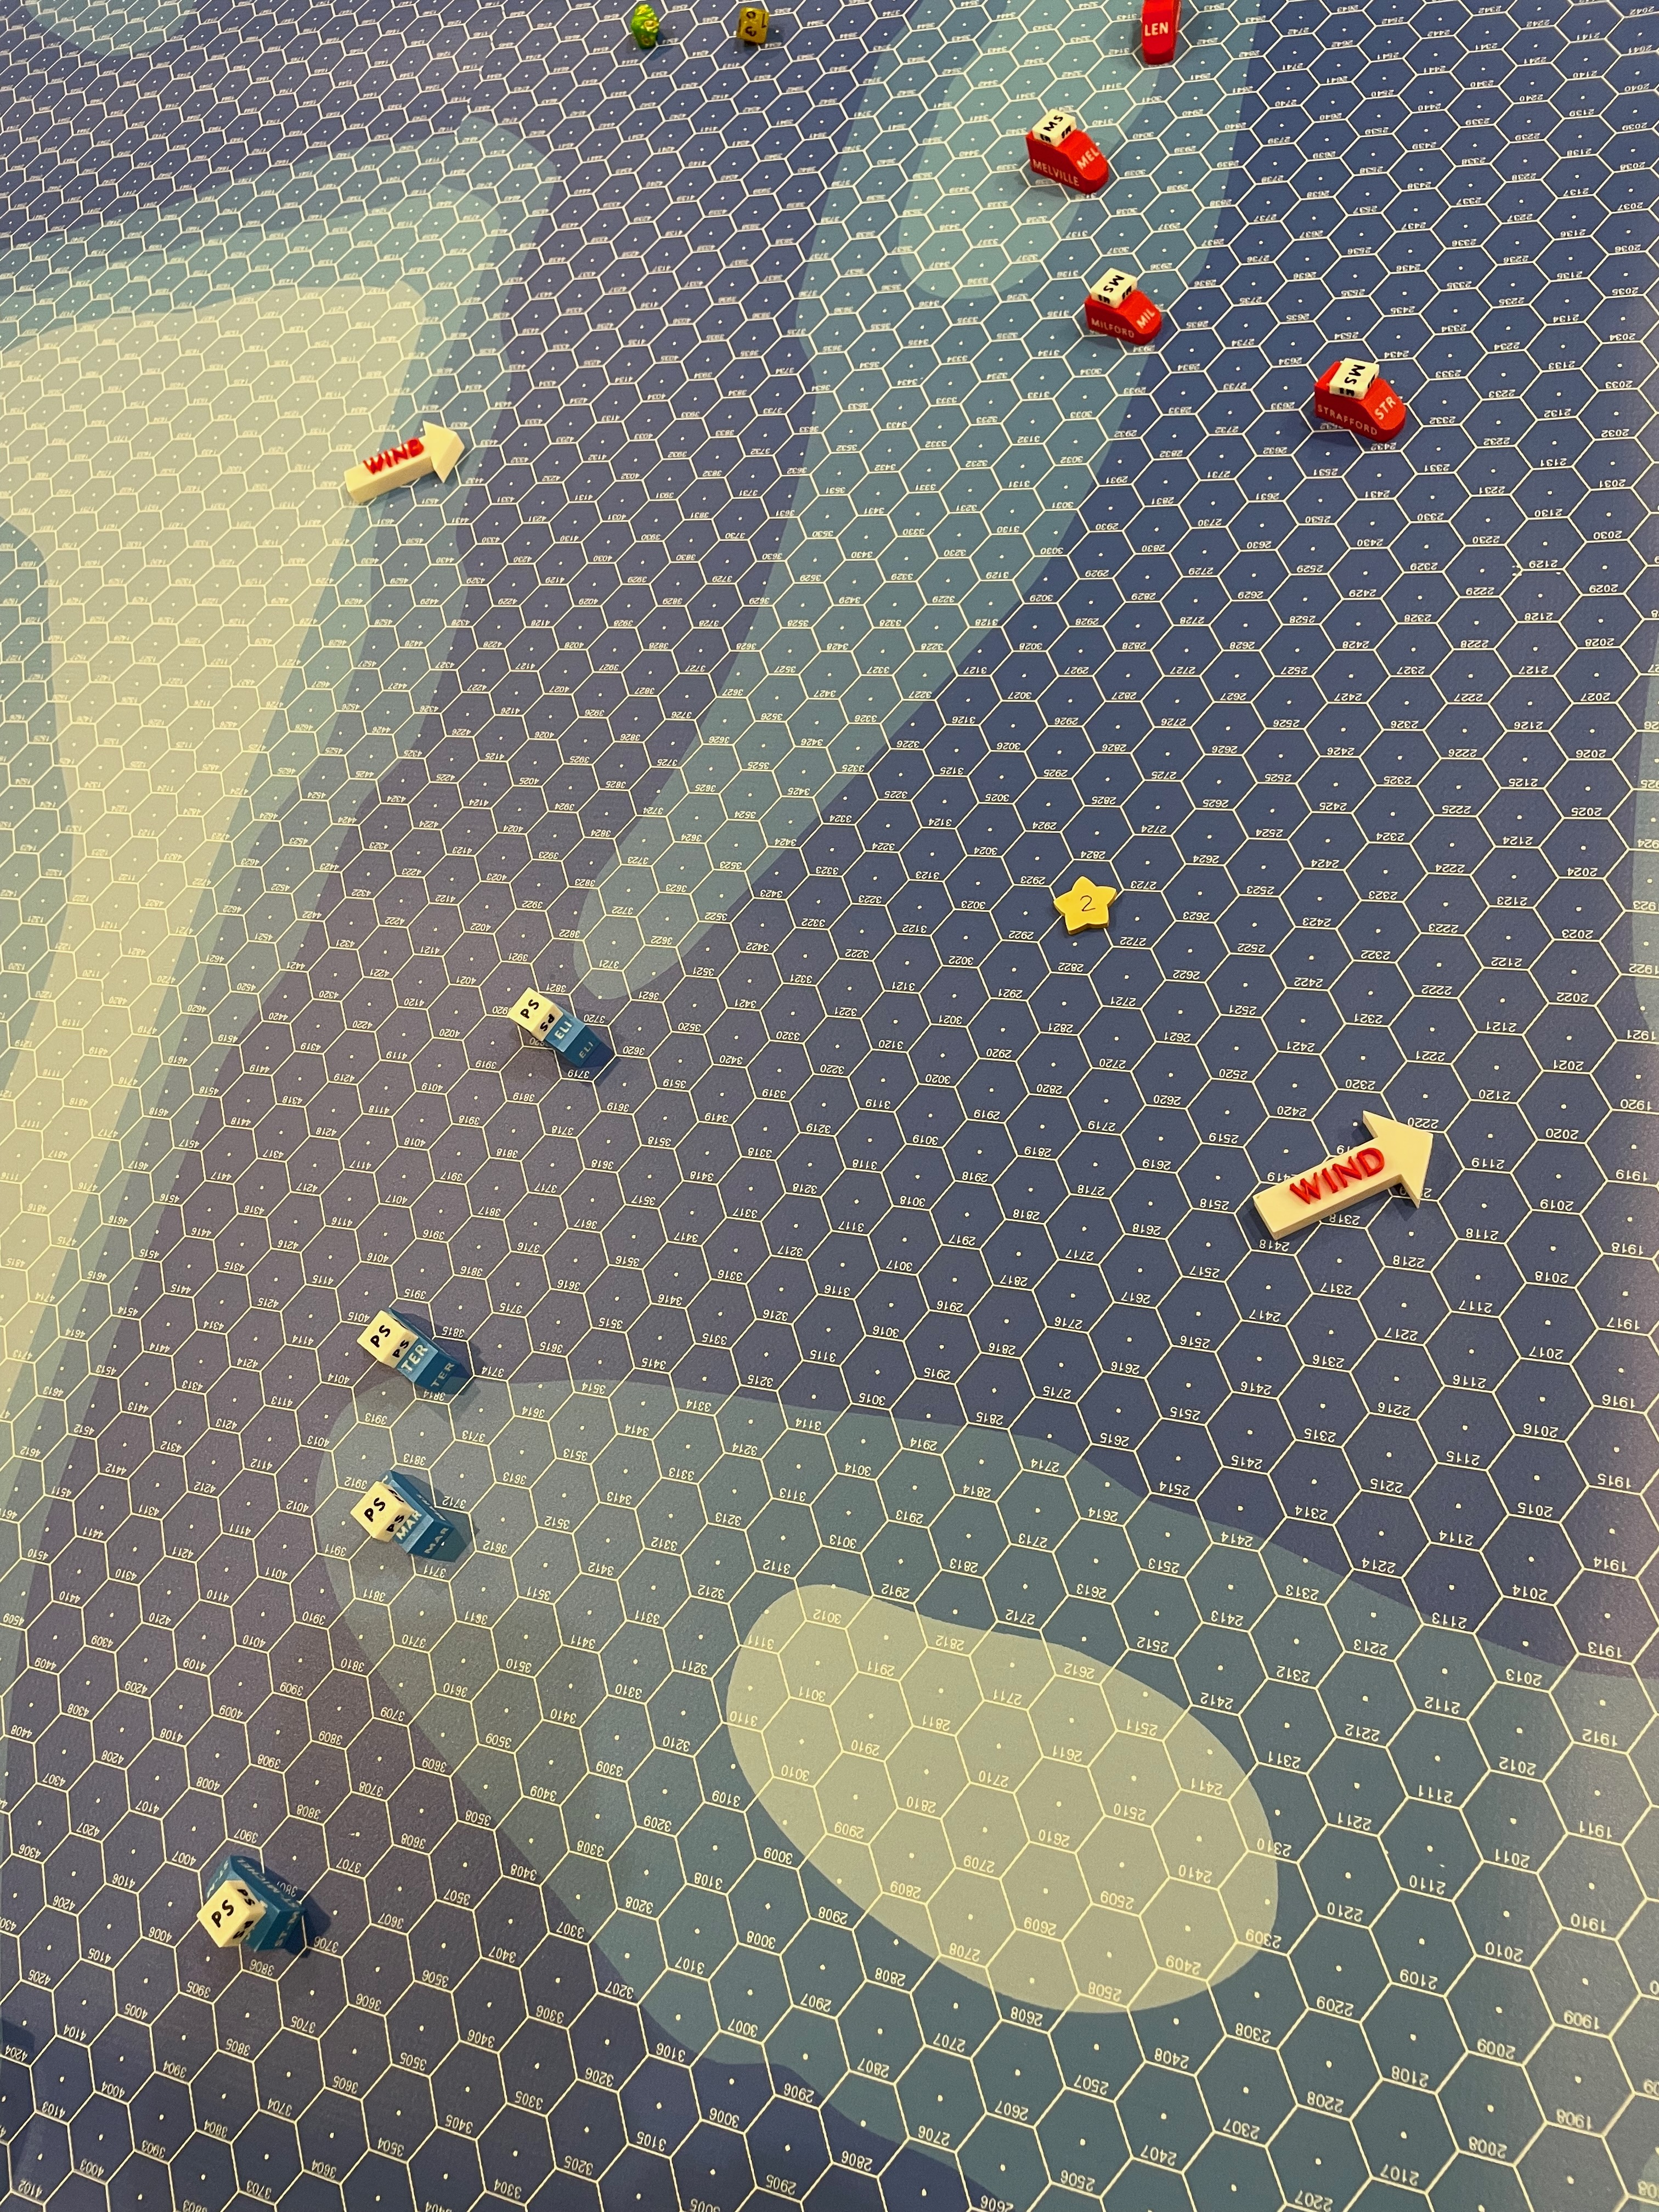
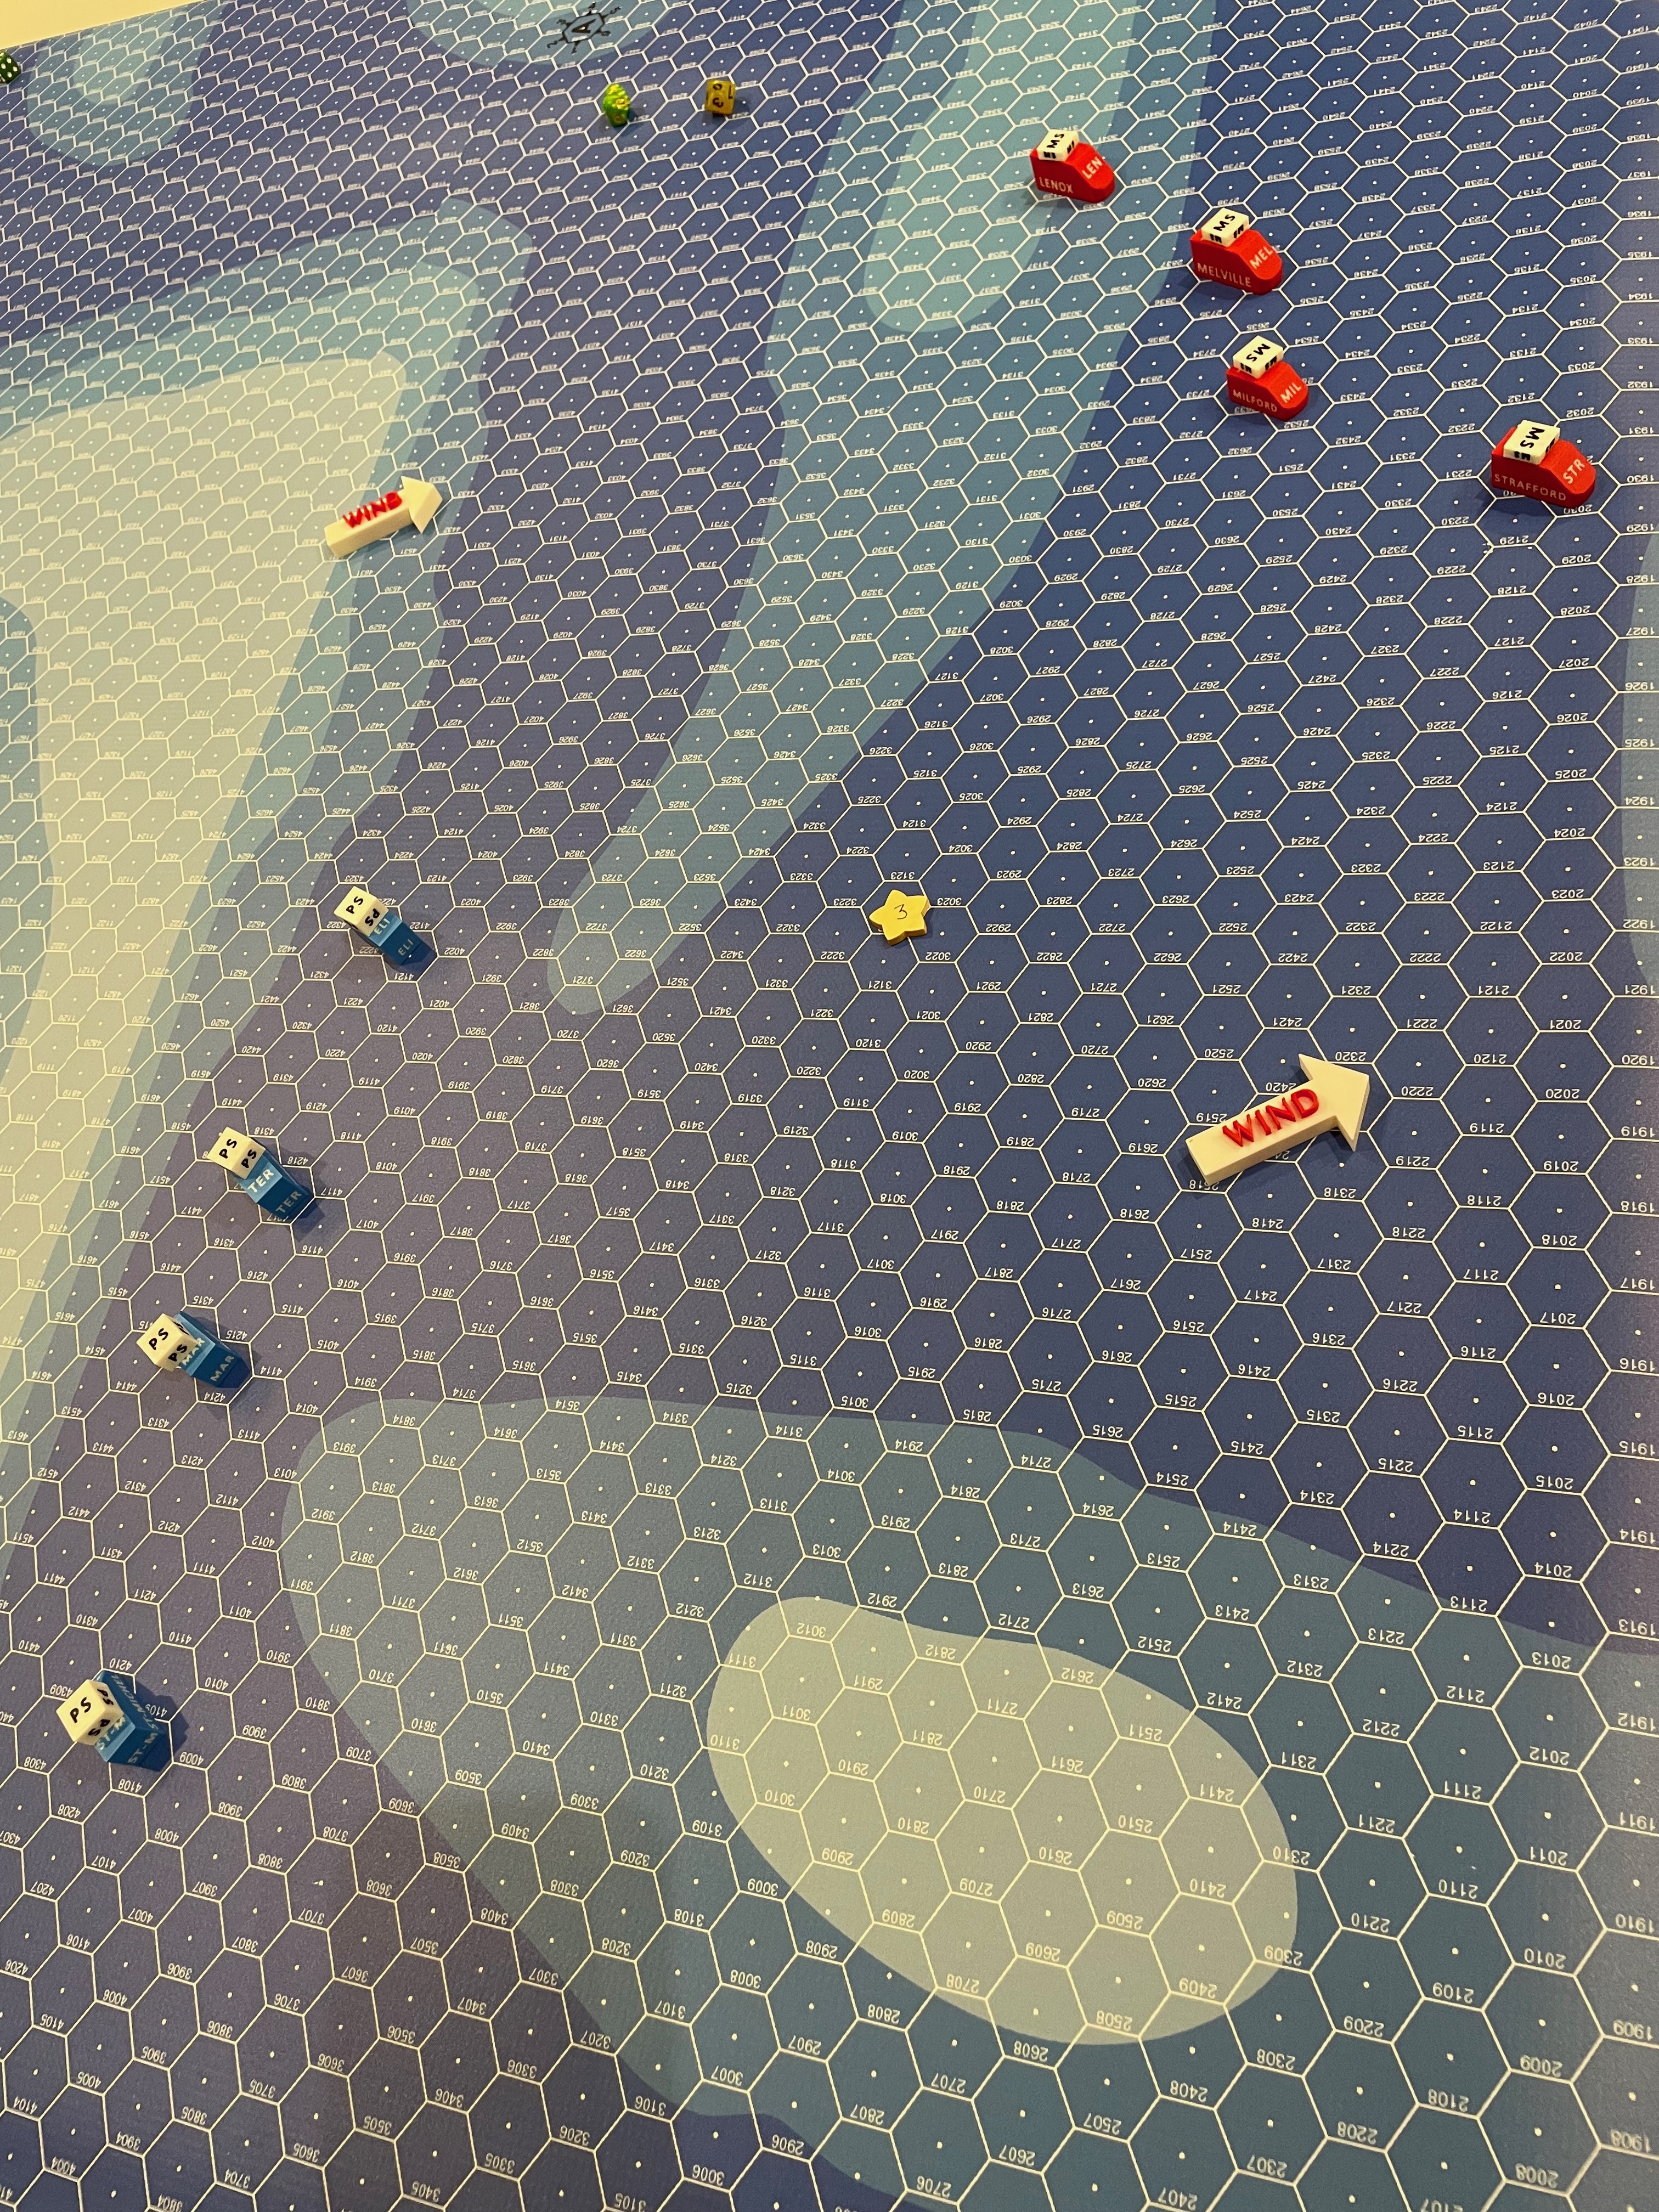
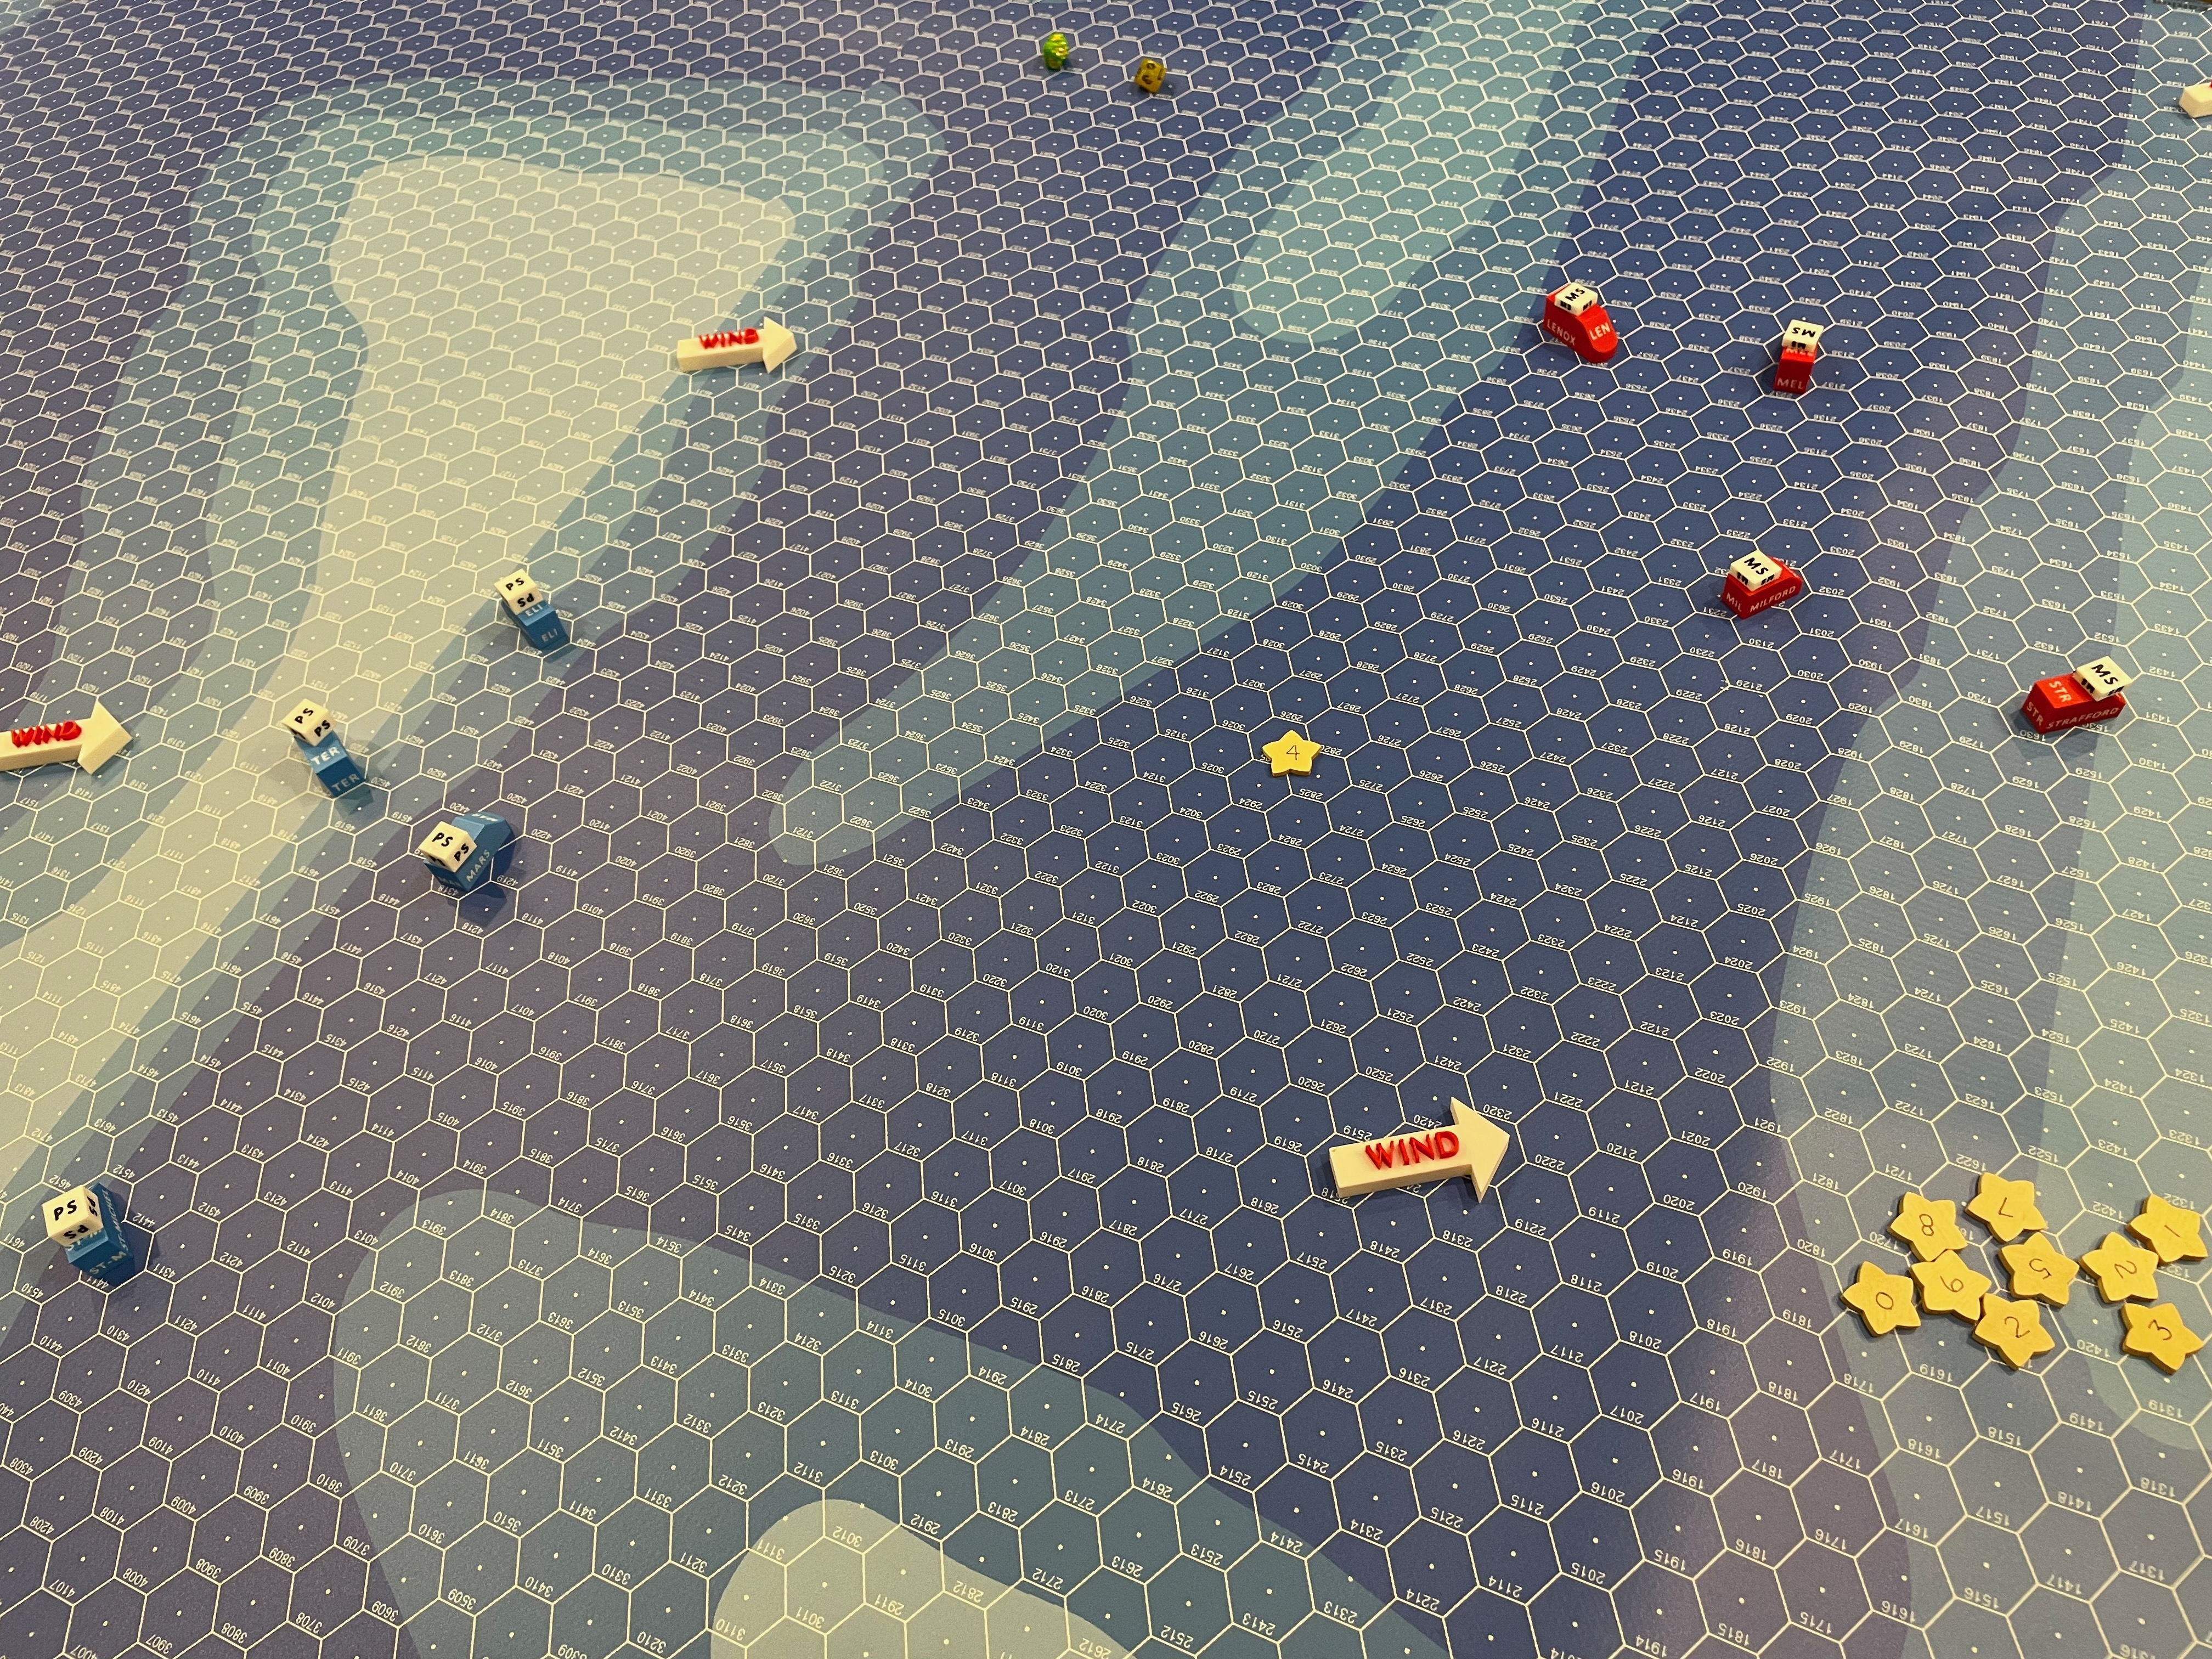
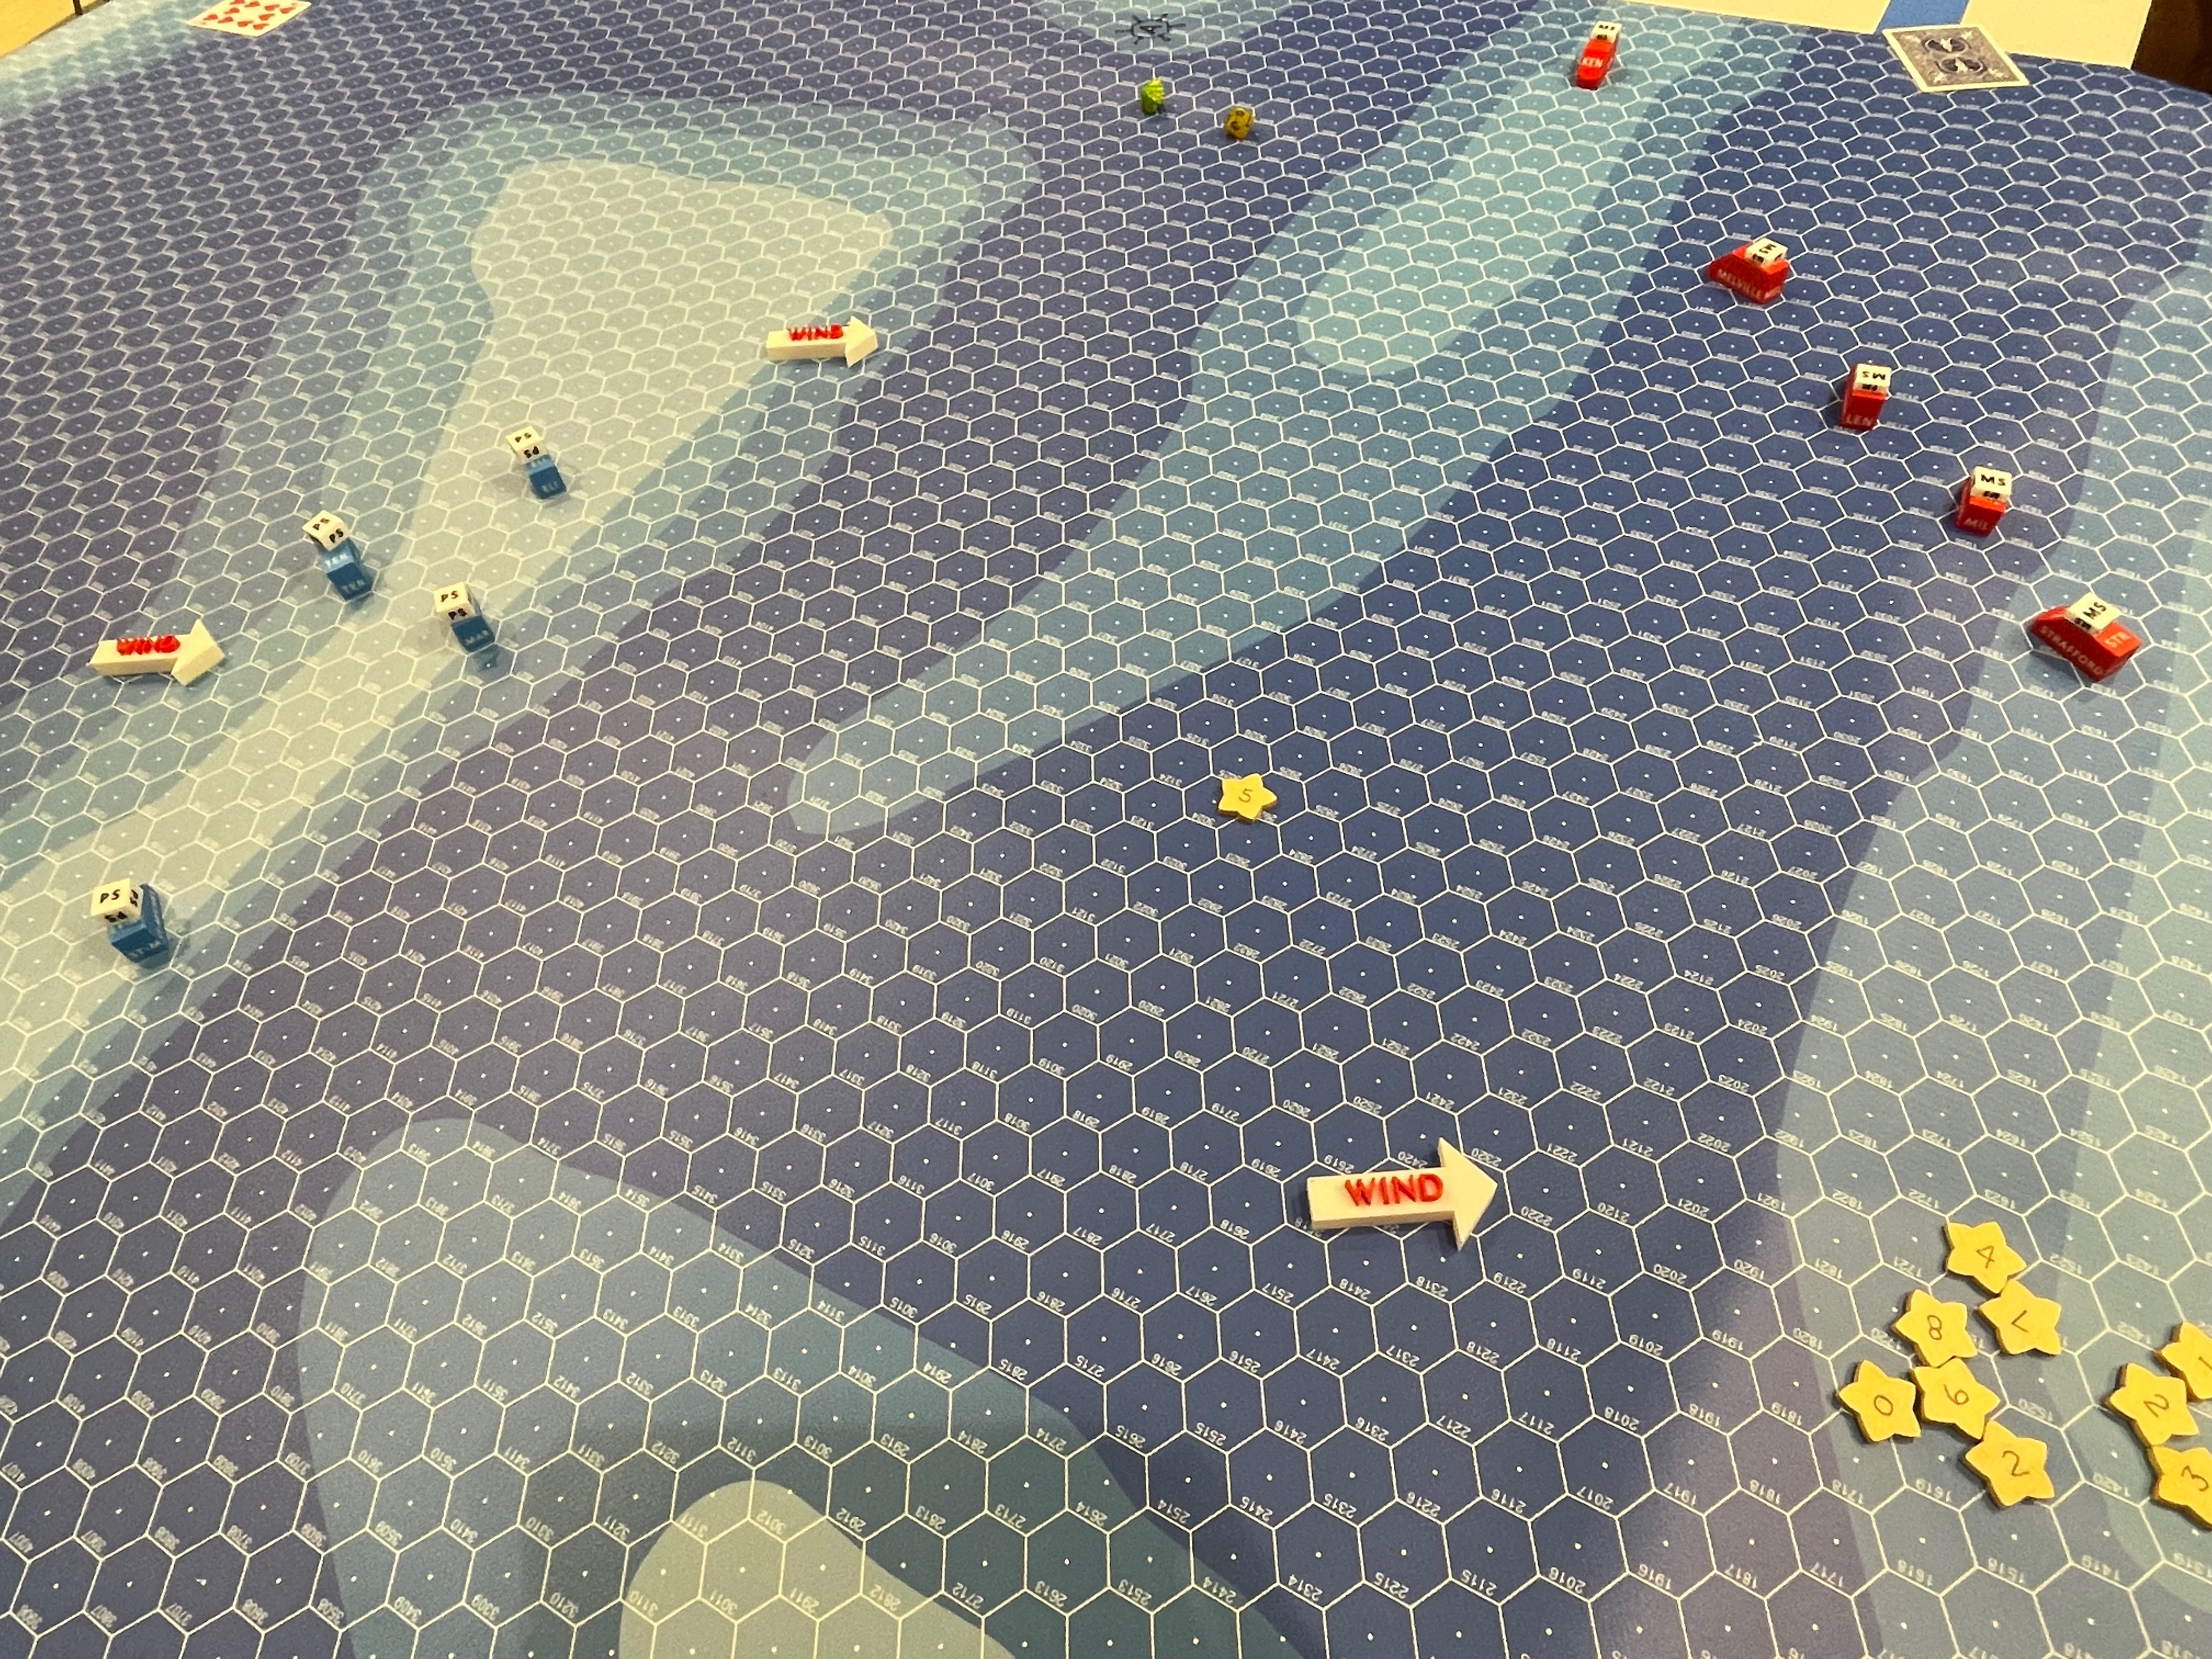
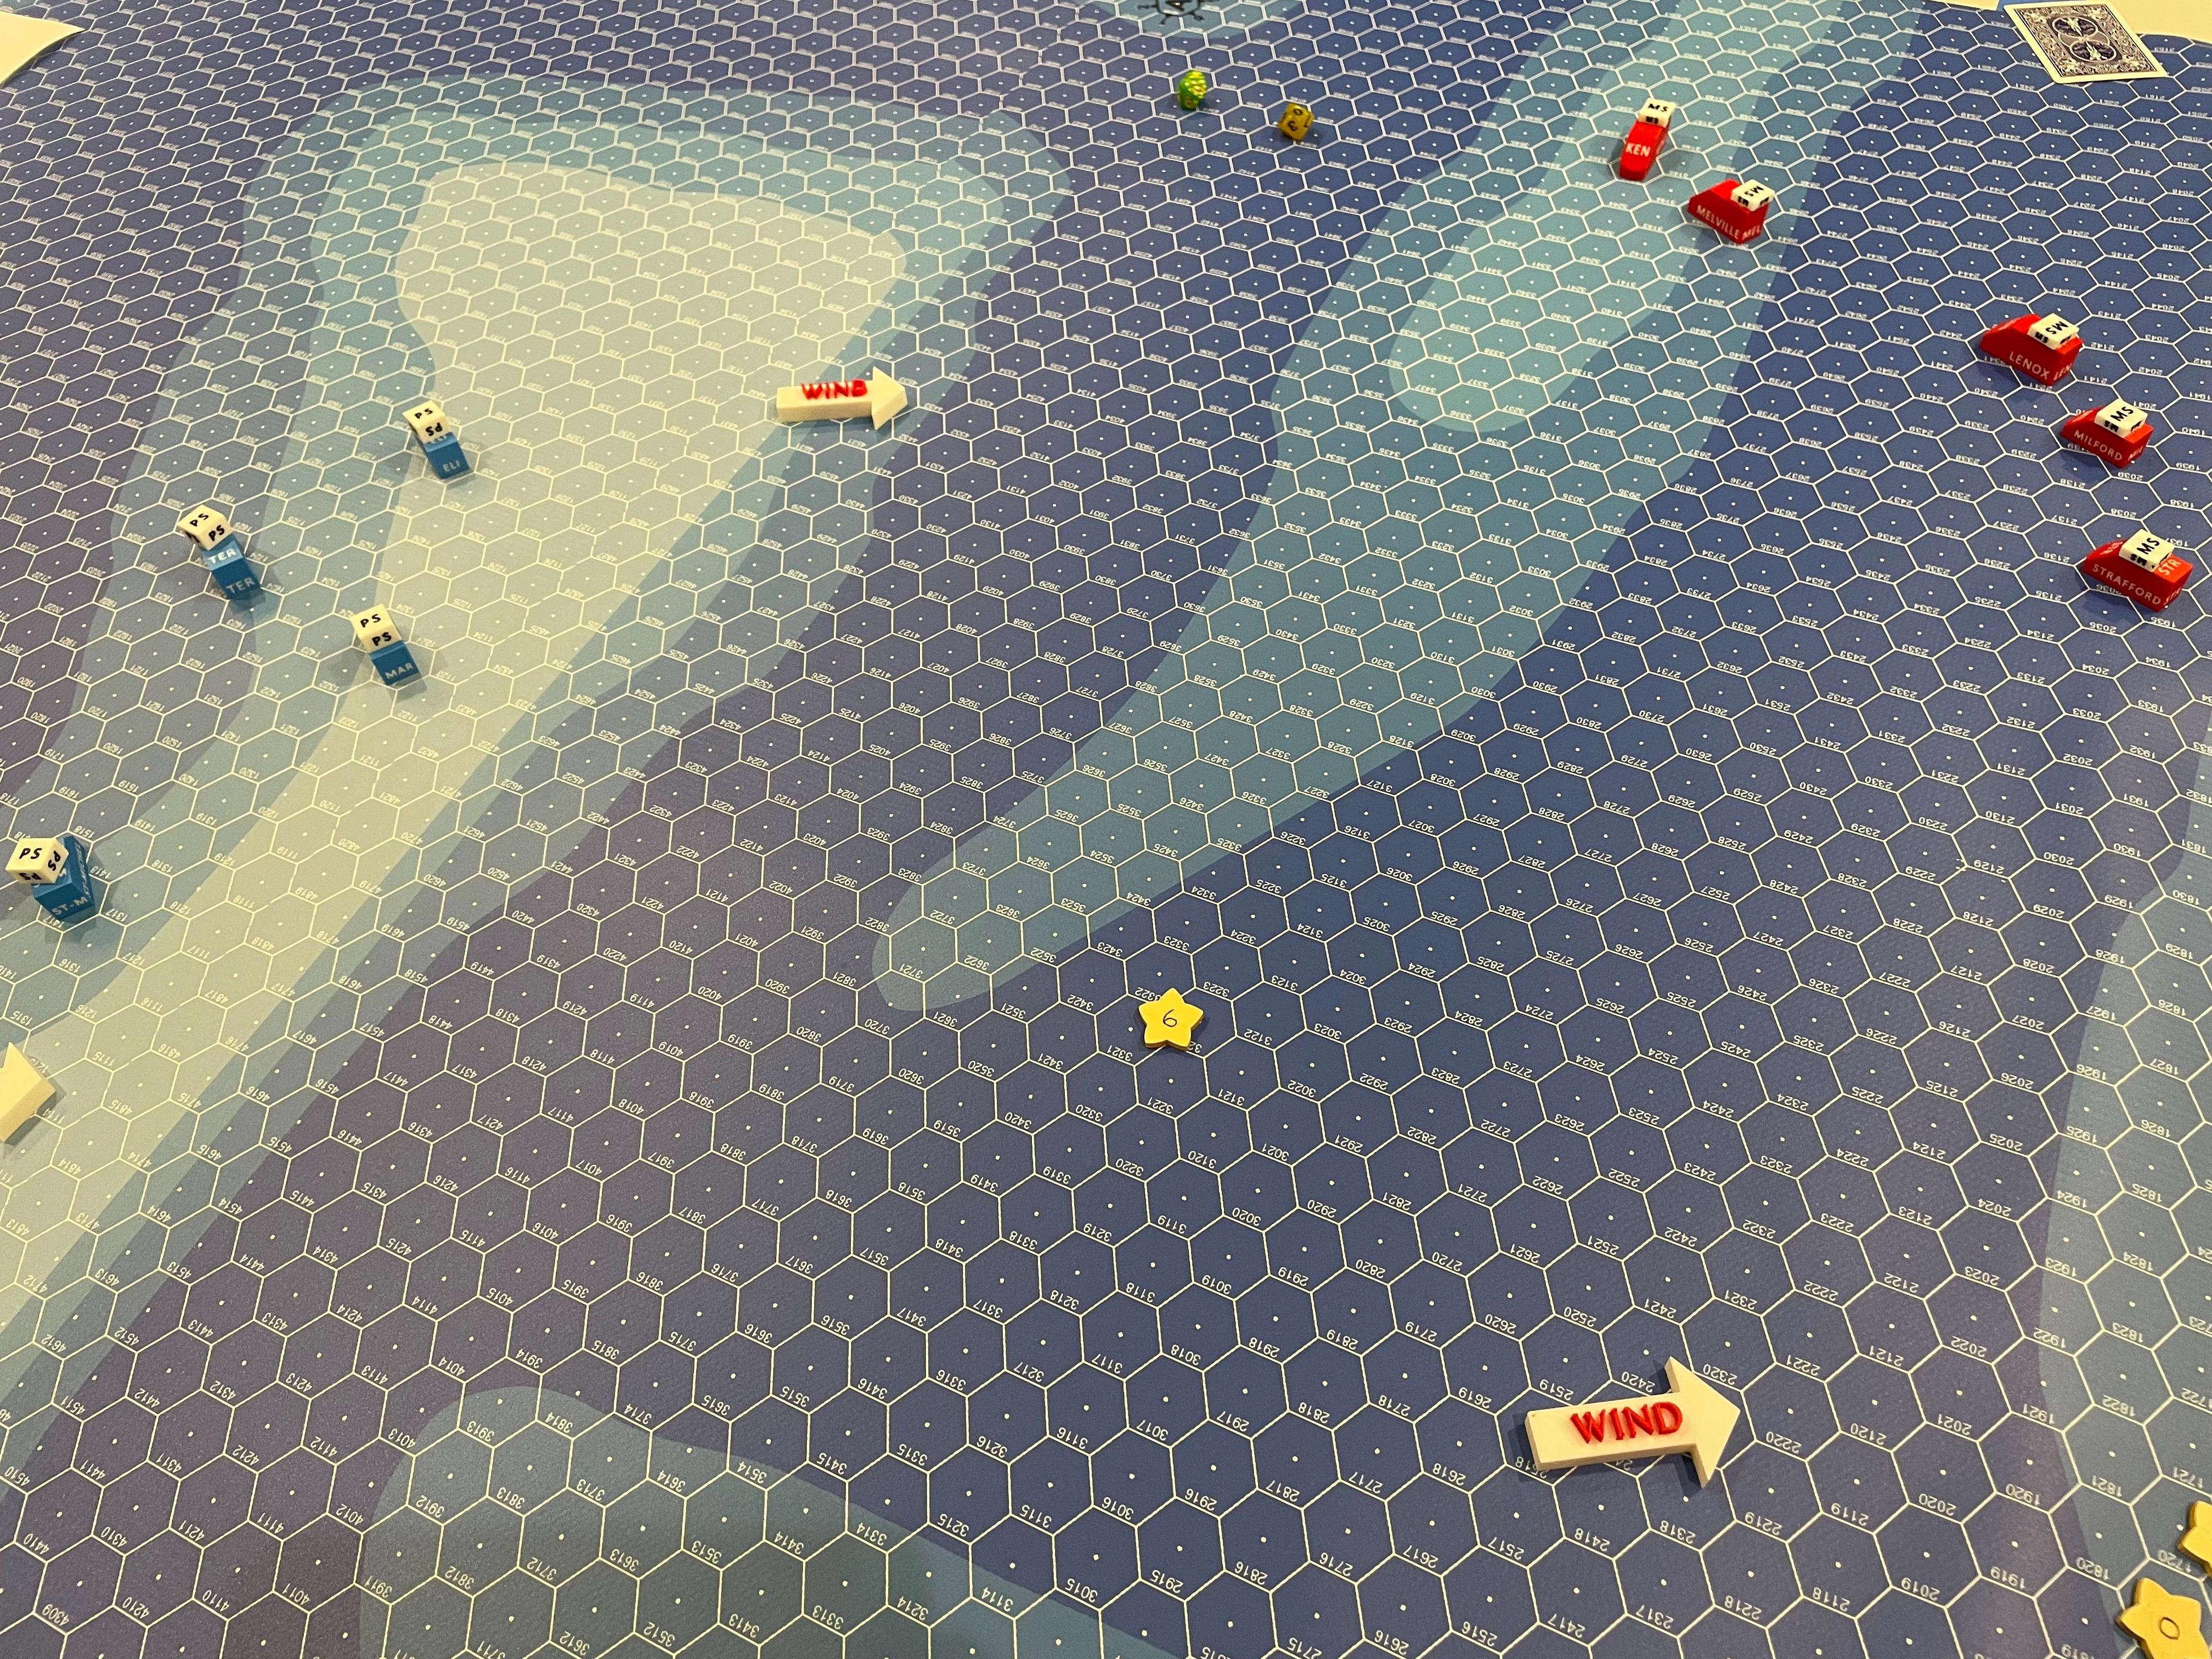
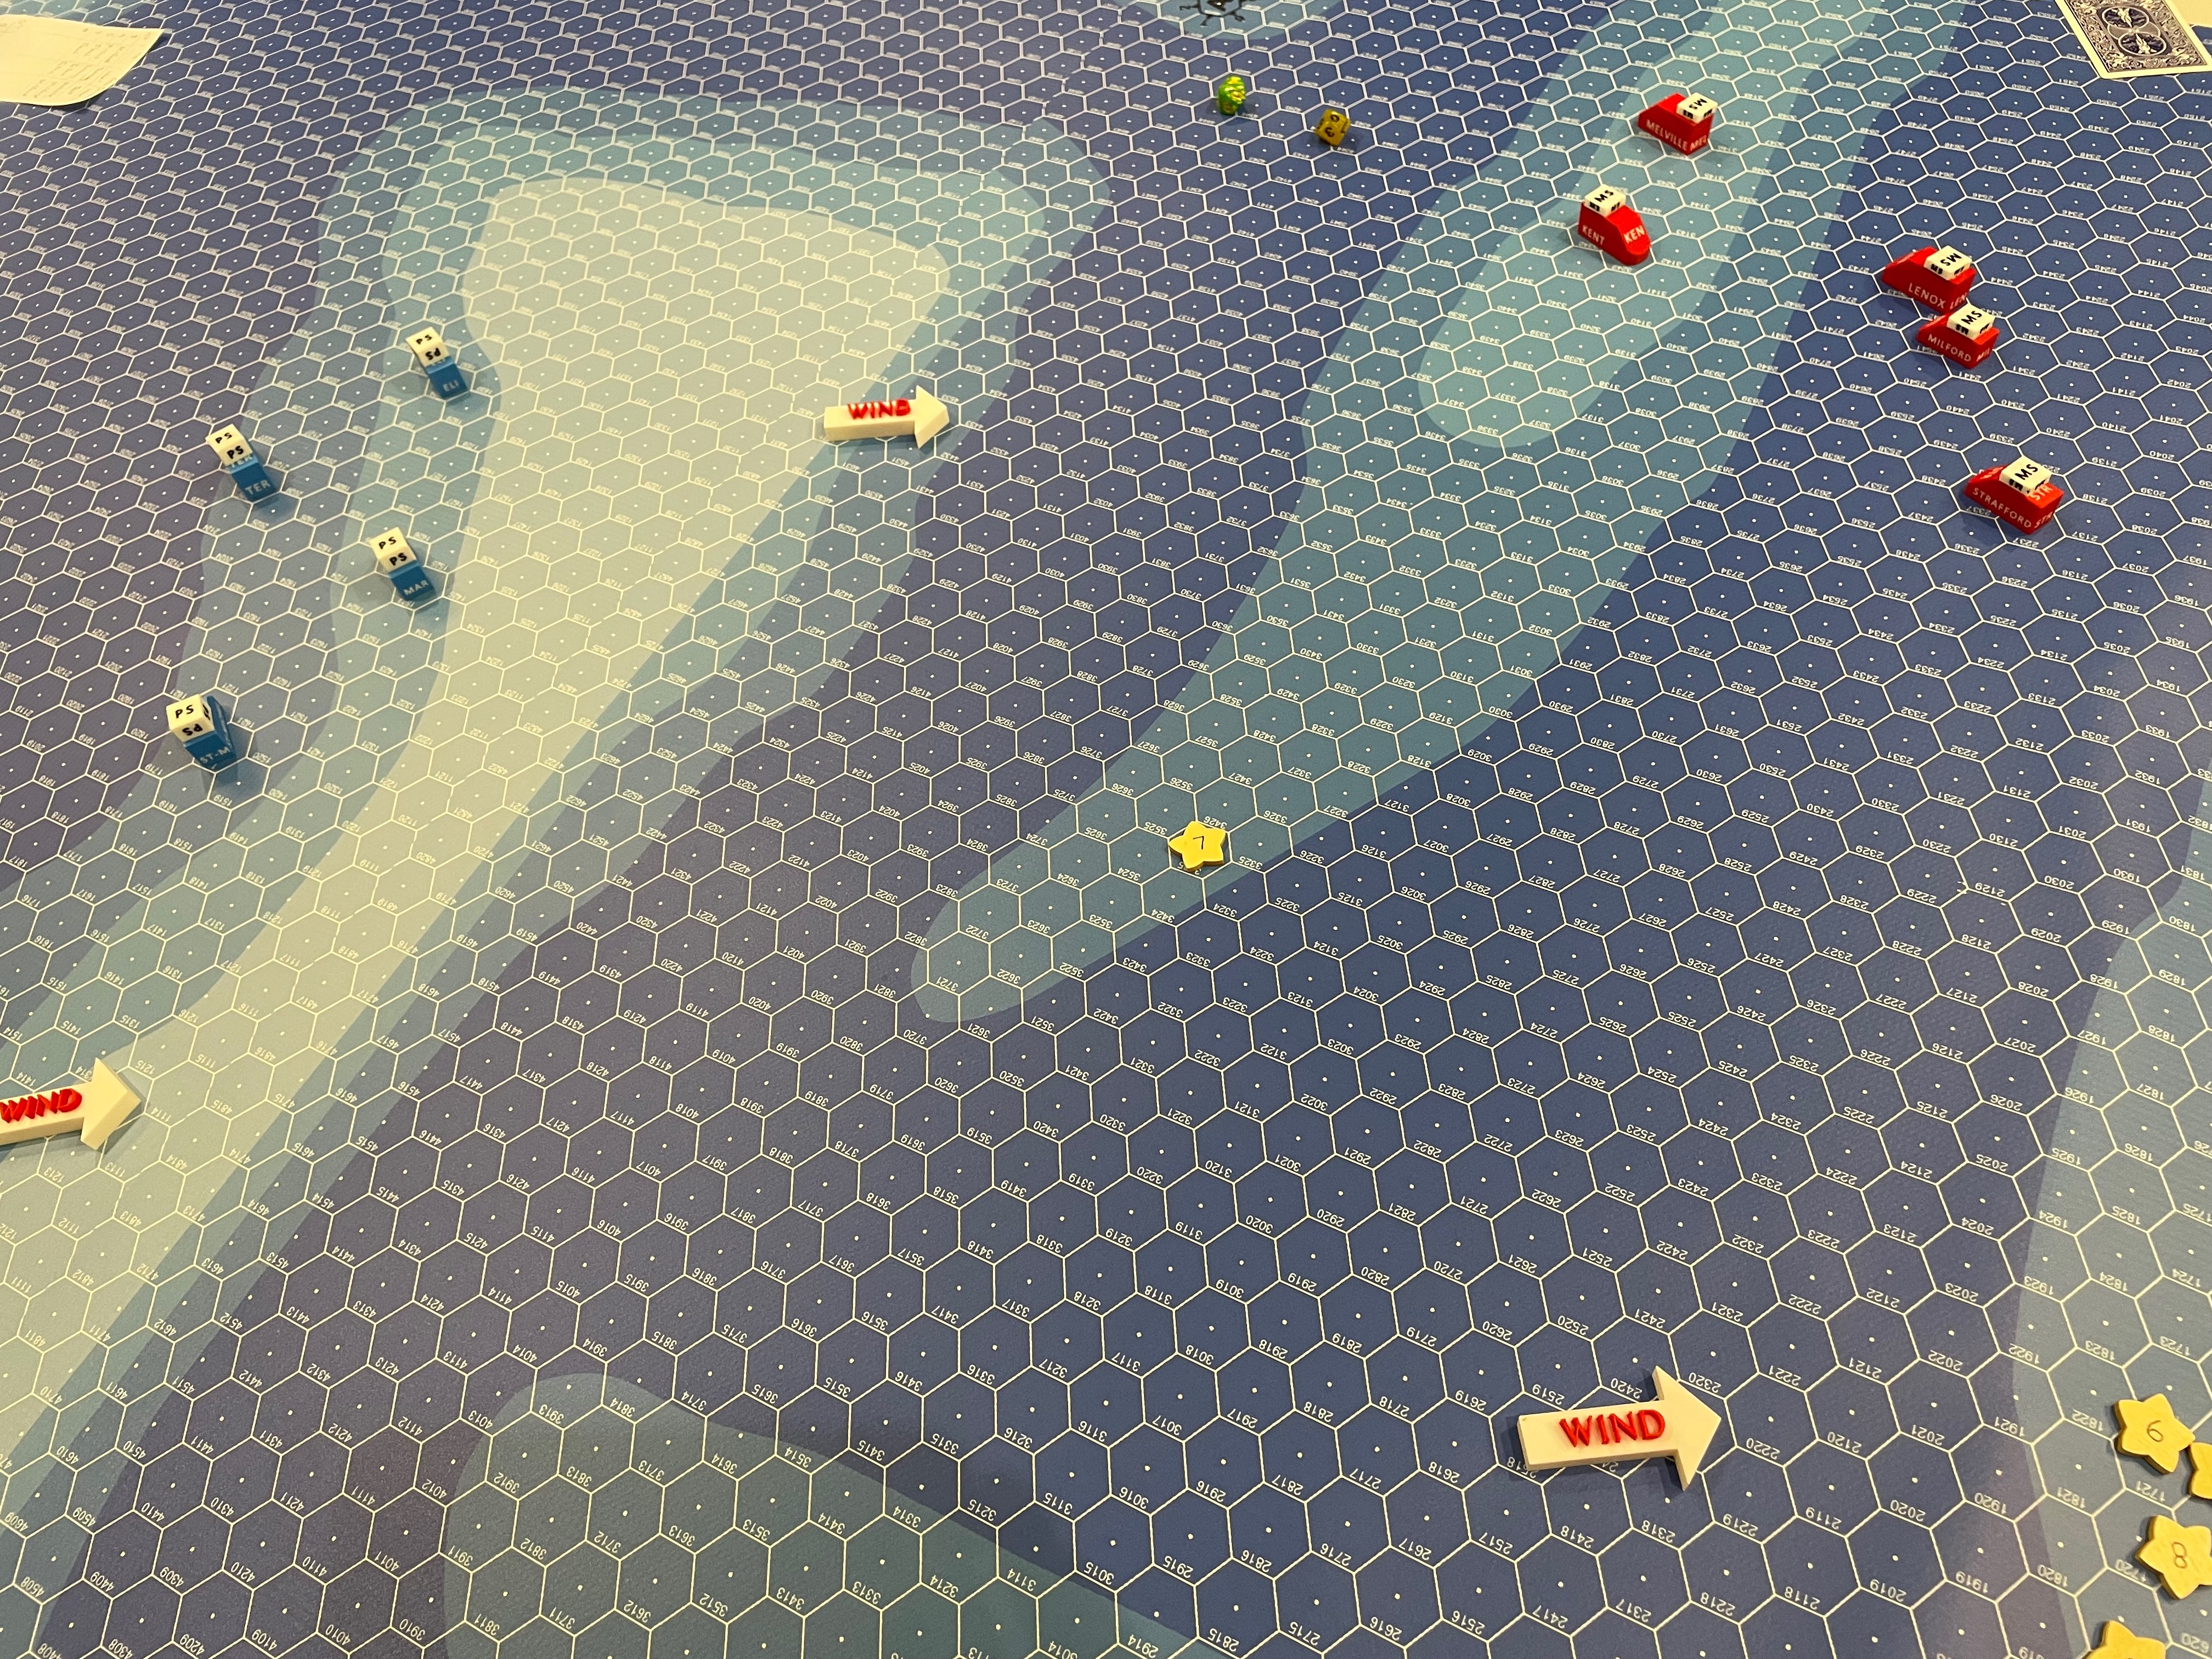
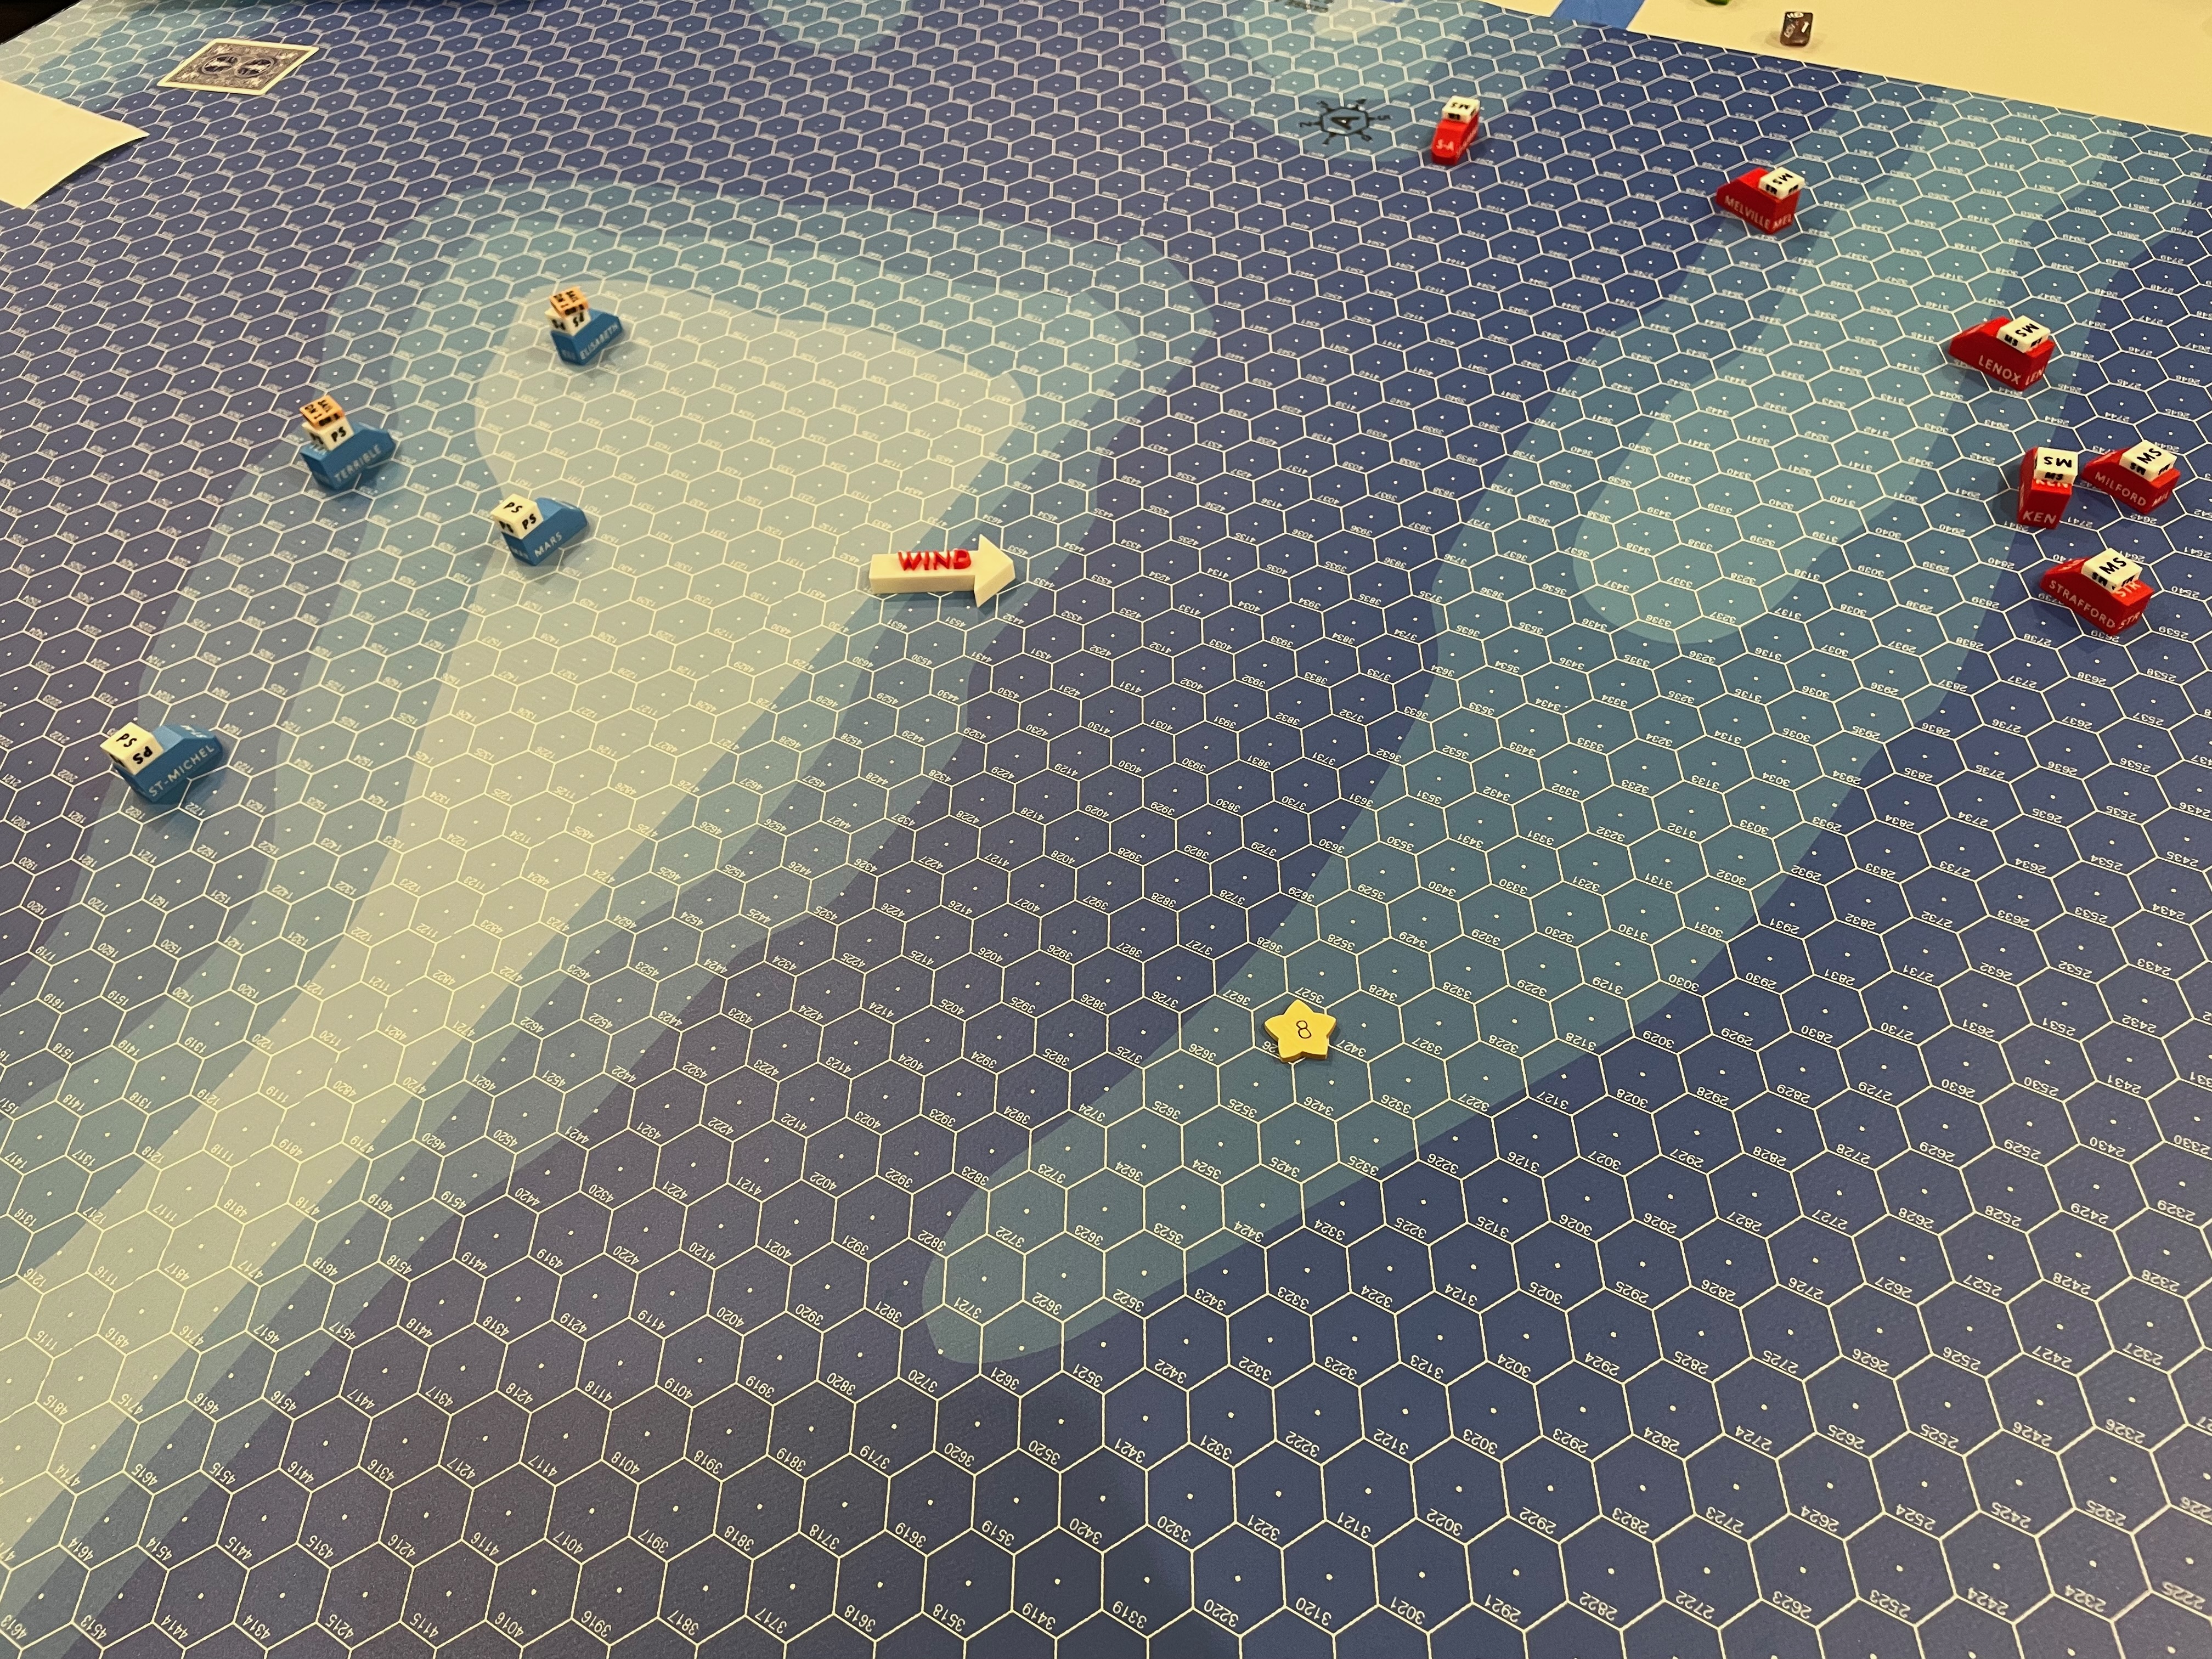
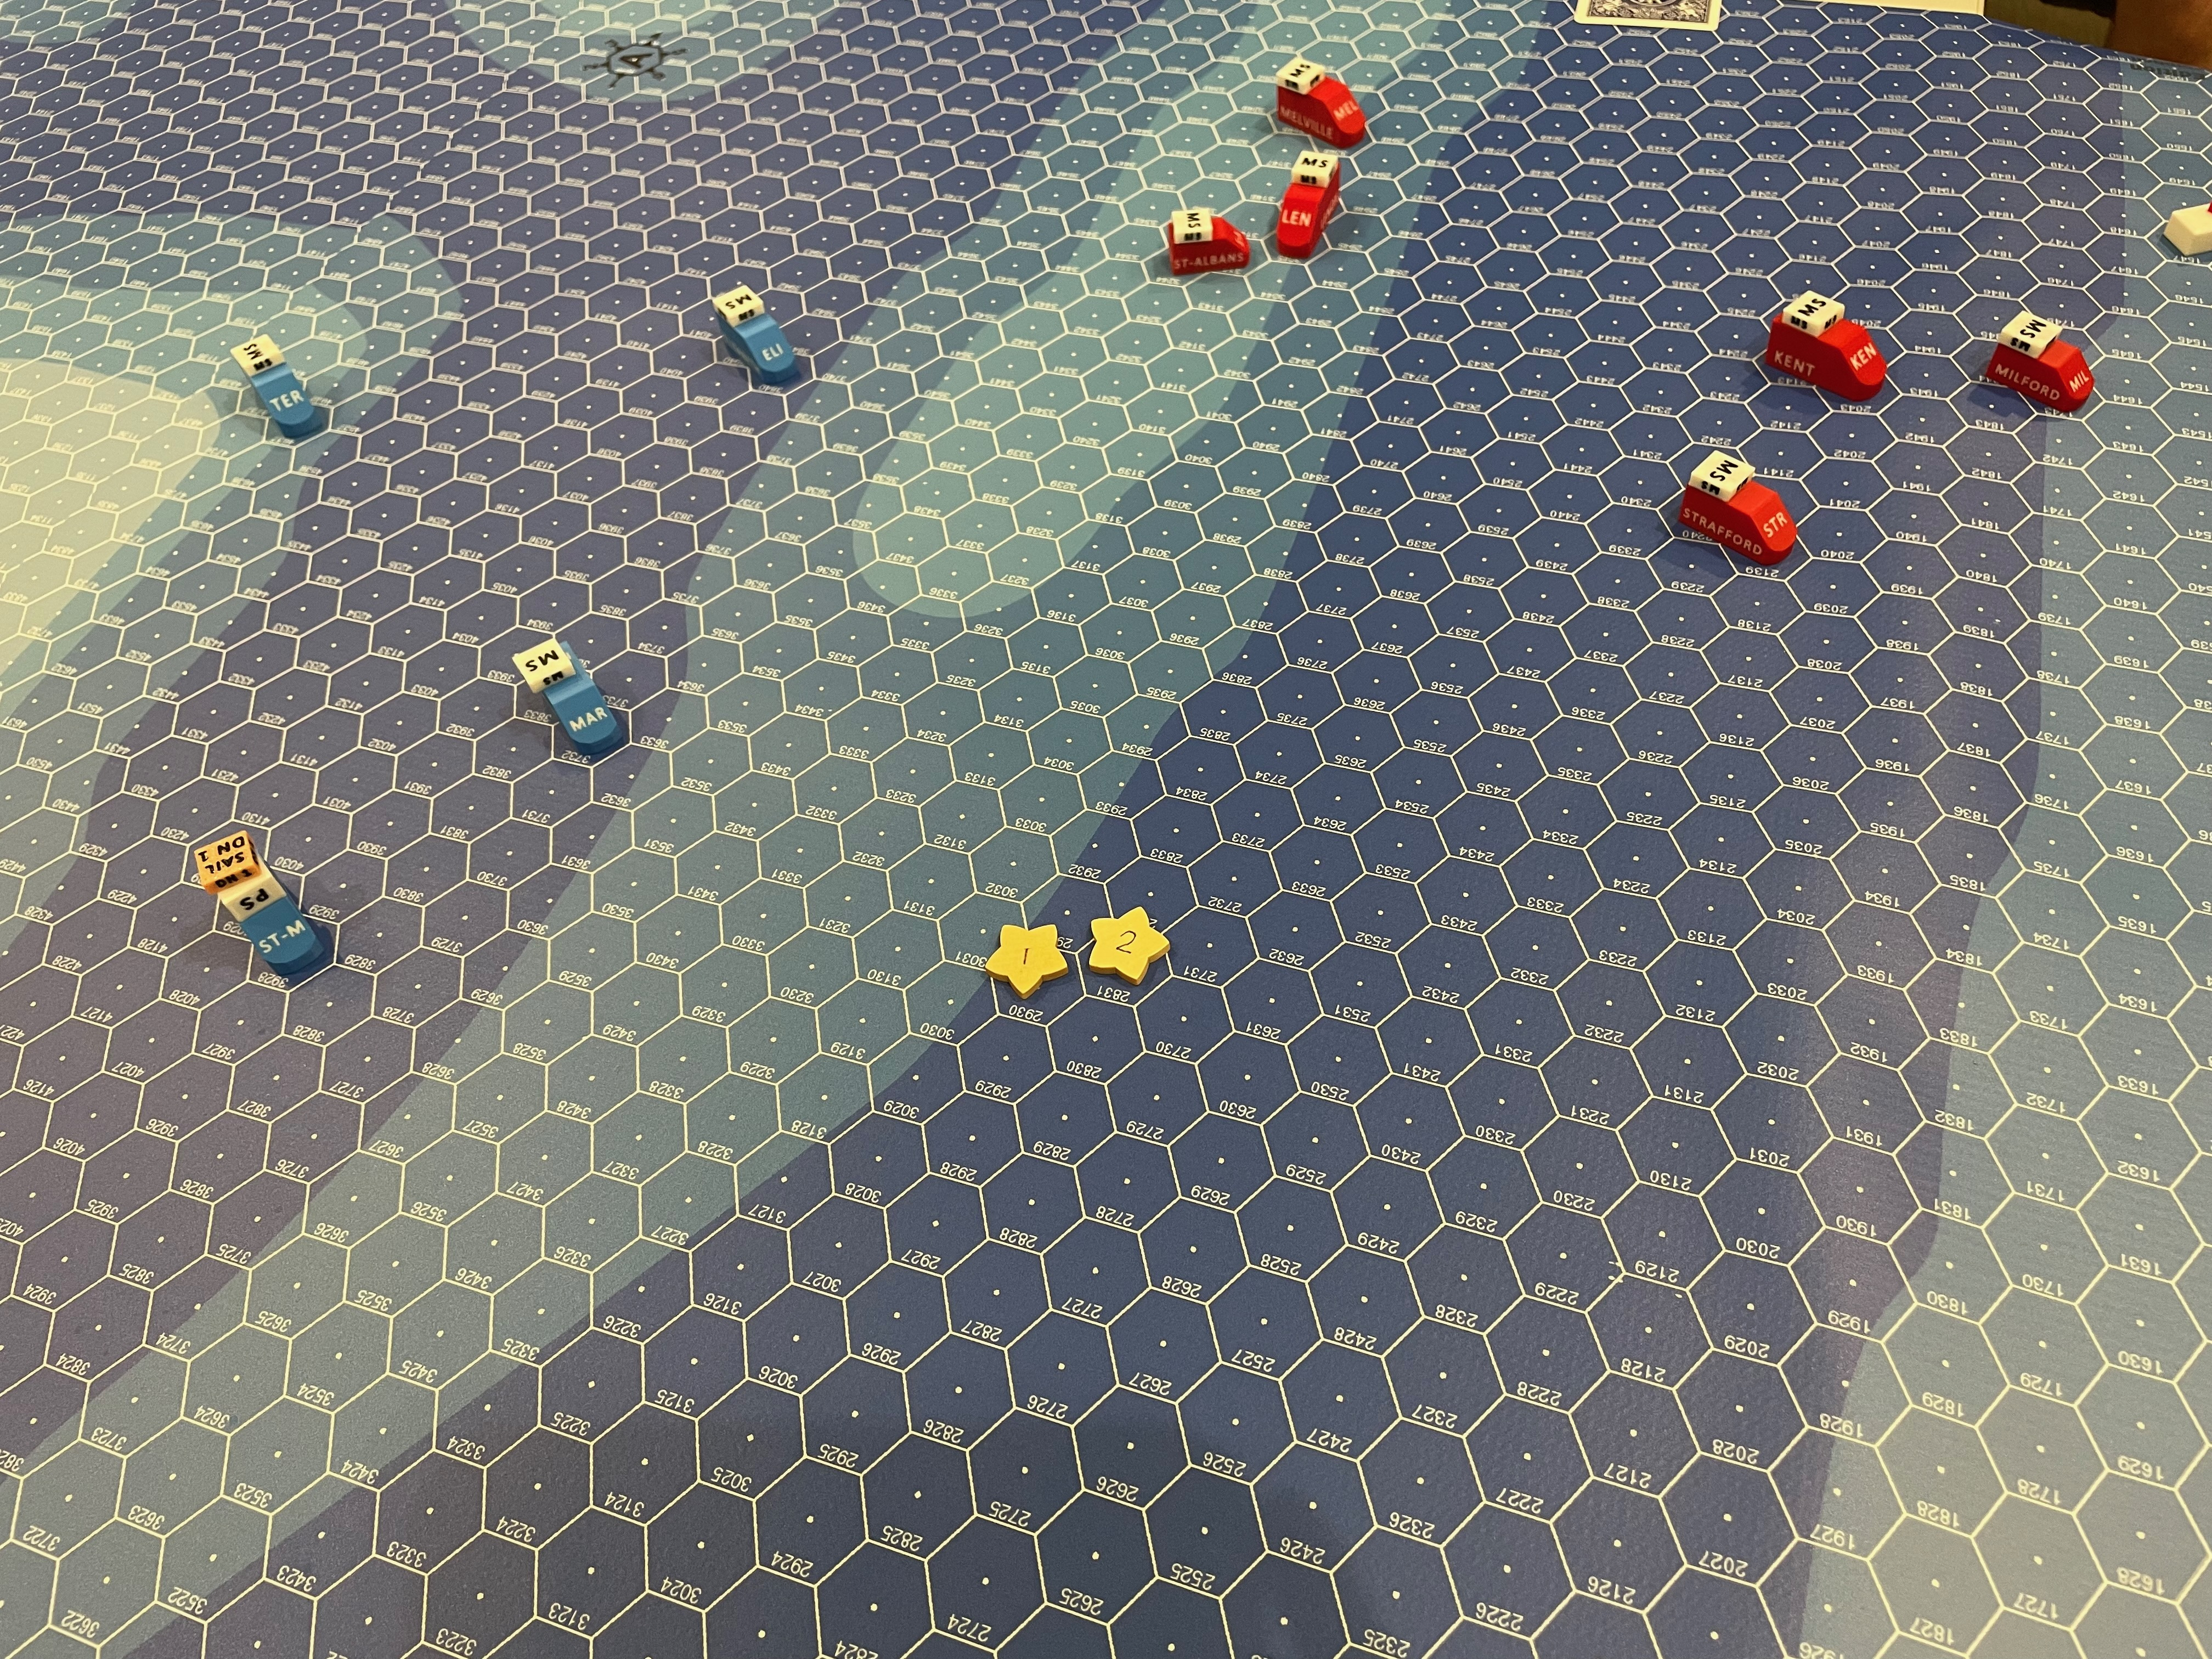
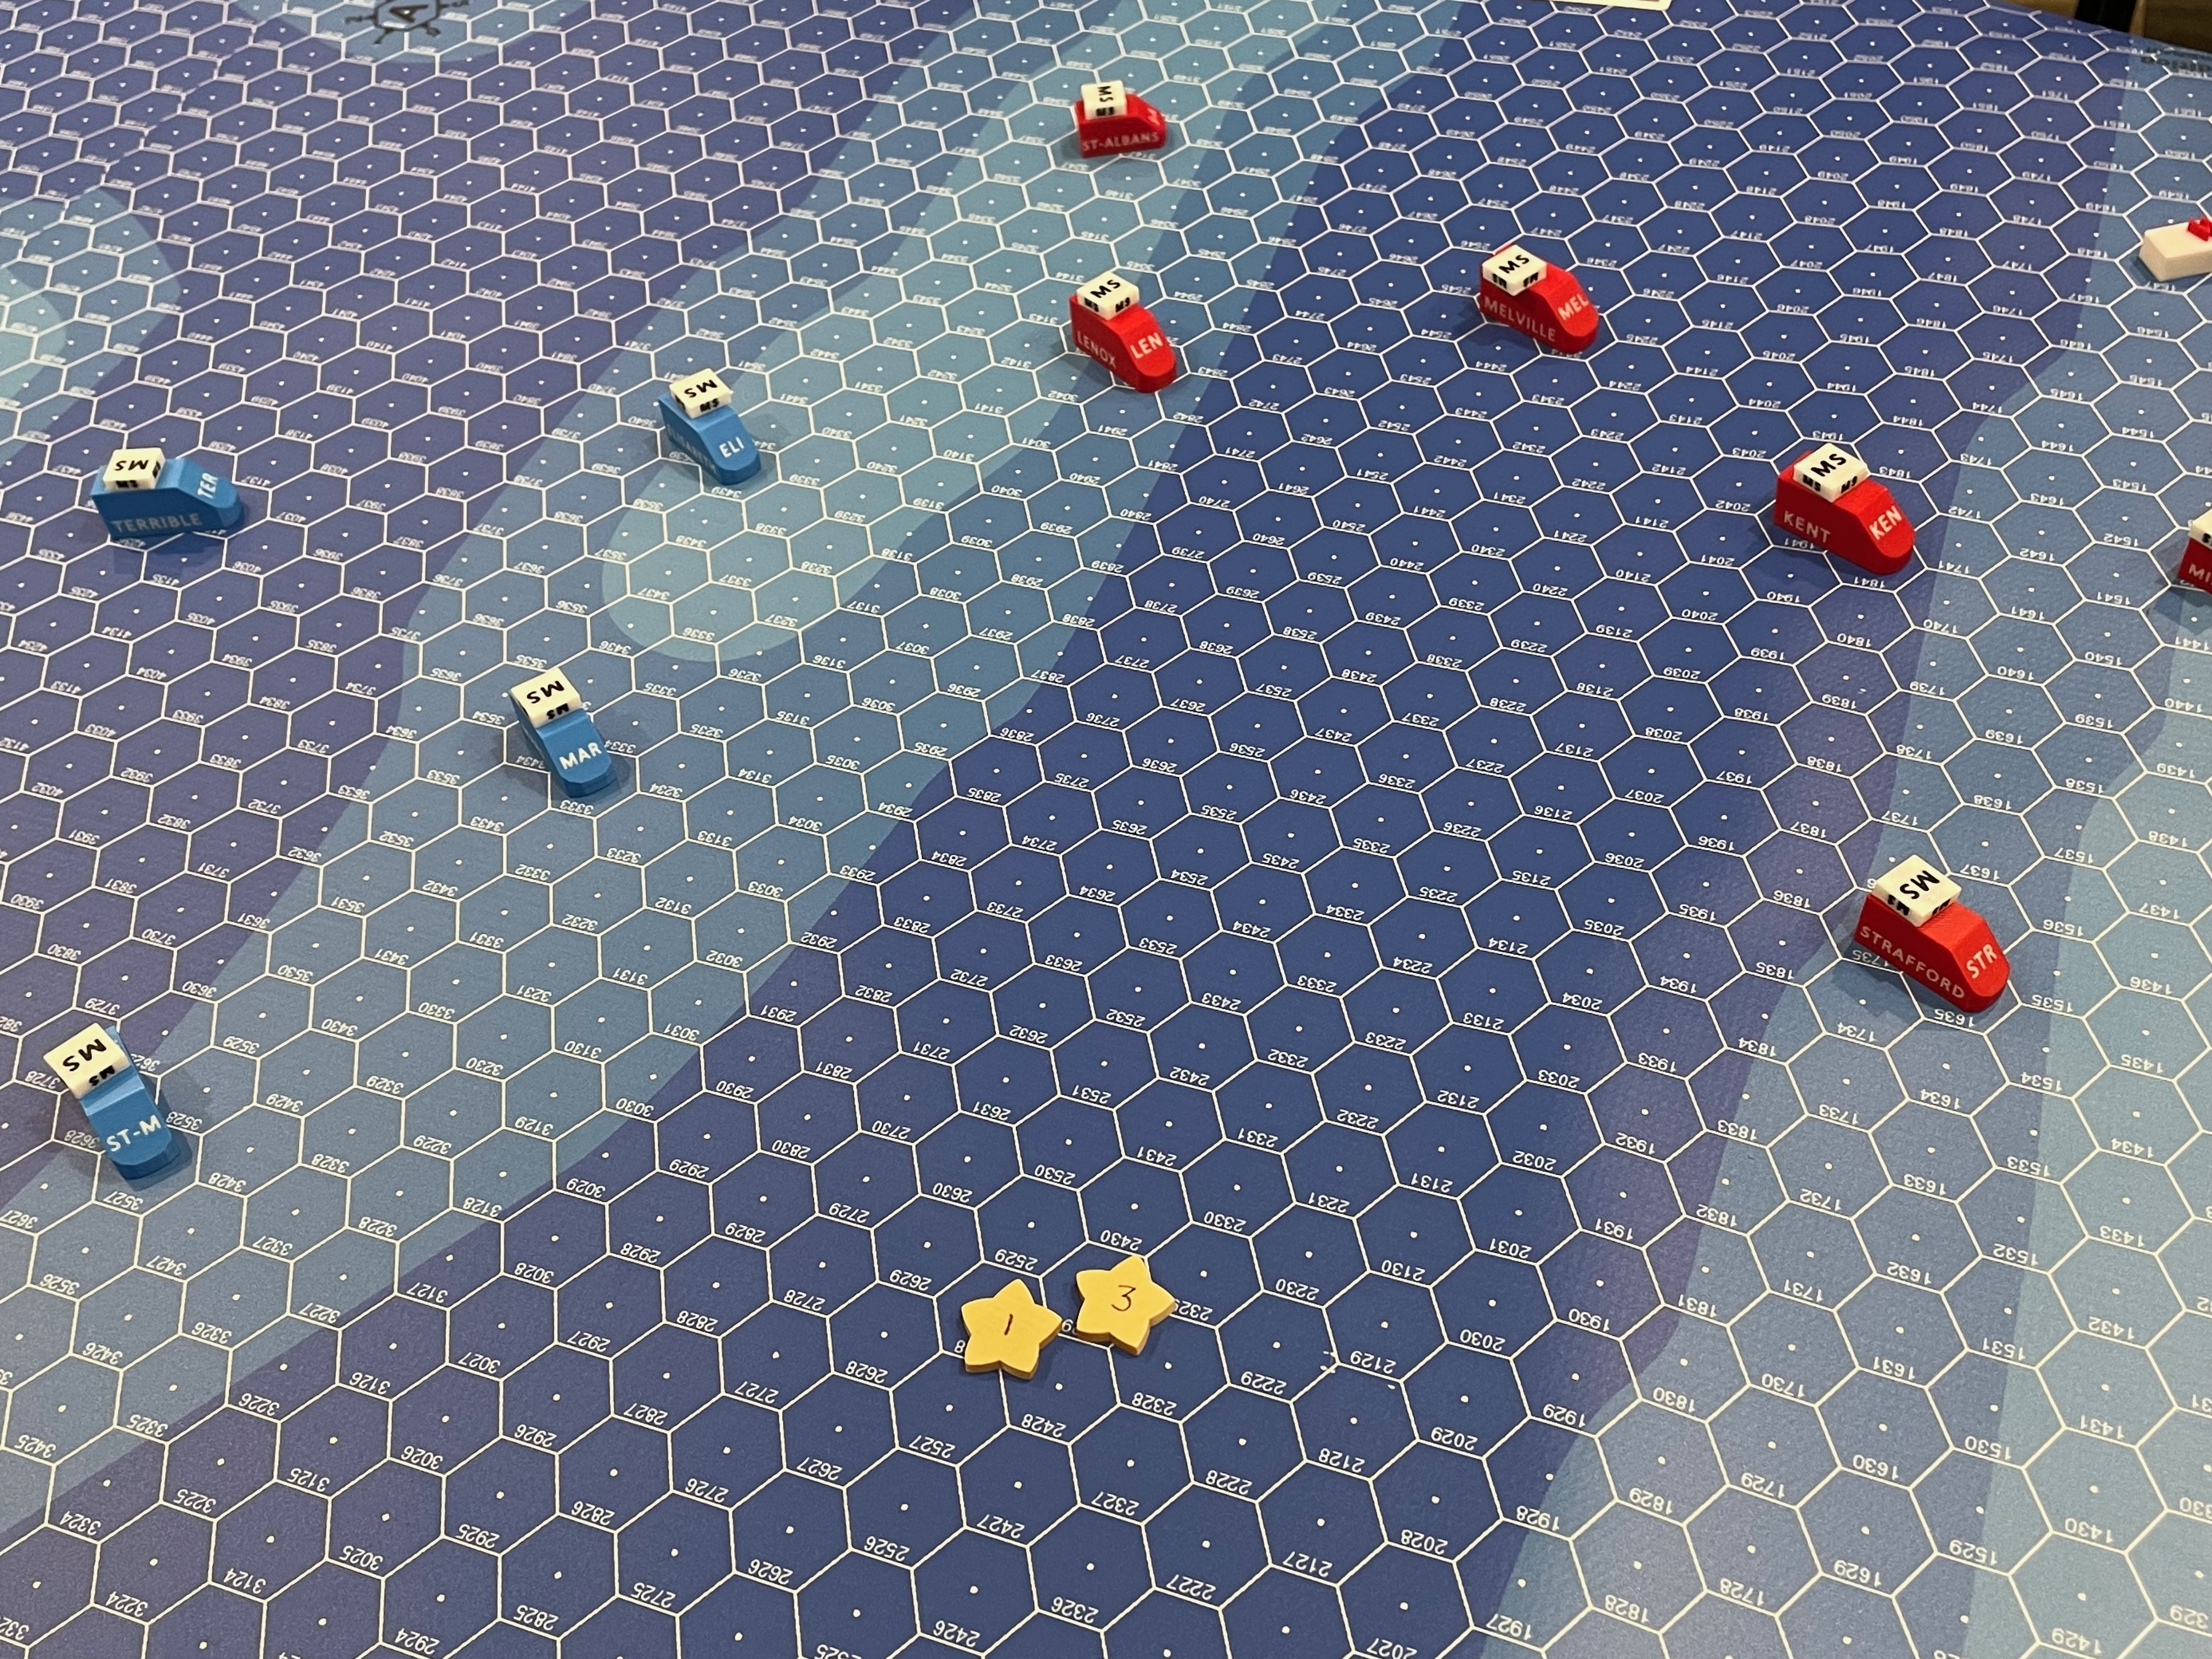
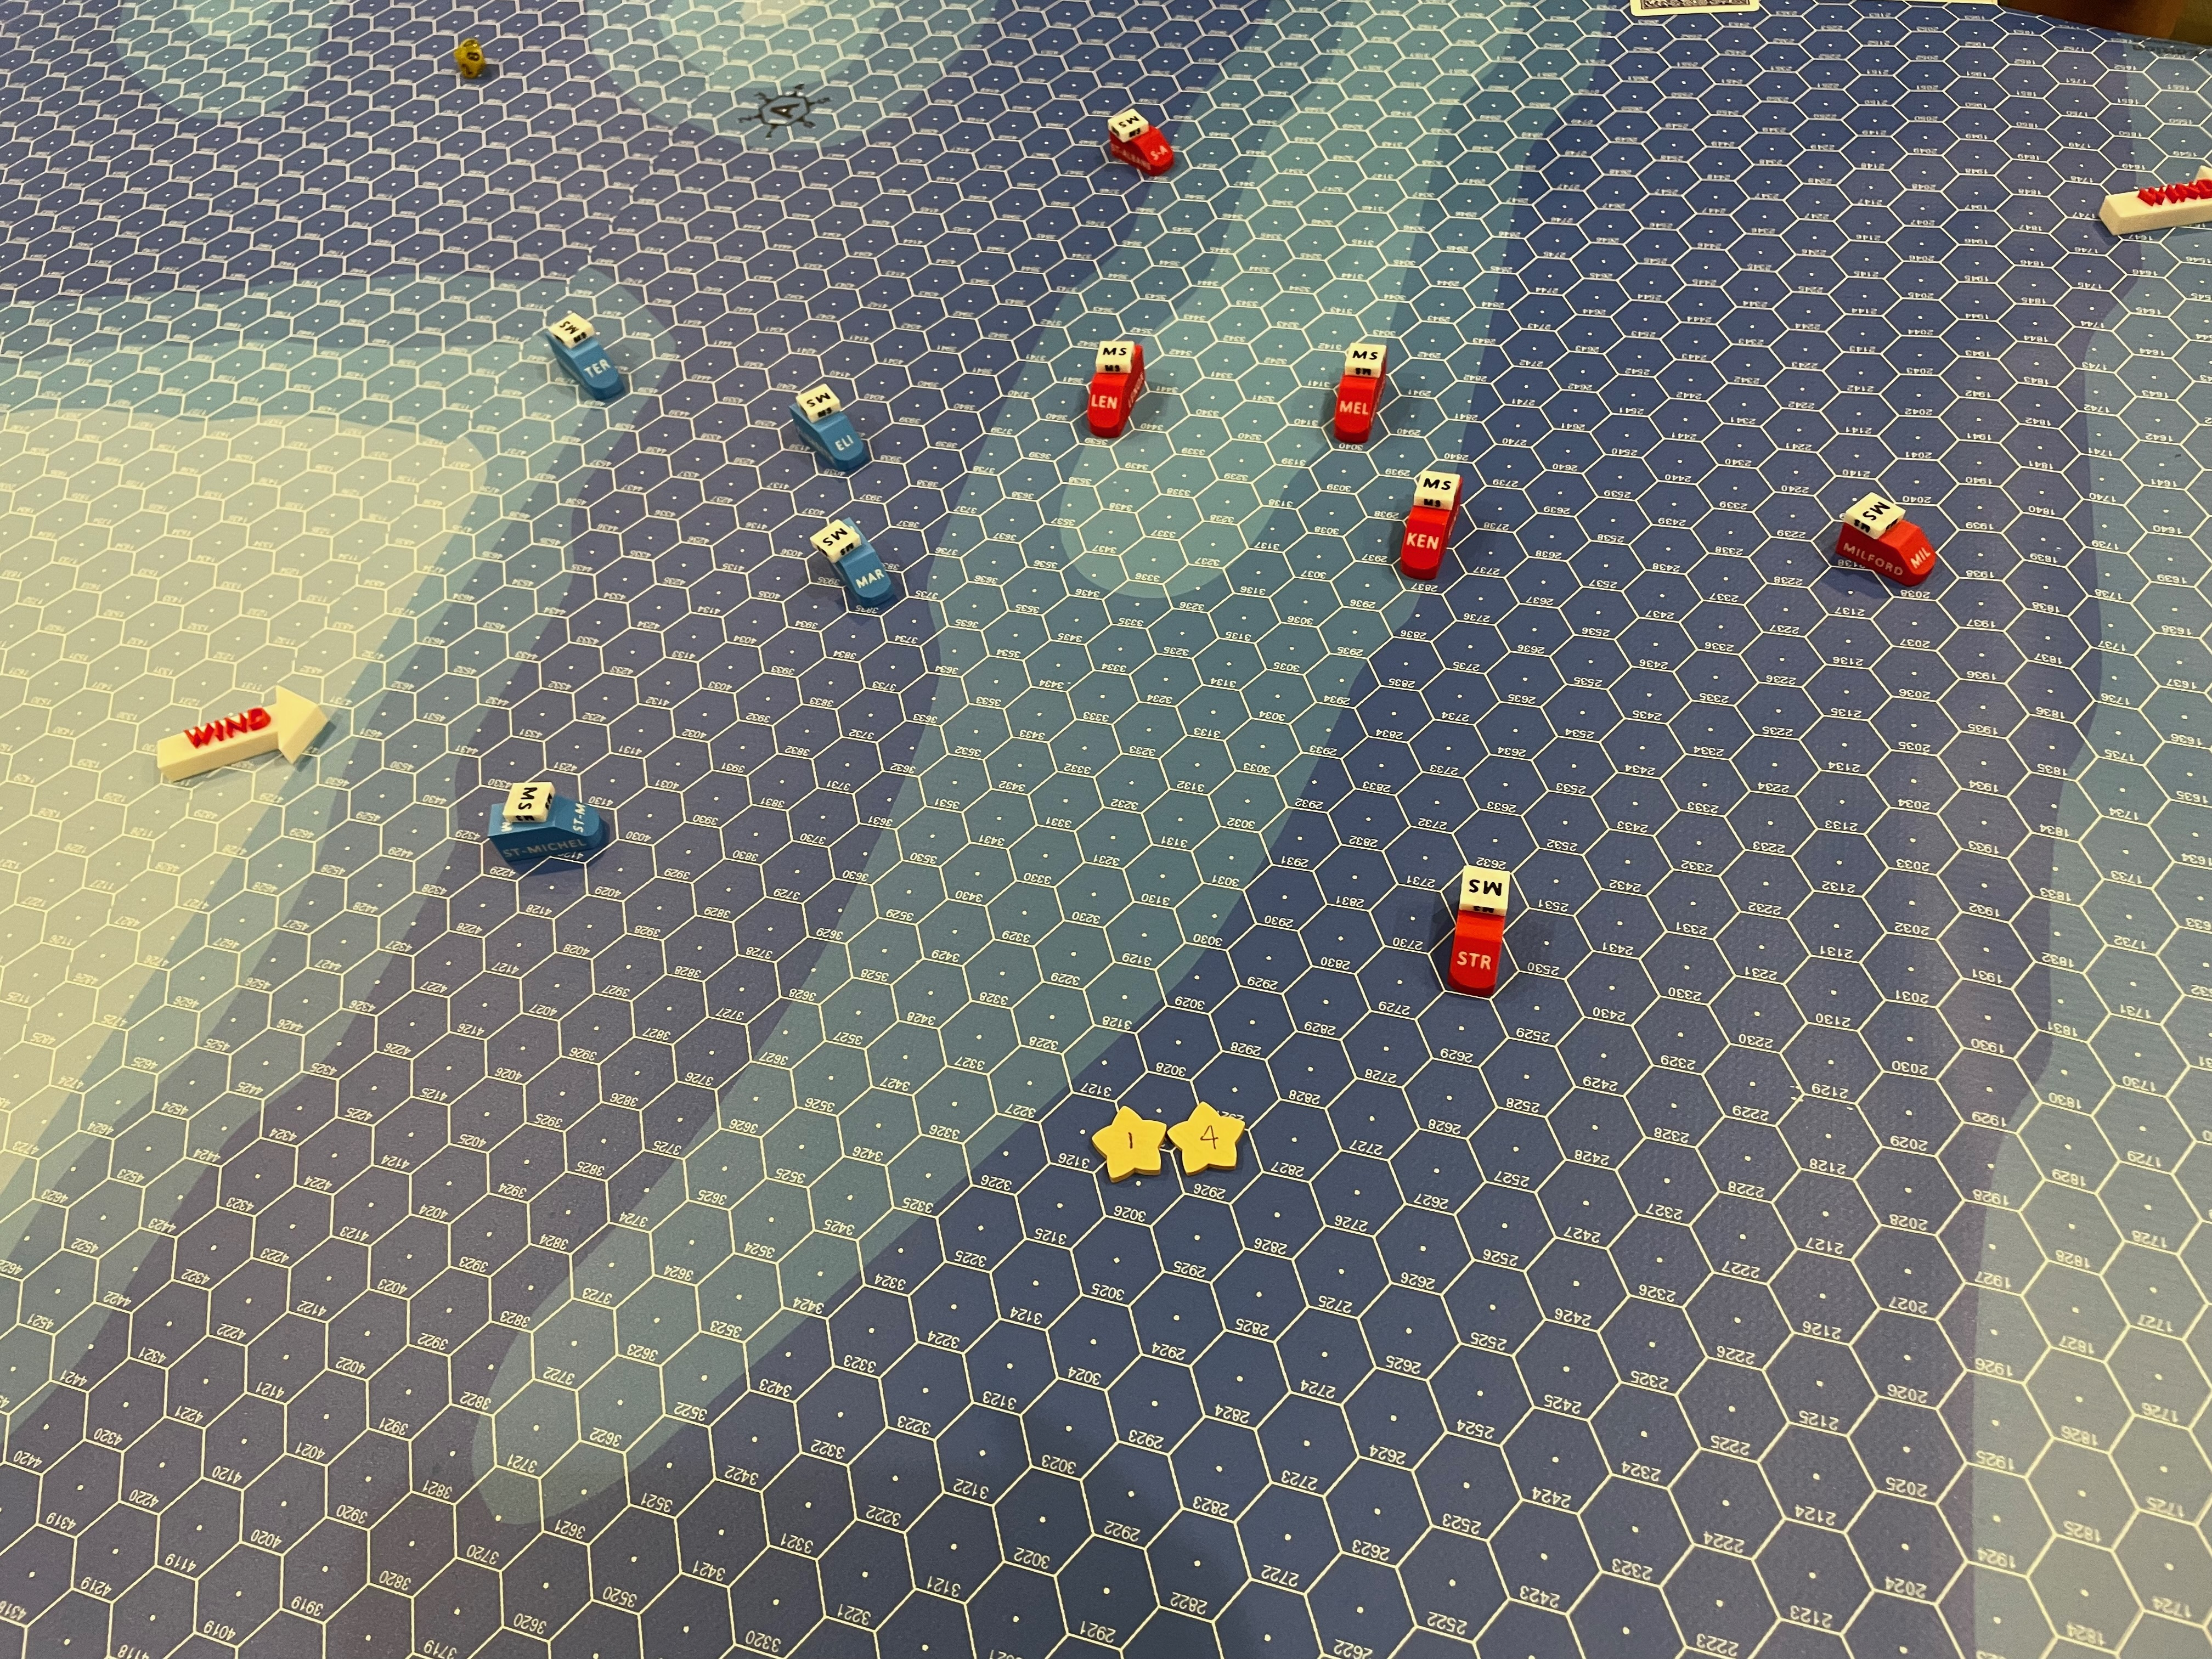
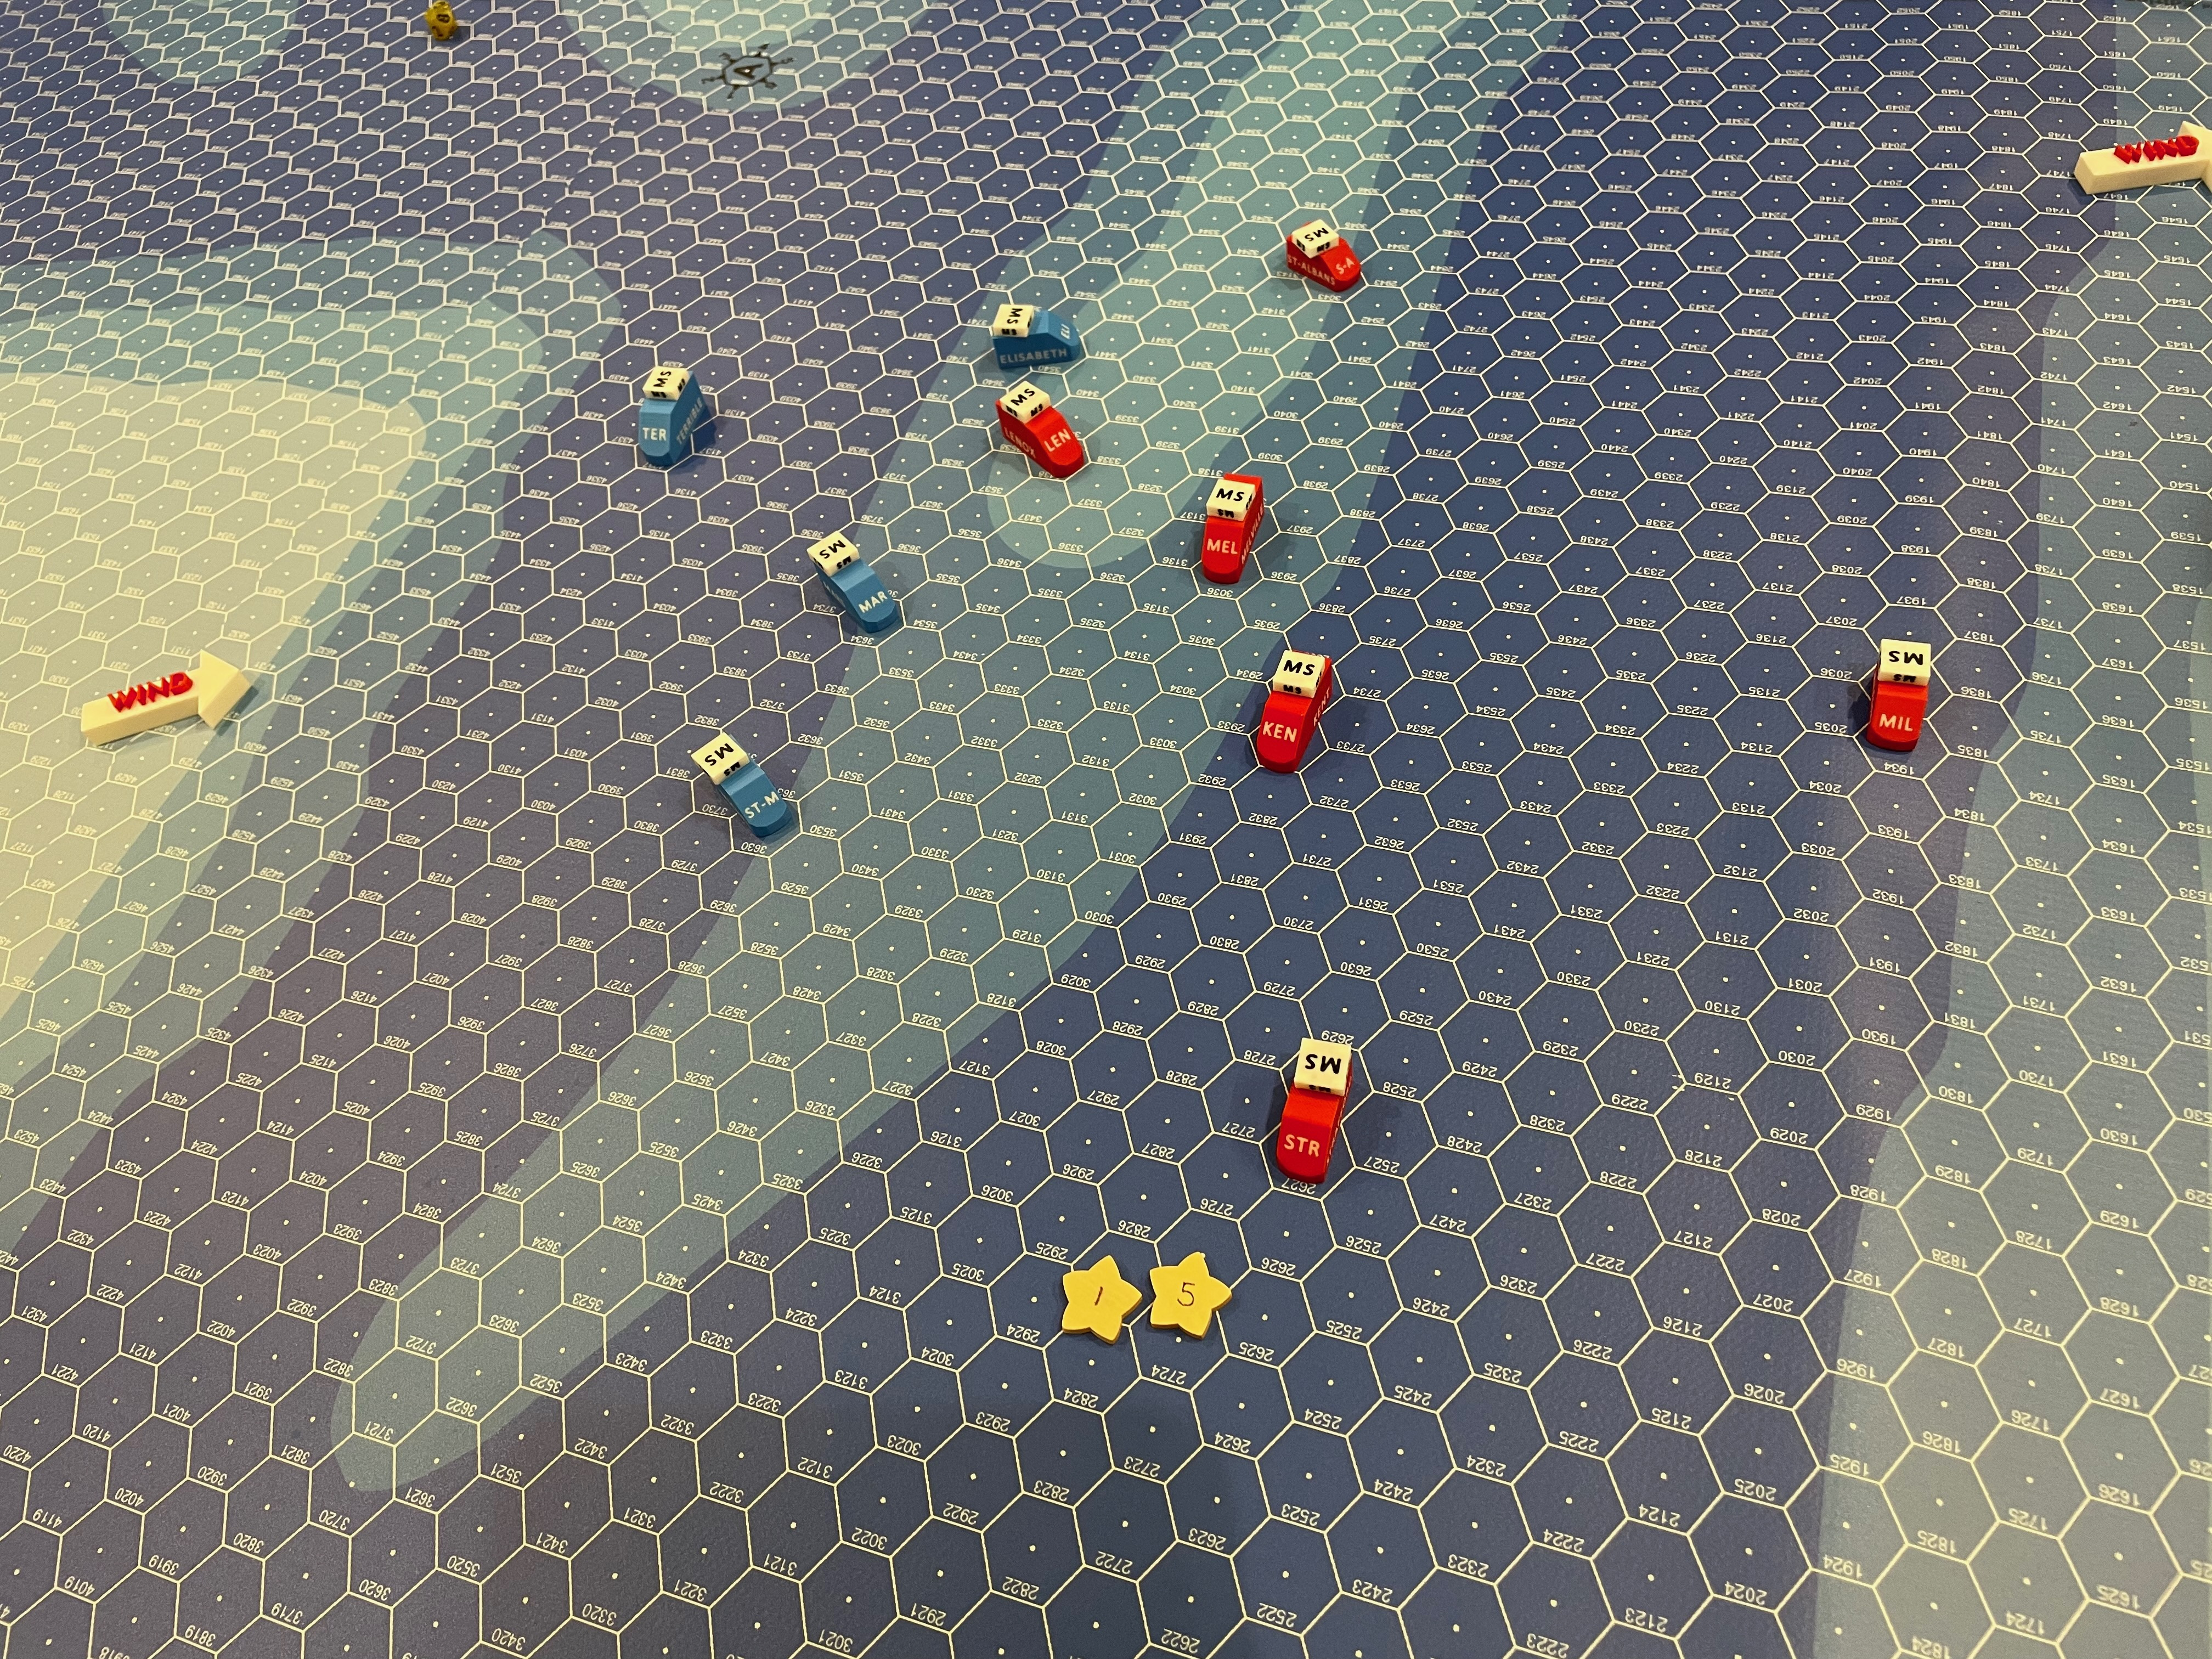
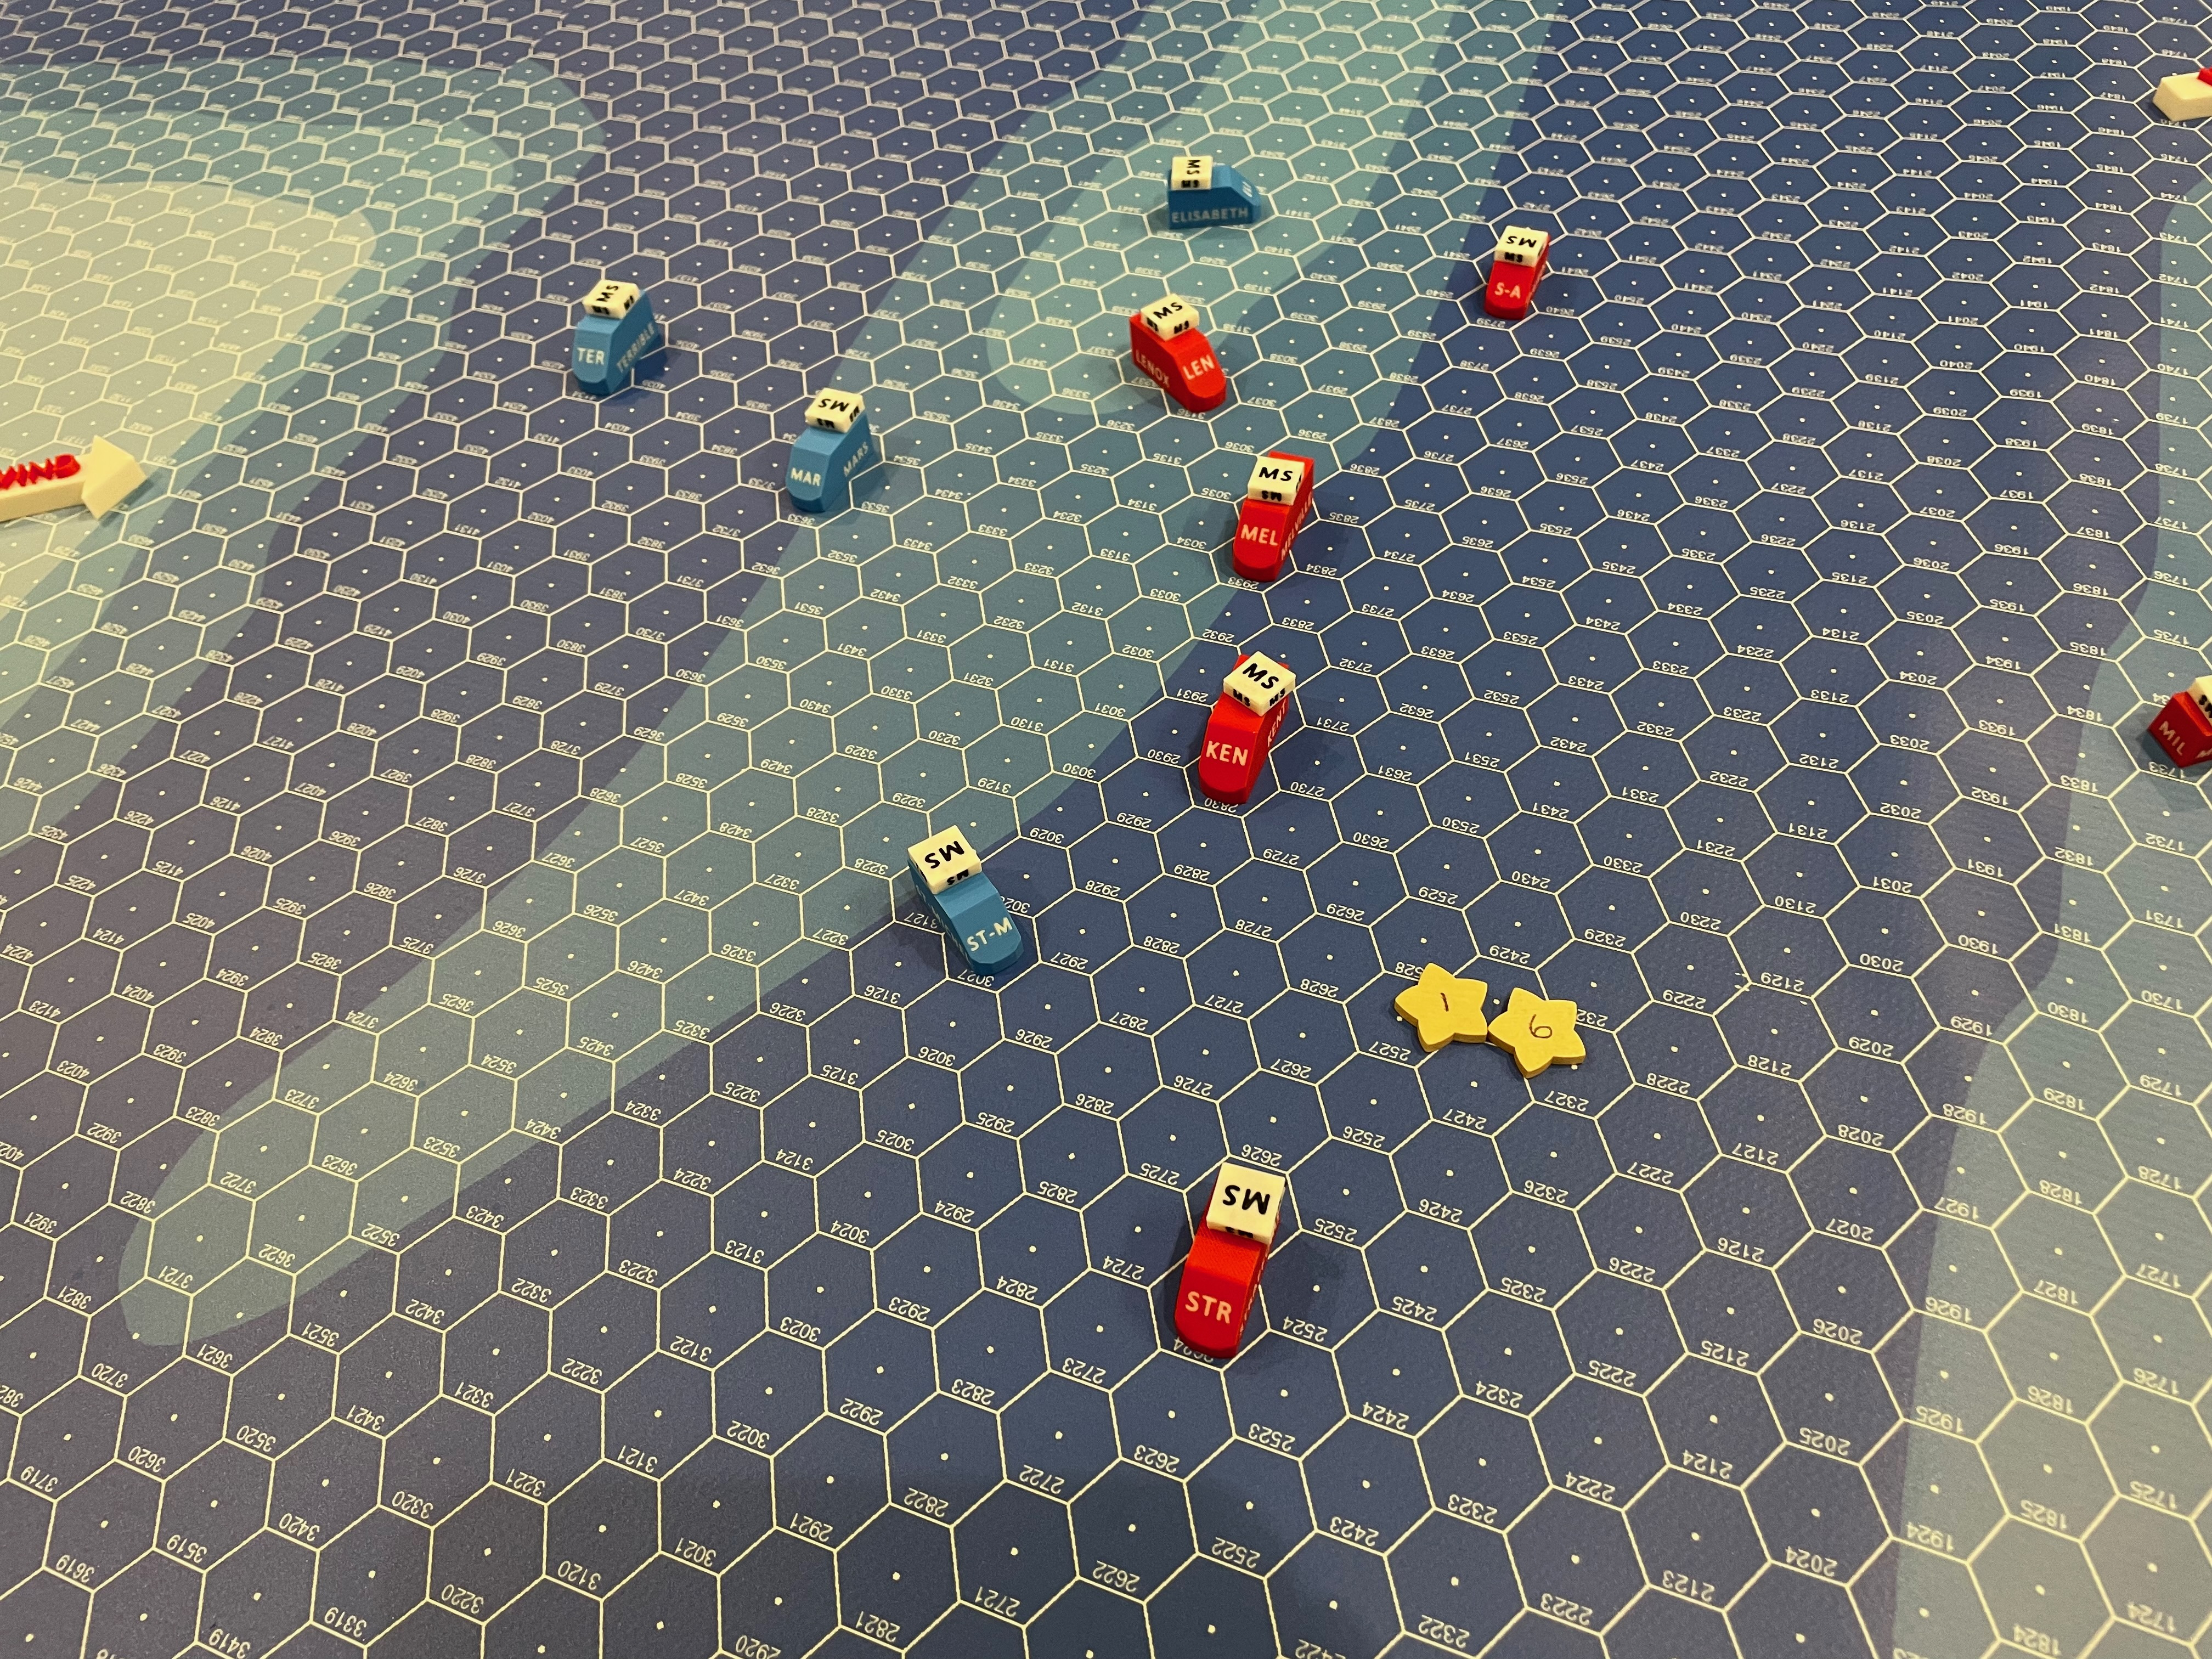
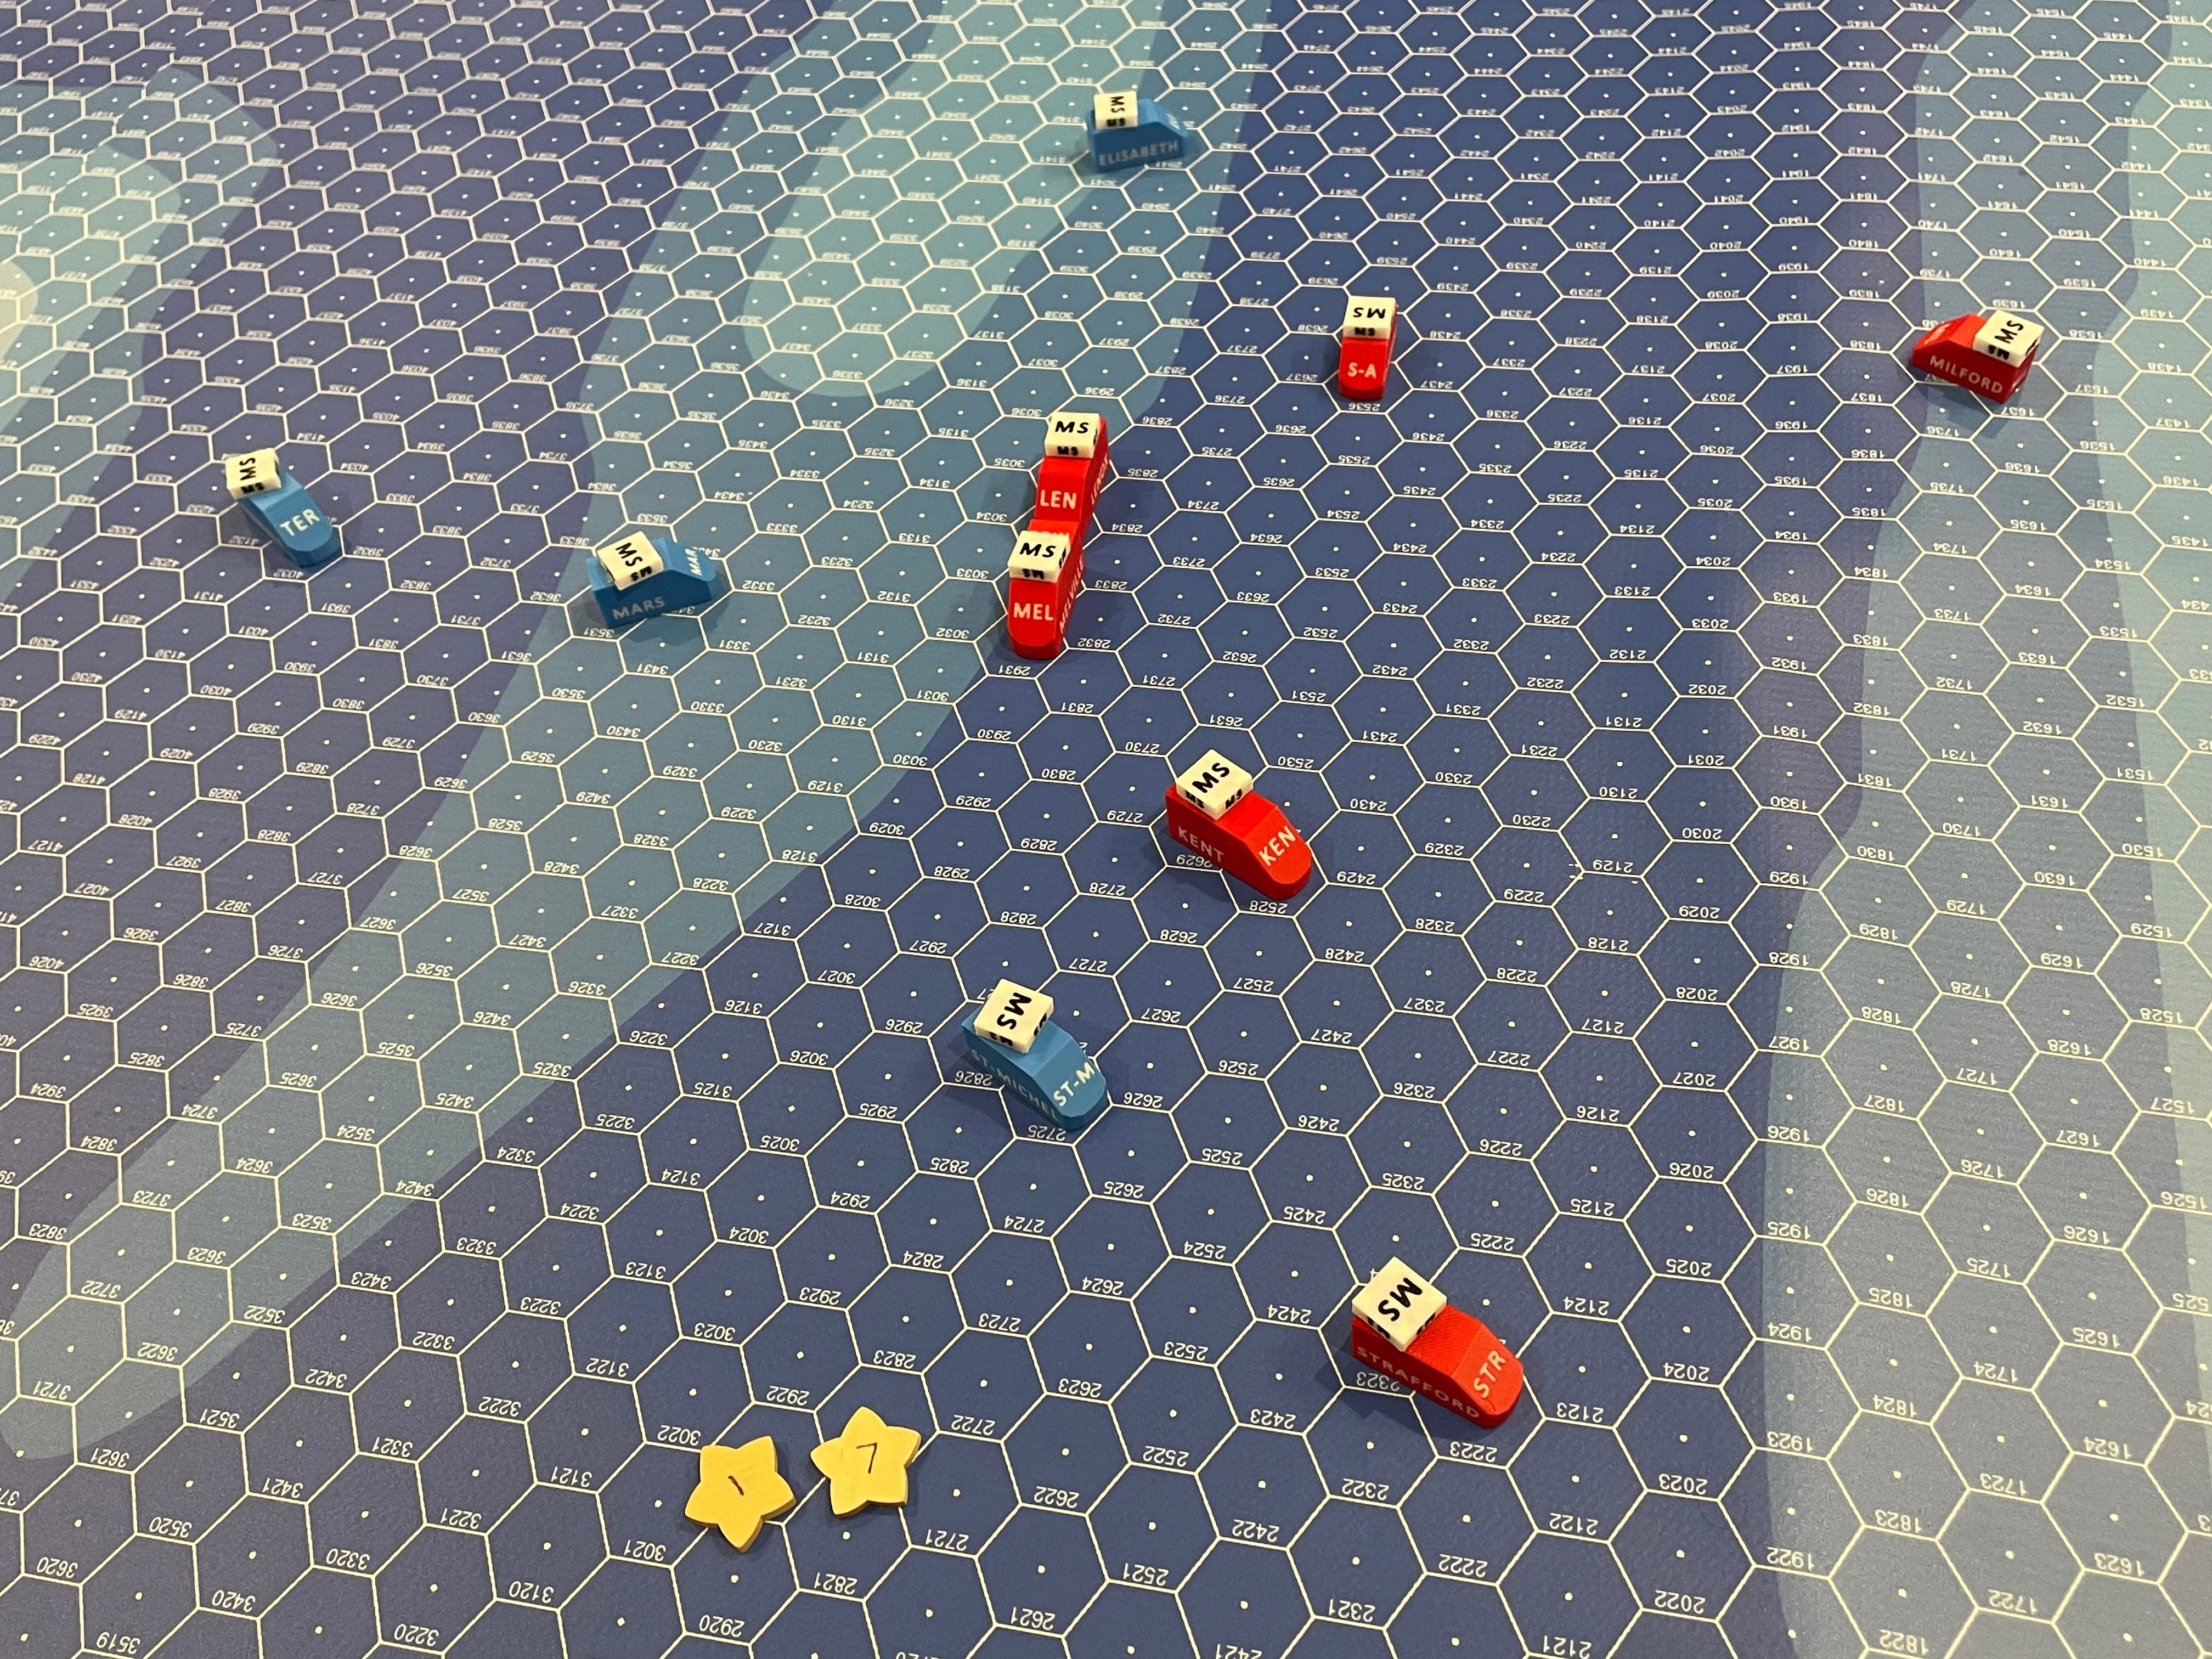
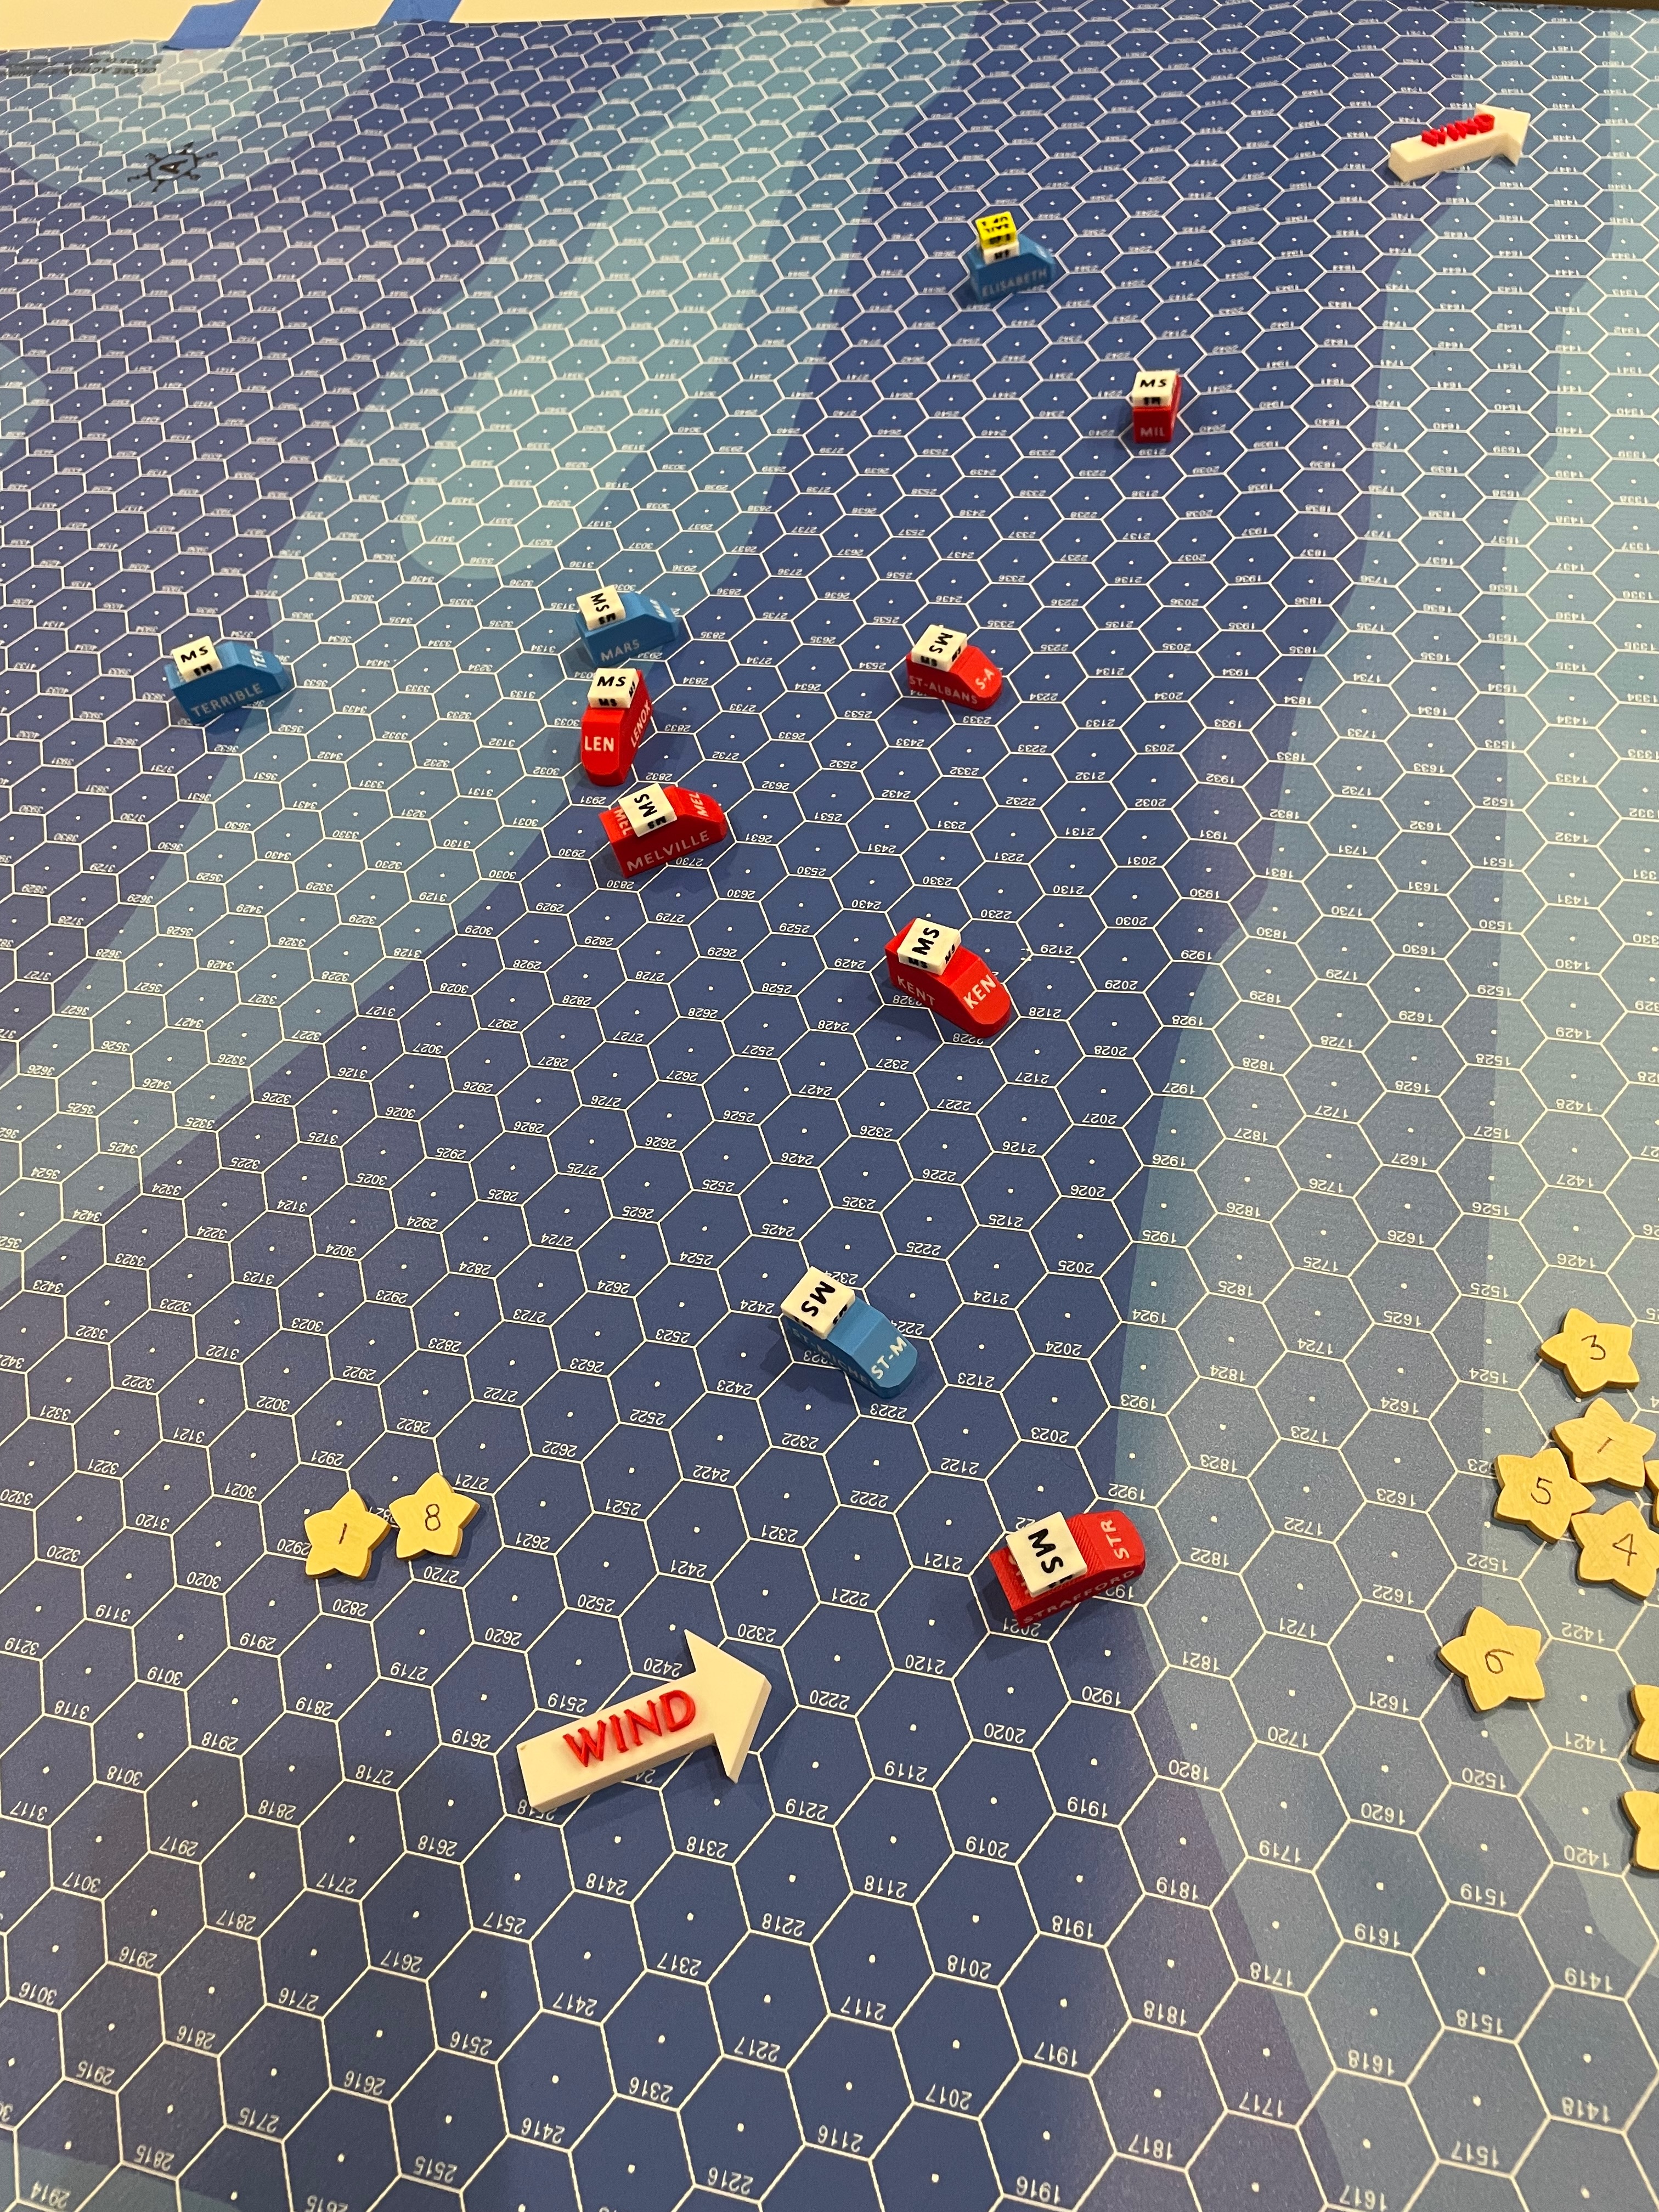
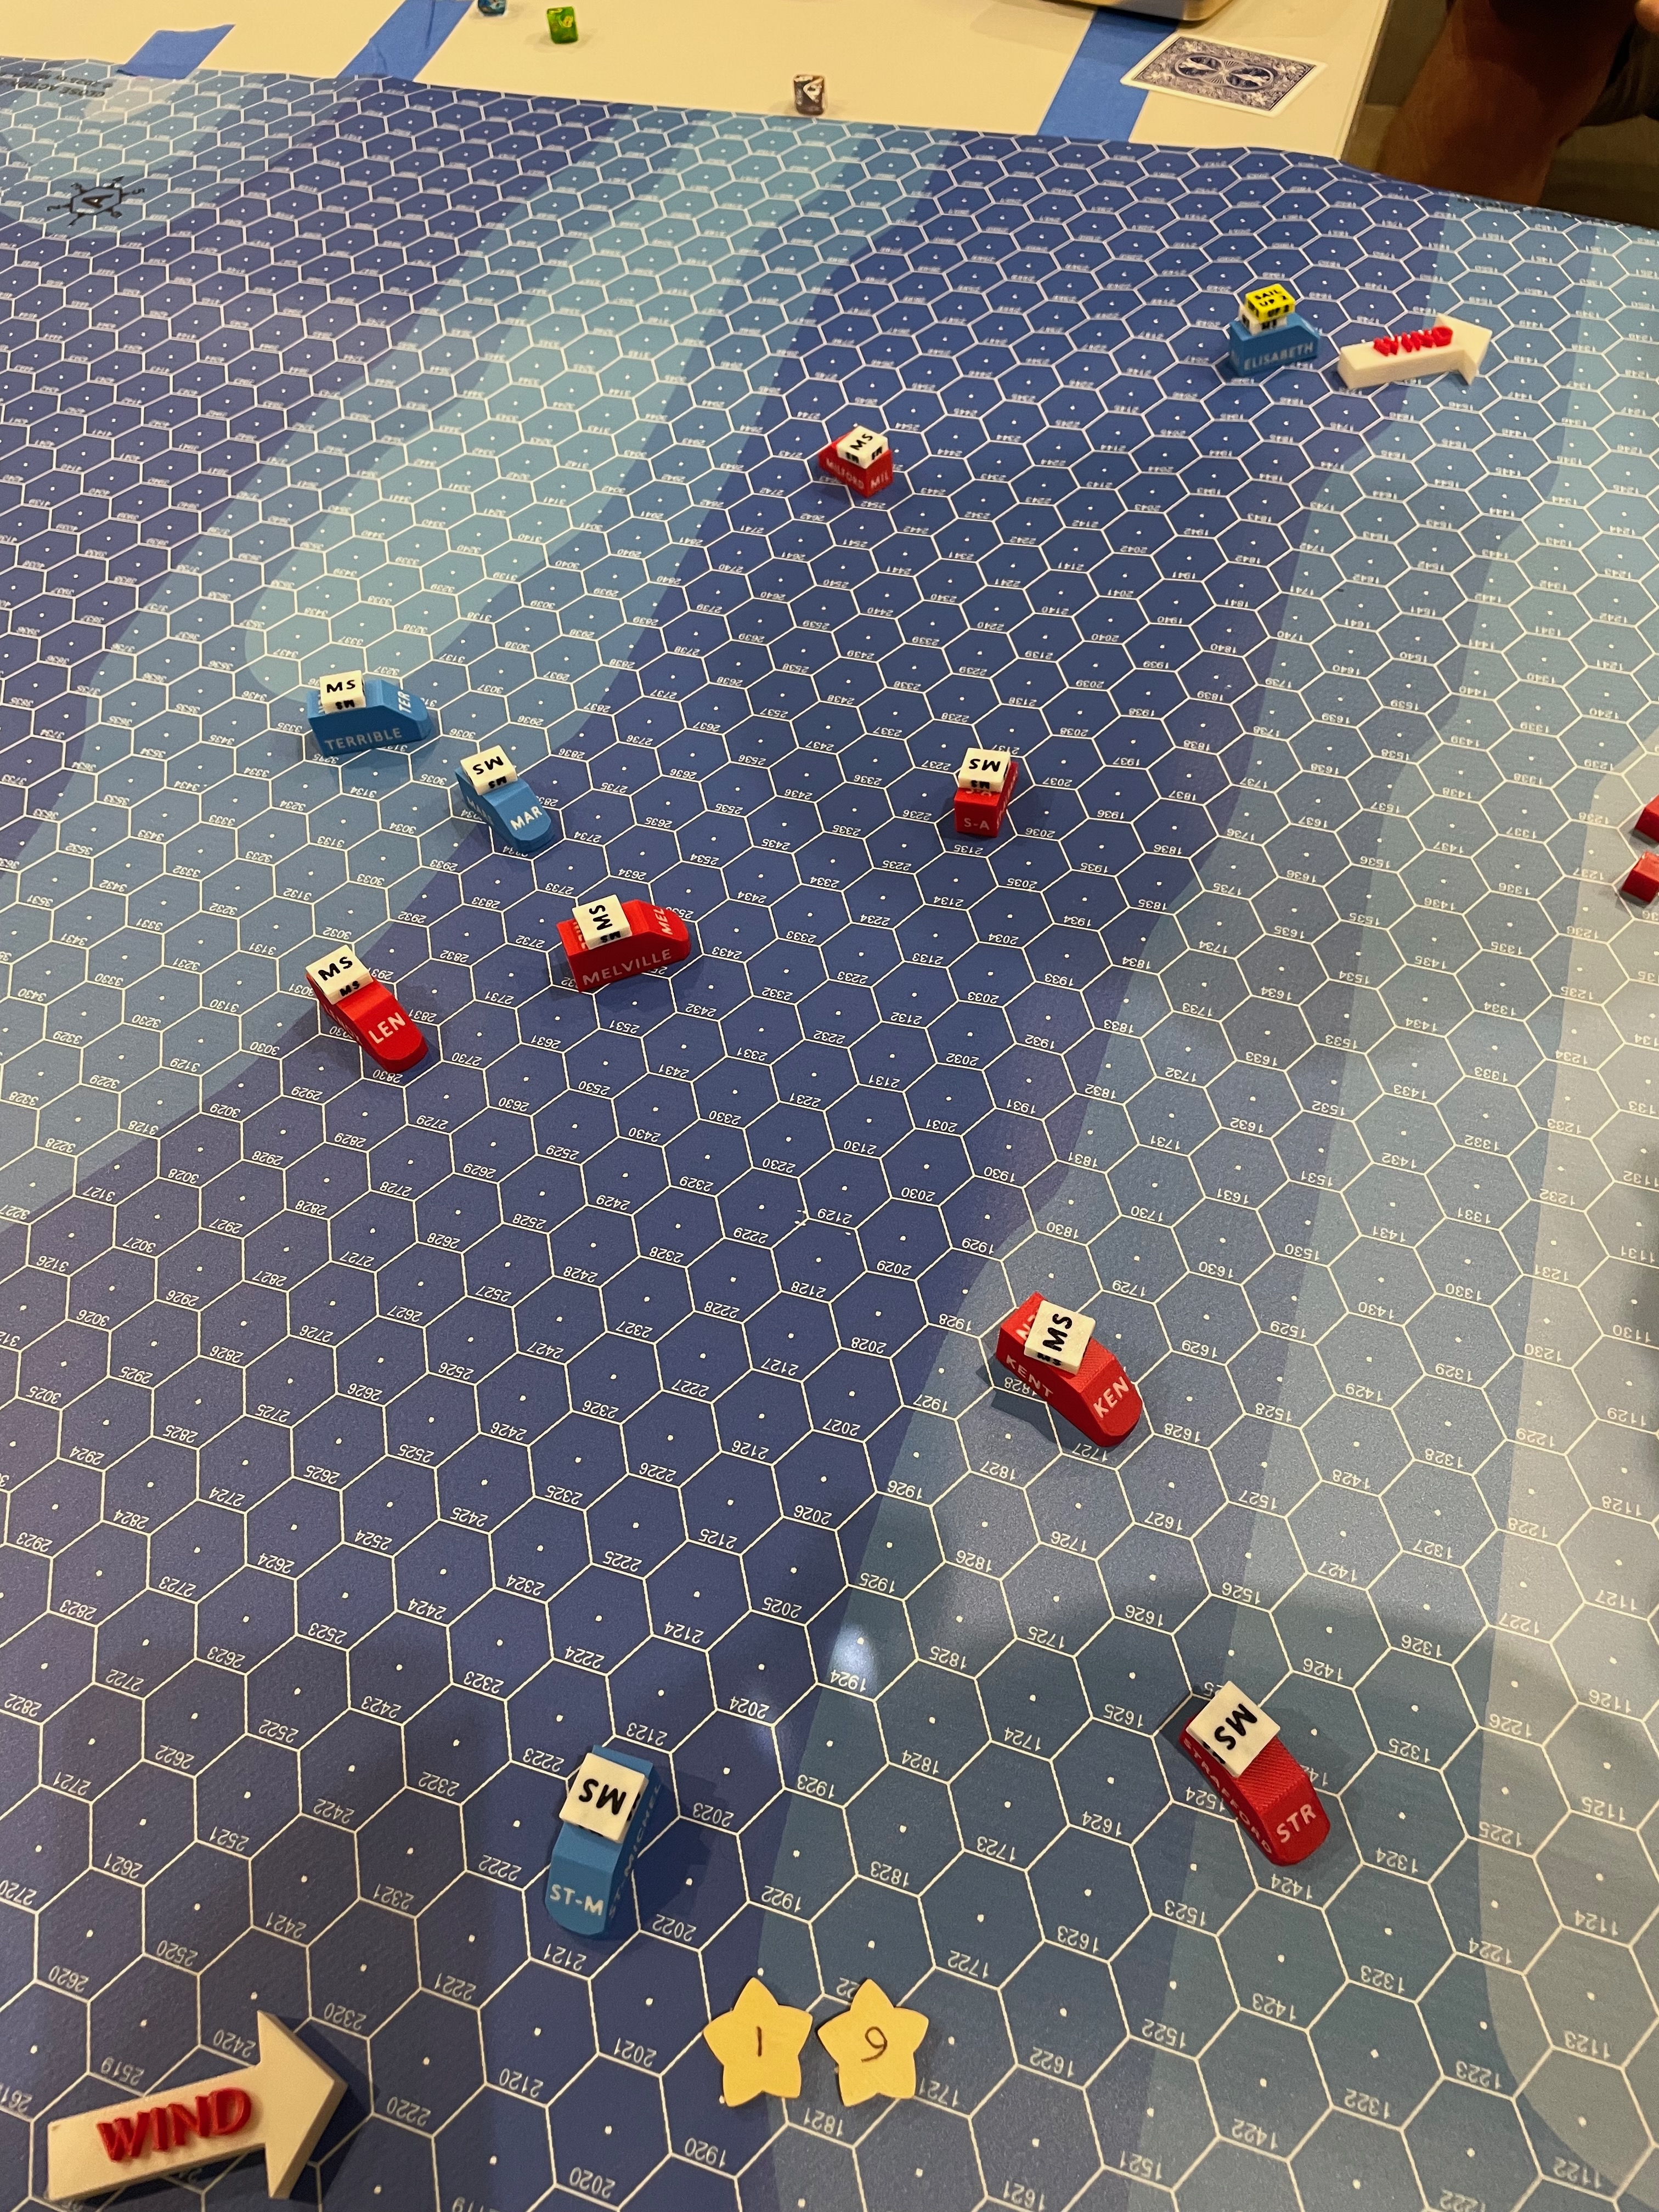
All the ships start at Medium Sail, denoted by white "MS" blocks atop the ships, but I took the picture before we added them so they
don't show up here.
I also forgot to take a picture after scatter. The less-experienced French ships scattered more drastically, as you'd expect from
the crew ratings.
I helmed Duguay-Trouin/Elisabeth and Scipion/St-Michel, so I have the most insight into why those
particular ships did what they did.
Turn 1
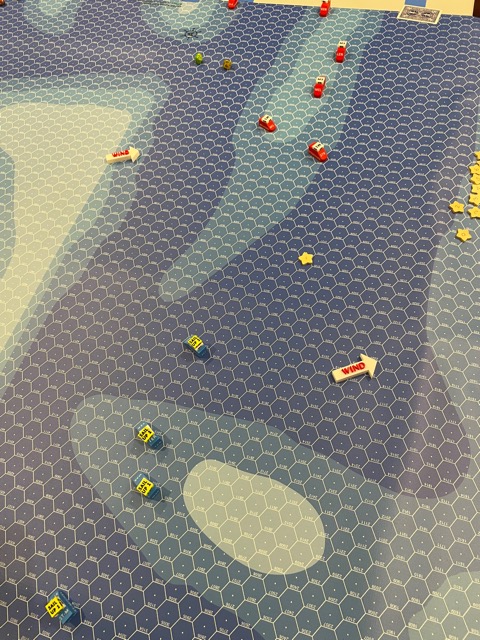
The French plan was to swing left for a few turns and then head into the British line with the intention of concentrating on one of
the rearmost British ships. So we turned to port and raised sails. You can see how the initial scatter has, erm, scattered the French line. The
British turn to broad-reaching, but with no sea room for a while they won't be able to continue on that course indefinitely.
Turn 2
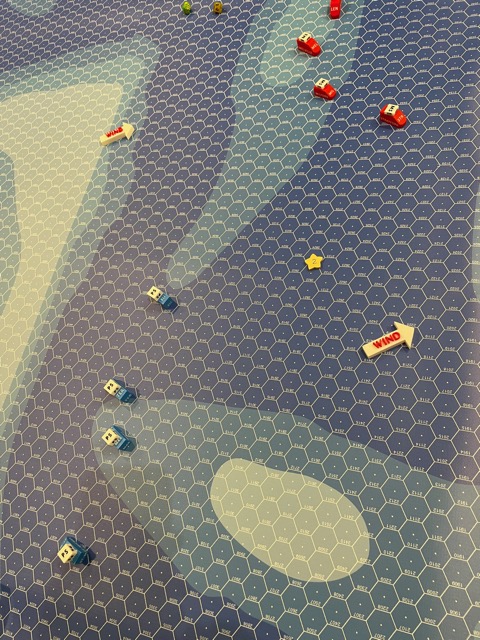
More of same.
Turn 3
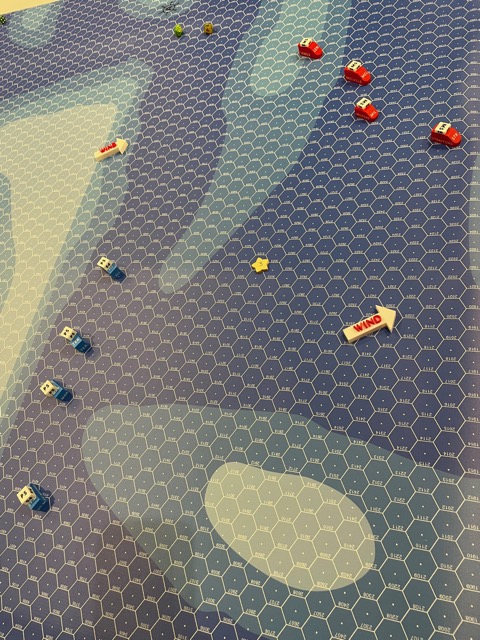
And again. The British have pretty well formed up their line, and the French are gradually tightening up as well.
Turn 4
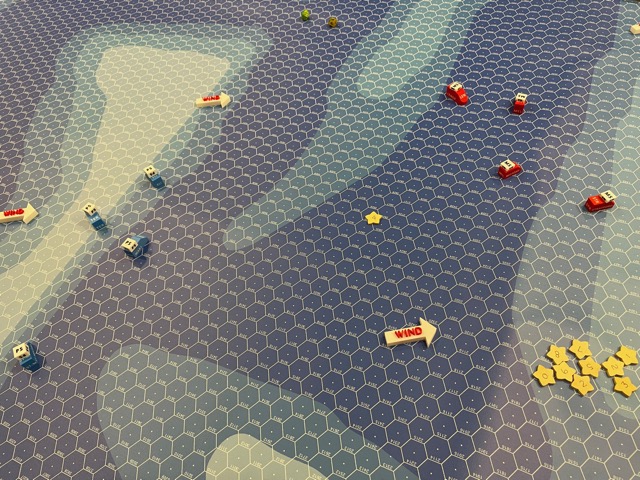
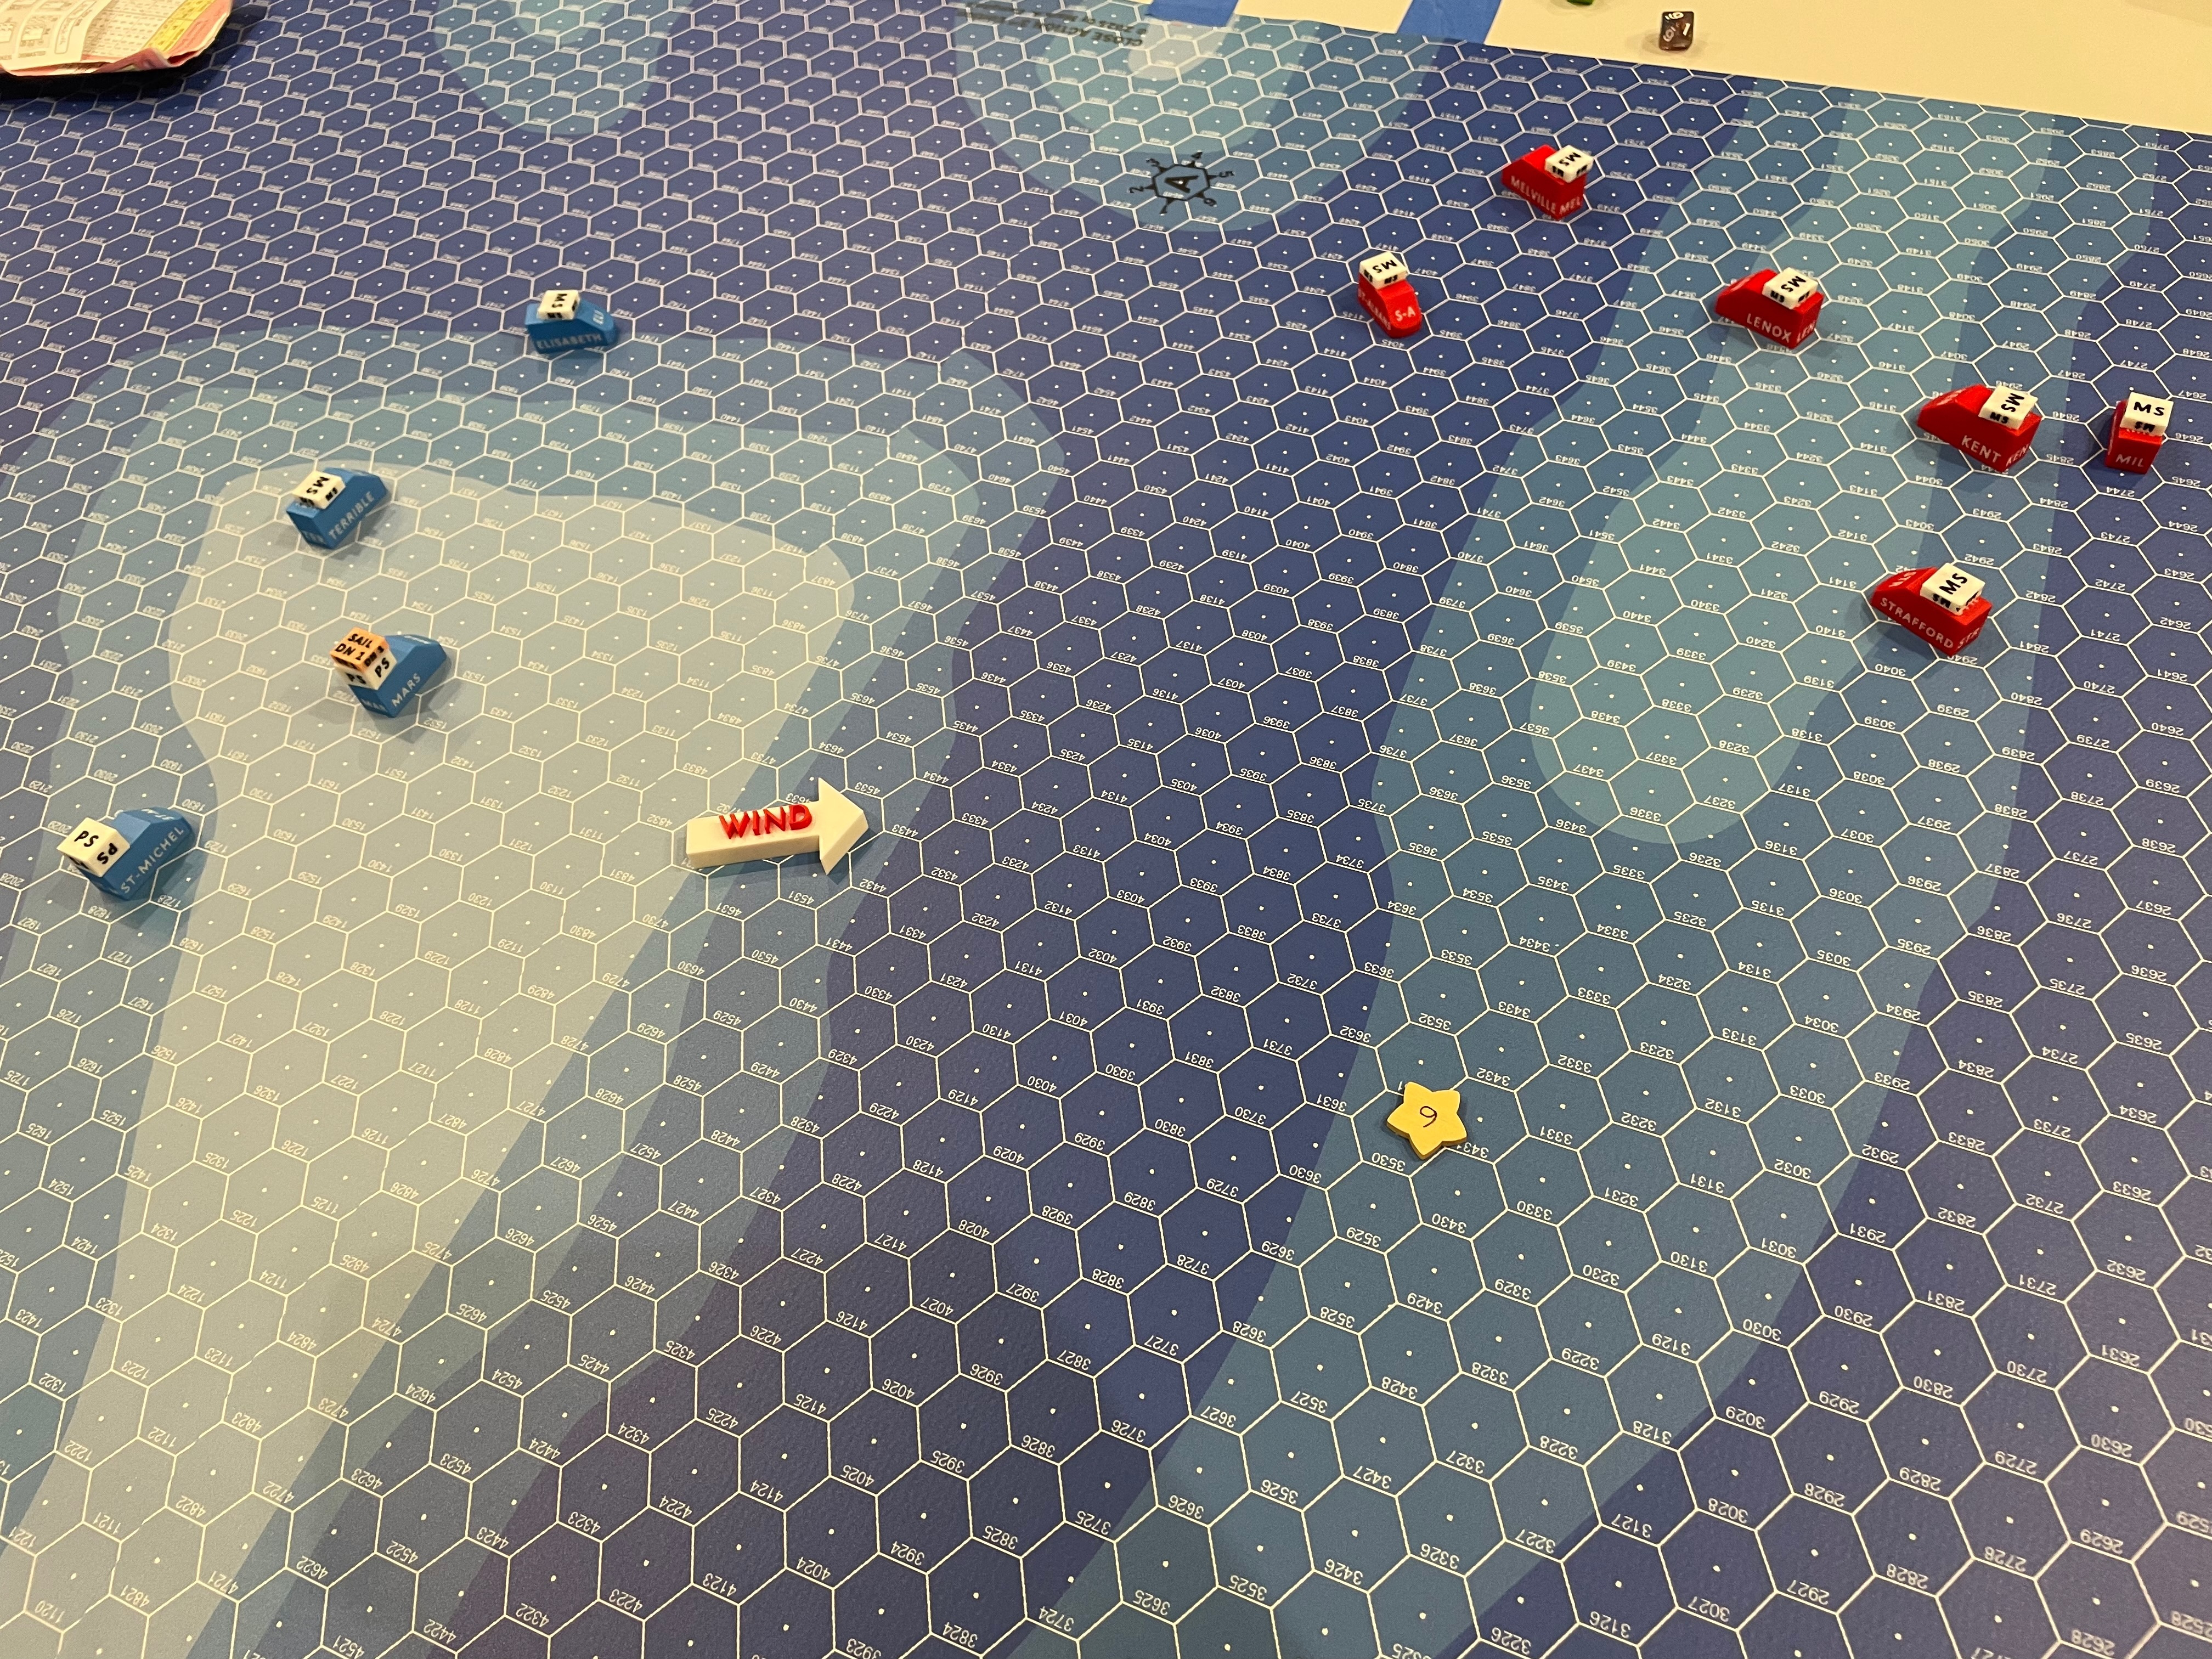
Here it looks like things start to go a bit awry, as last turn's lines break up. The British had to turn to avoid running into the
edge of the map, but they're evidently going to try to head us off rather than concentrate on our rear. This also gets them nearer their reinforcing ships.
Turn 5
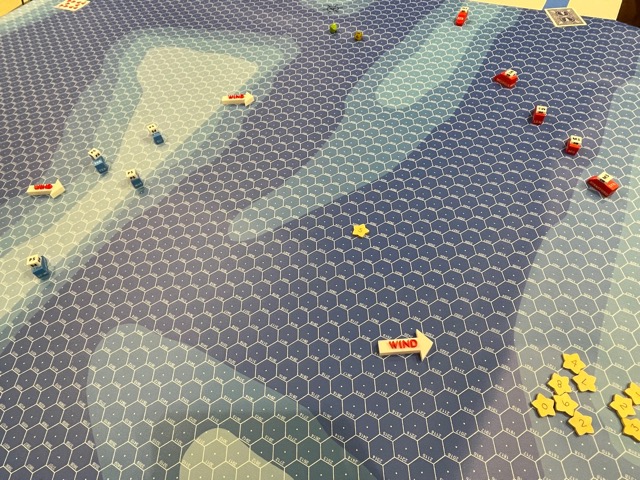
The British are back in their line after all, and Mars rejoins her amis. St-Michel is trying to catch up, without a lot of success. Kent has
entered the game.
Turn 6
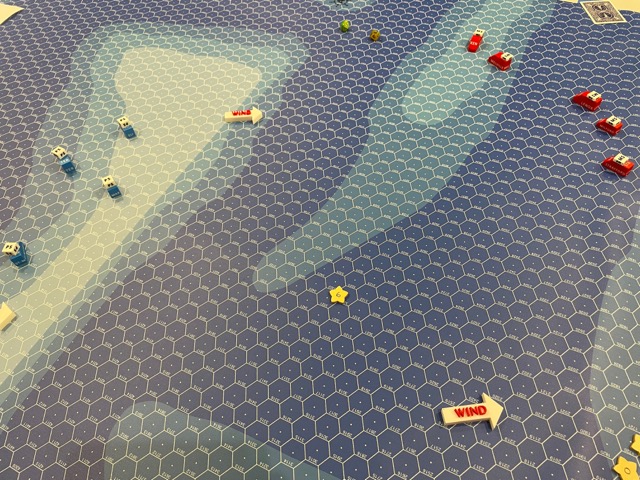
More of same.
Turn 7
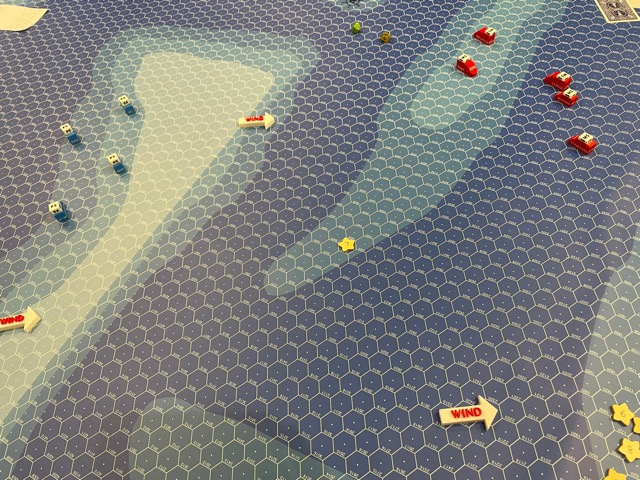
Kent and Melville avoid crashing. It will be interesting to see how Kent will get back in line.
Turn 8
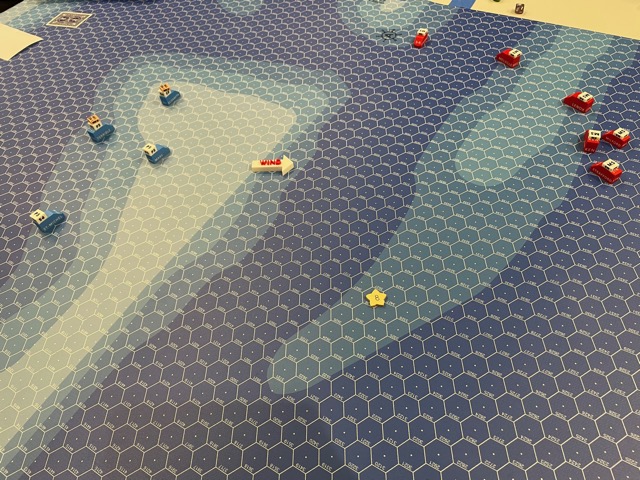
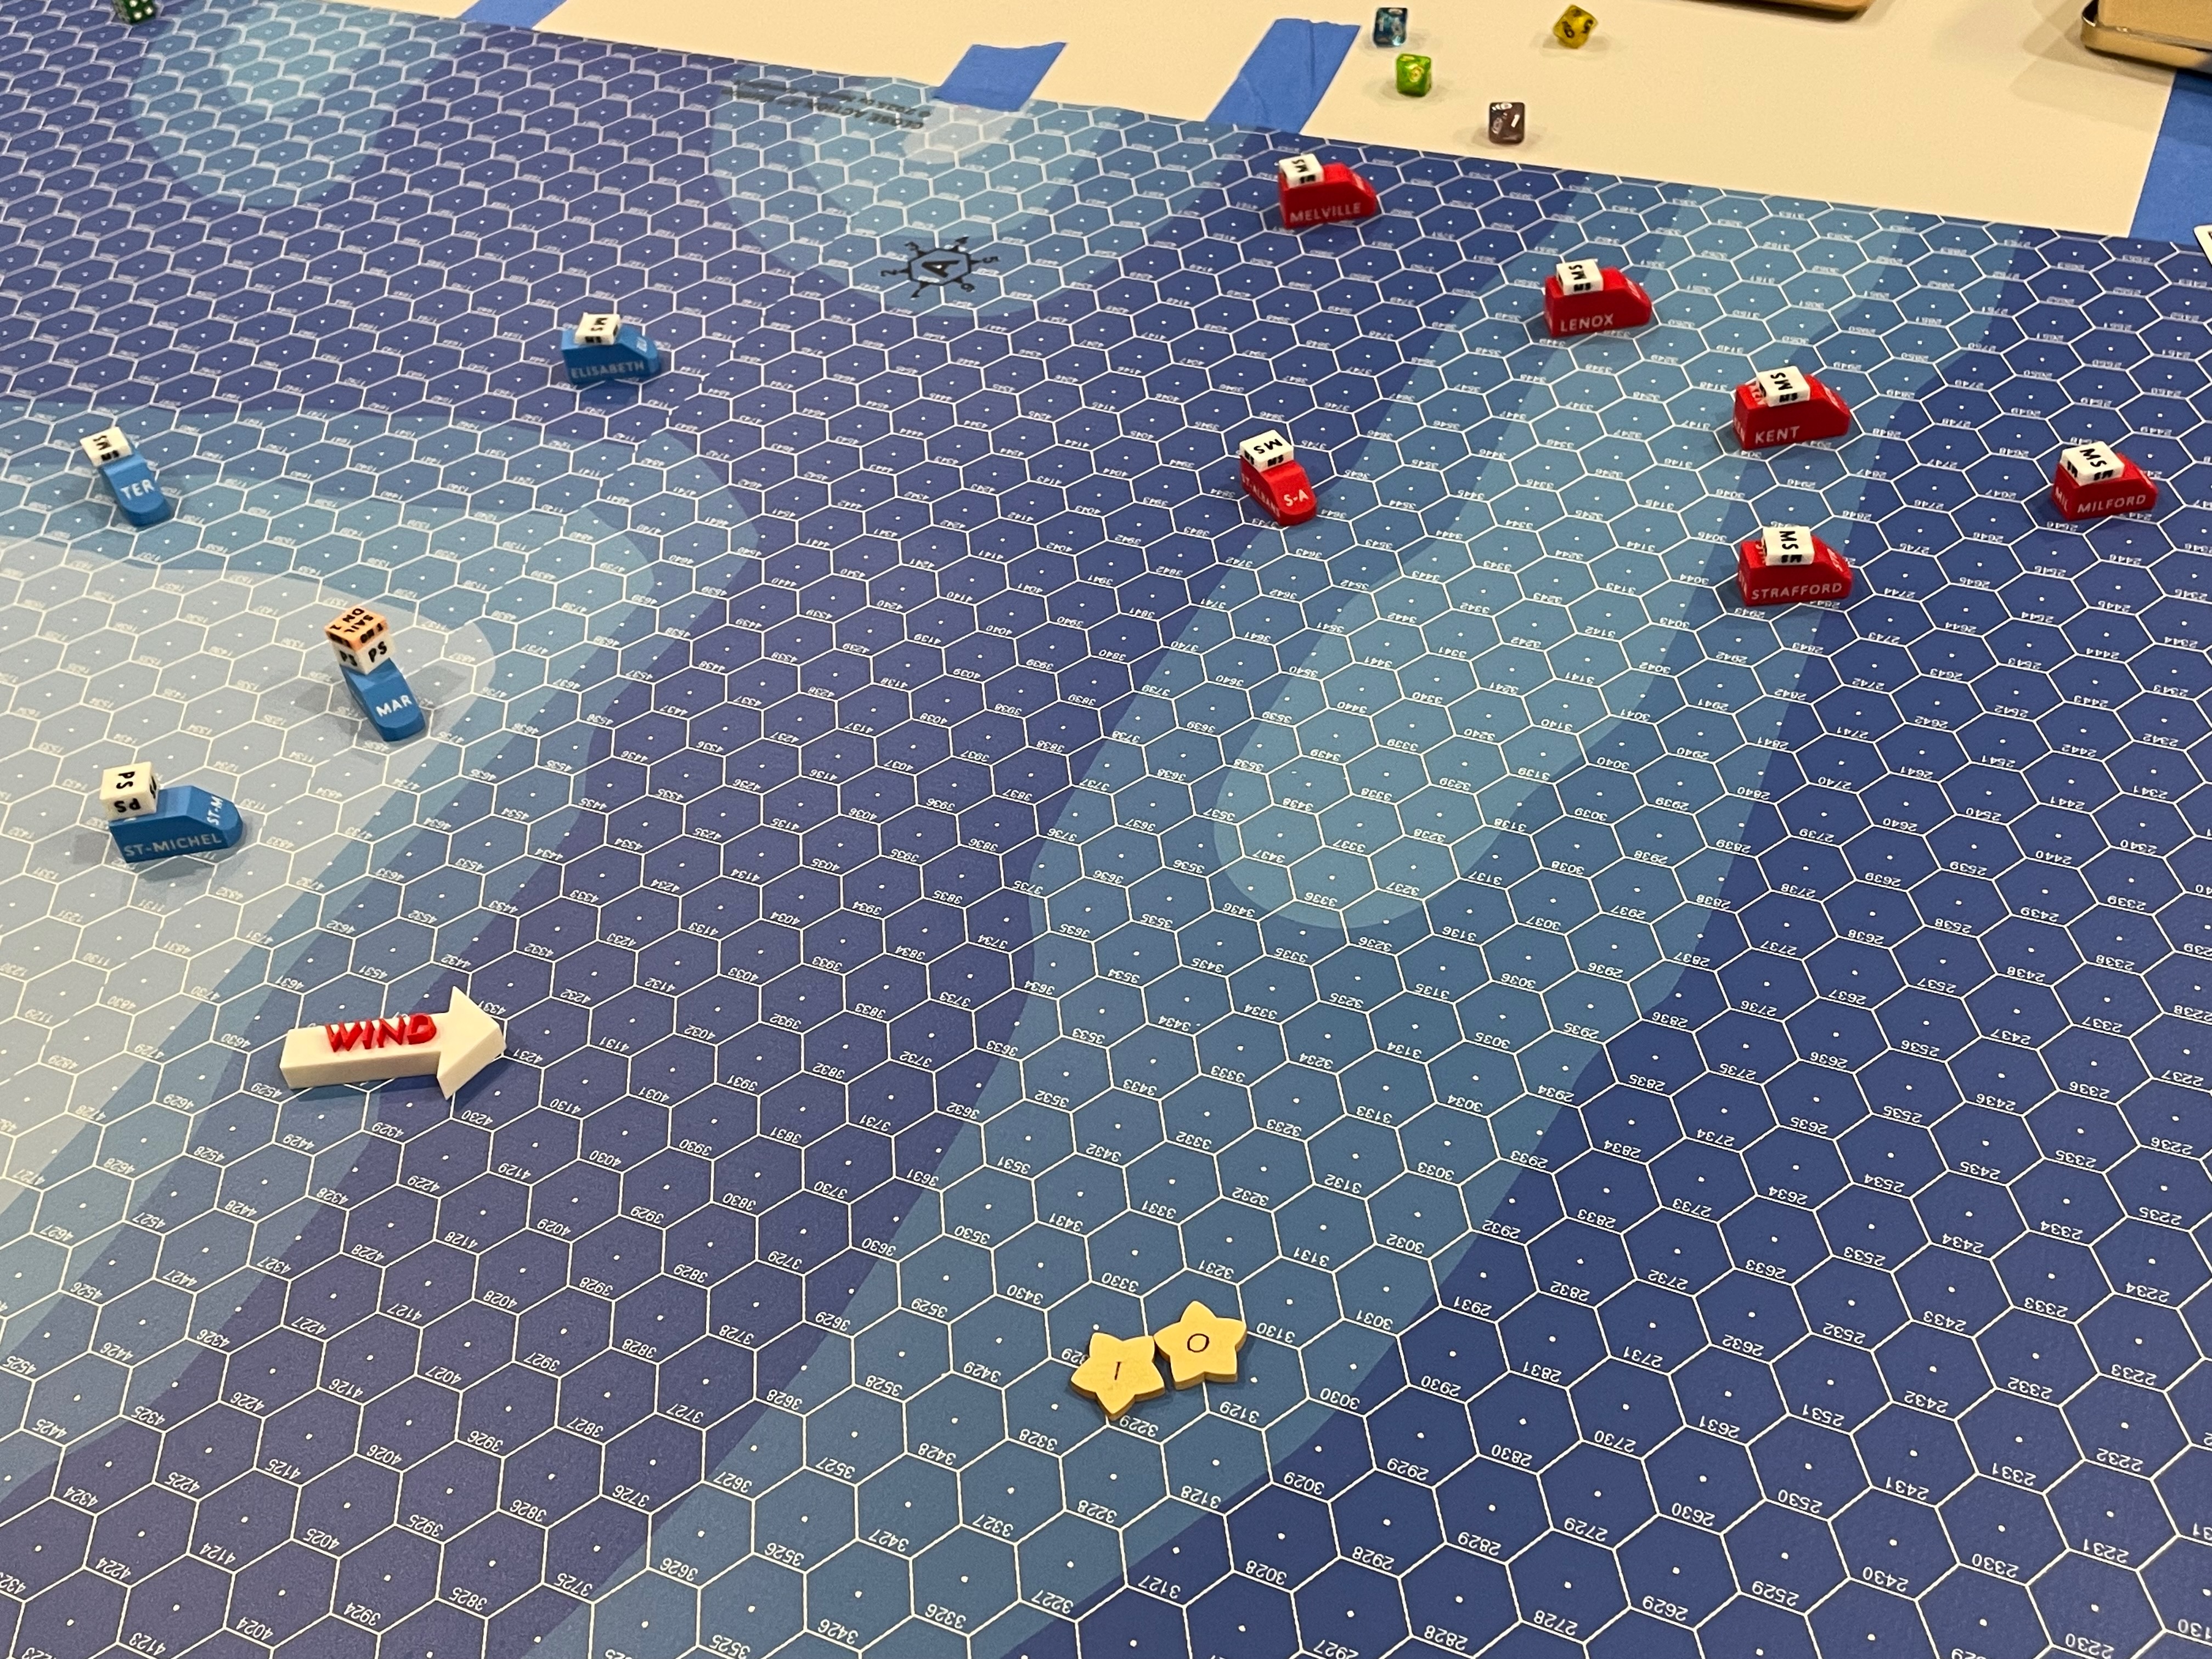
The French finally begin their cut, so sails start coming down. St-Michel was so far behind that I thought she should stay at Plain Sail for another turn or two.
St. Albans enters the map. Kent and Milford will have to use some very careful plotting for next turn's move to avoid a collision.
Turn 9
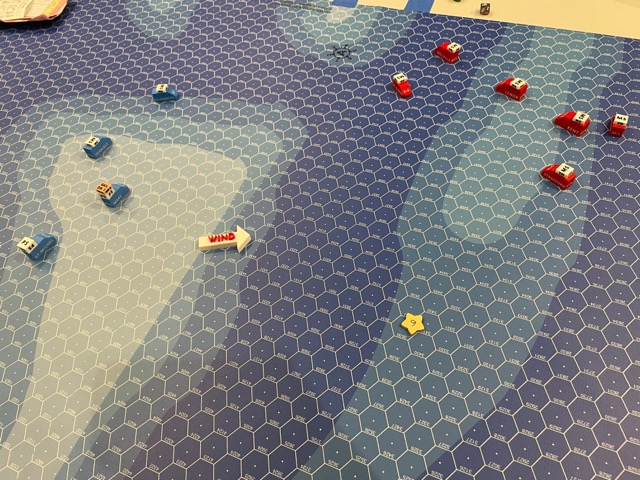
The British do avoid the collision. The French continue their run down wind.
Turn 10
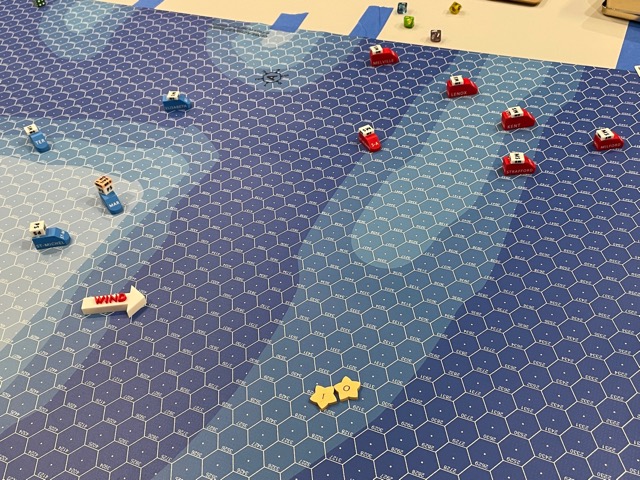
The French come about, with my two ships misunderstanding how far we were to turn. At least St-Michel is near finally near her cohorts.
The British turn away. Sea room opens up this turn so the edge of the board is no longer a consideration.
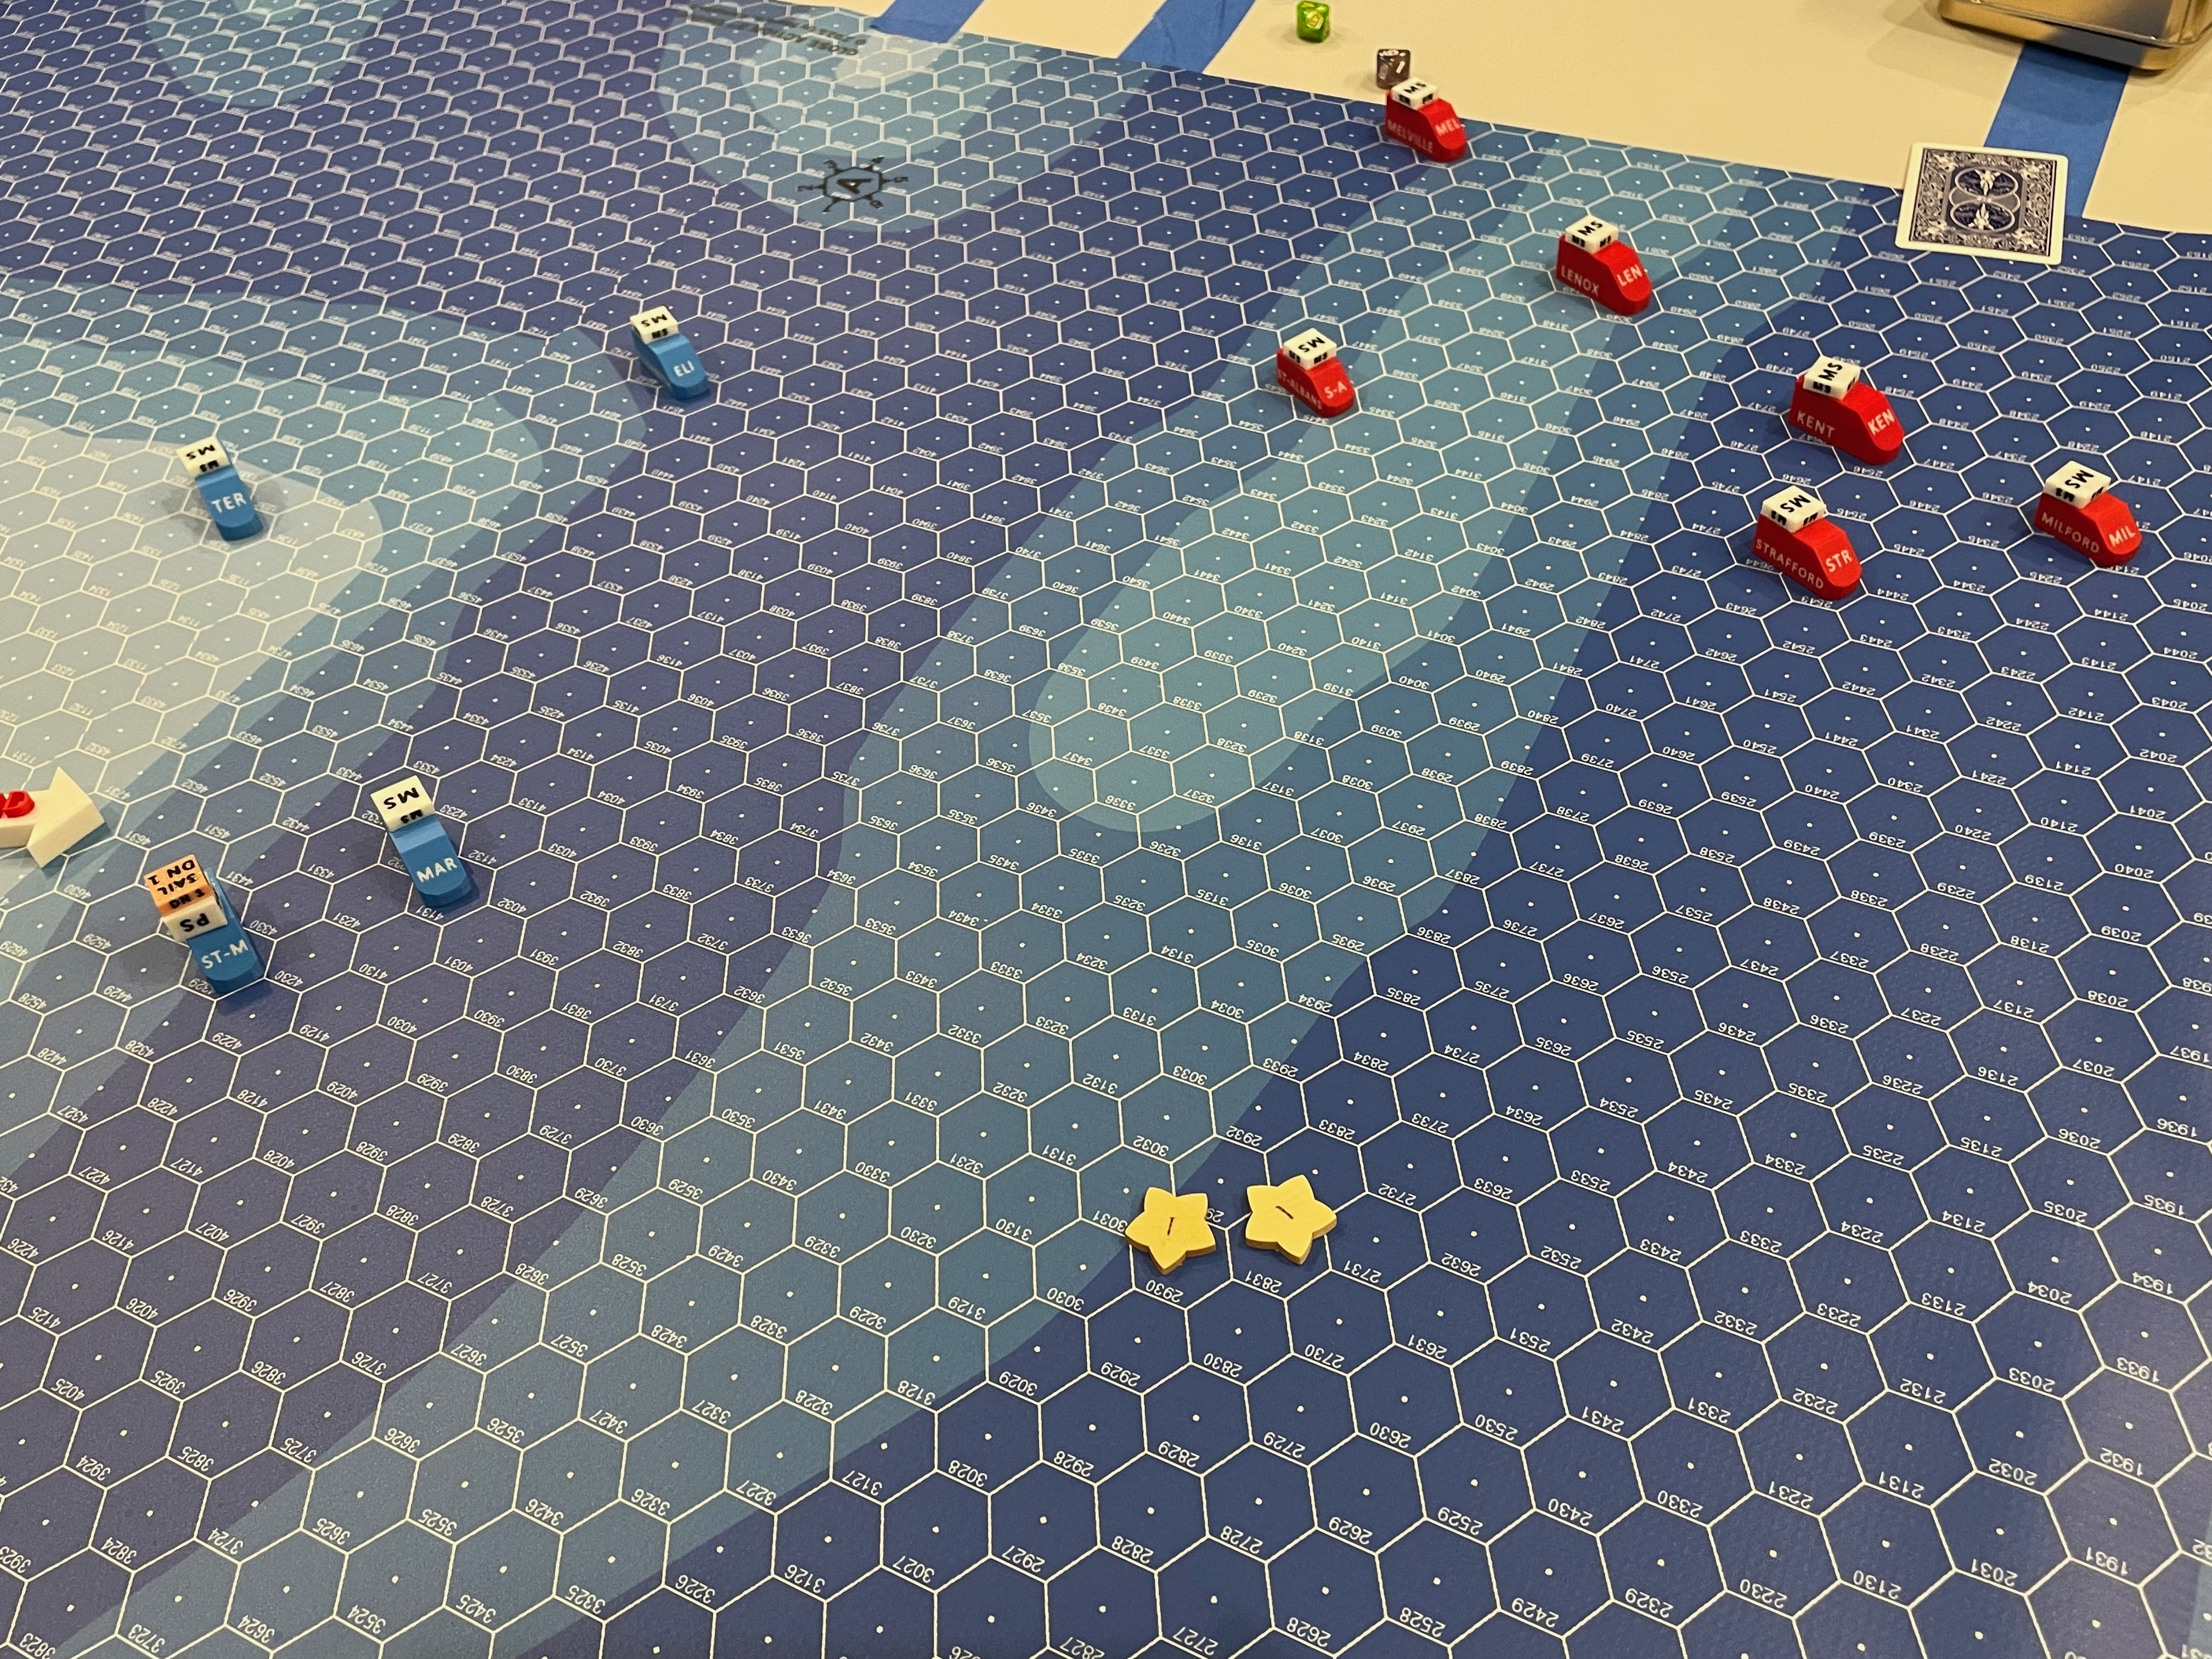
Turn 11
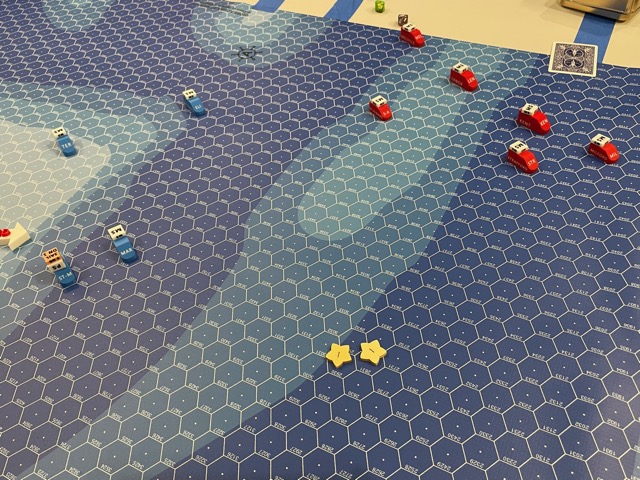
The British continue to wear while the French are at least all on the same course. Melville fires the first broadside of the game at Elisabeth
but whiffs.
Turn 12
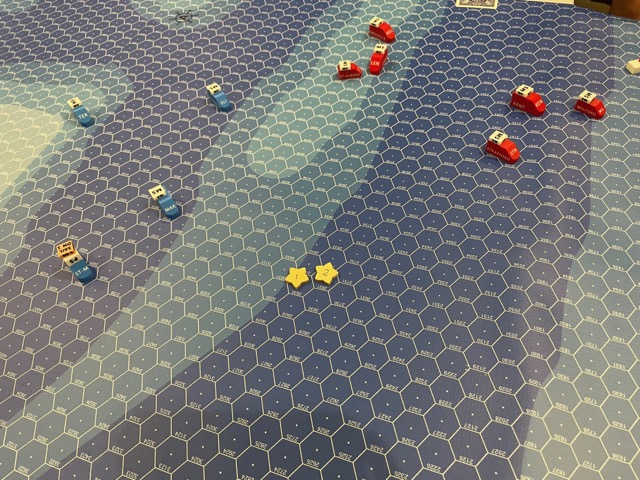
The British have another near-collision.
Melville finally lands a hull hit on Elisabeth, while the latter and Mars tackle St. Albans,
hitting her for one each rigging and sailor boxes. Mars inflicts a critical hit which cuts St. Albans' braces.
Turn 13
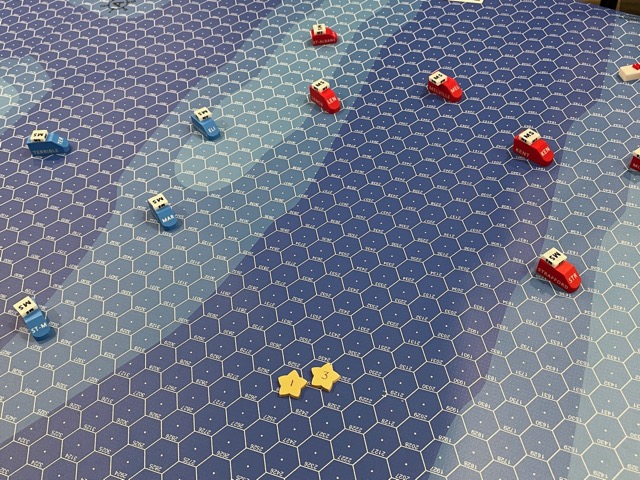
The battle turns into a meeting engagement as the scattered ships start maneuvering over the next few turns to join the melee. At some point around this
time the British observed that the victory conditions give them a reason to hold their fire, since either side losing a section prevents a British auto-victory. But they fire anyway.
Melville and Kent both fire at Mars but the range is too great and their fire is ineffective. But Lenox take a rigging, a hull, and a marine box
off Elisabeth and shoots her wheel away via an irreparable critical hit. That forces Elisabeth to roll for maneuvers (pivots & sideslips) as per the uncertain wearing rules.
This will turn out to have surpringly little effect as from memory she failed such rolls only once over the course of the game.
French return fire sees Elisabeth and Mars hit Lenox for two rigging boxes and one sailor box.
Turn 14
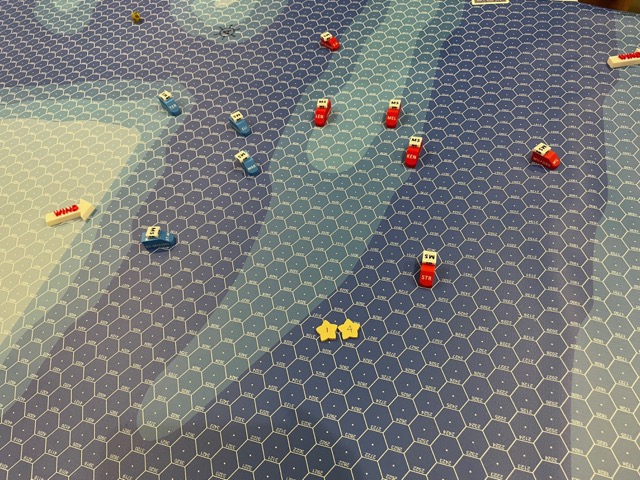
As the British were nearing the edge of the map, we shifted the positions of the ships to make room. Keep that in mind if you're comparing positions from the previous turn.
The British turn close-hauled and get ahead of the French as the latter tighten their line, barring always-errant St-Michel.
Elisabeth and Mars take nine(!) boxes of damage this turn. The French return fire isn't as effective in quantity. But Terrible inflicts a marine hit on
St. Albans, along with a critical hit which causes casualties on the quarterdeck: another marine box. Unfortunately for St. Albans, she only has two marine boxes. So she's
lost the first section of the game. A British auto-win seemed a possibility until now as turn 20 isn't that far away. But that's no longer possible as the French have put some points on the board.
Mars also scored a hull structural damage critical hit on Lenox. So far the critical hit ratio is 3:1 in favor the French.
Turn 15
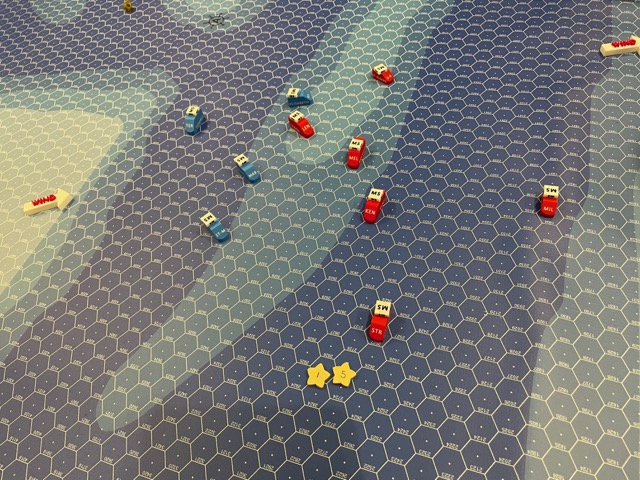
I'm afraid that here I wasn't good at following orders, as Elisabeth was supposed to stay upwind from Lenox. I thought I was following the intentions of our command
conference by concentrating on Lenox, but if my admiral was grinding his teeth at this point he had the right.
The French did put a pounding on Lenox, though, to the tune of 10 boxes and her first rigging section. Melville caught a stray broadside from St-Michel, losing a
sailor box.
But the British return fire was equally deadly, with Elisabeth losing 5 boxes and Mars losing 6. Only Strafford's long shot at St-Michel failed to hit.
Turn 16
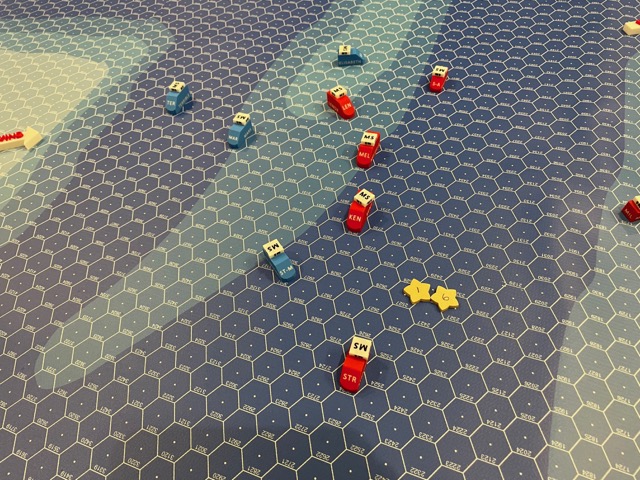
The melee continues. My two ships (Elisabeth and St-Michel) are out of position relative to their mates (quelle surprise) and will essentially be on their own from here on out. The
British are doing a better job of acting cohesively.
Mars is ganged up on by the three middle British ships and loses 10 boxes. St-Michel loses a sailor to Strafford's raking half broadside, and Elisabeth loses a rigging
and a sailor to St. Albans' rake. What kind of captain commanding two ships gets both of them raked in the same turn?!?
At least St-Michel gets a return rake on Kent for 4 boxes, Mars takes a hull box off Melville (Lenox was a closer target but Mars had only a half broadside
against her), and Terrible and Elisabeth take three boxes off Lenox and shoot her wheel away via a critical hit. Elisabeth thinks "what comes around, goes around, mon ami." Even better from
the French point of view, Lenox has the first morale check failure of the game and falls to C-quality.
Turn 17
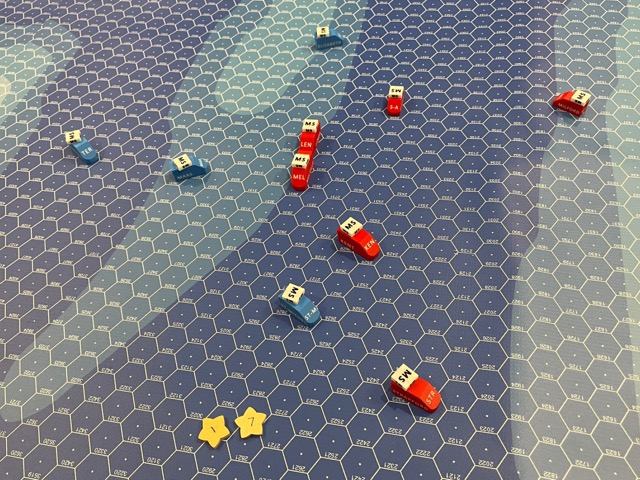
The British are definitely getting the better of the gunnery battle, and here poor Mars, raked by the two best ships in the battle, loses her first rigging, hull, and sailor sections.
She fails one of the morale checks she's forced to take and drops to E-quality.
St-Michel and Kent coincidentally exchange r-h-m hits. Elisabeth plinks Lenox for a rigging and a hull.
Turn 18
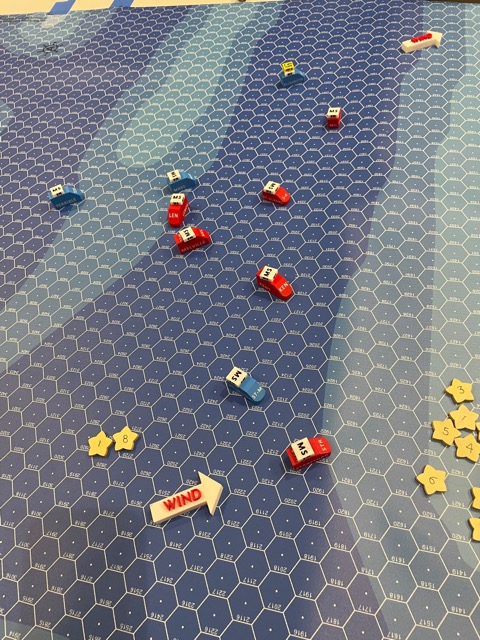
It was at this point, with both my ships out of position, that I decided that trying to escape was probably a better idea points-wise than sticking around to see what damage I could inflict.
So Elisabeth started hoisting sail to run away. St-Michel had a rougher time of it, facing a two-on-one situation and here the British did a good job of pretty much ensuring that one of my
tormentors would get a rake.
Sure enough, St-Michel took it on the chin for 9 boxes of damage. Fortunately for the French, most of the other British ships had no target and the only other casualty was a hull
box on Terrible shot away by Lenox. This is the only hit Terrible took all game.
Despite the damage to our ships, French return fire was effective and Mars' stern rake knocked out Lenox's first hull section.
Kent and Milford each lost a rigging and a sailor box.
Turn 19
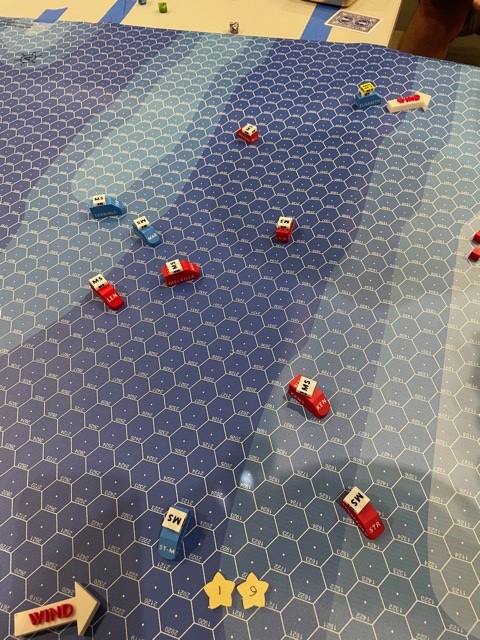
St-Michel and Elisabeth continue trying to escape.
Mars is again the target of concentrated British fire. Melville lands the single most damaging broadside of the game, hitting for 8 boxes, while St.Albans
and Lenox contribute three more between them. Milford lands a rigging hit on the escaping Elisabeth while the two lead British ships take 4 boxes off St-Michel.
French return fire is feeble by comparison, taking 3 boxes each off Lenox and Strafford.
Turn 20
We almost called the game at this point, but decided to play one more turn, for which I evidently forgot to take a picture. The usual gunfire exchanges took place, the most
important event being Mars losing her second rigging section. At that point it was getting late and so we ended things here.
Wrapping Up
The final section losses (hollow circles indicate sections with just one box left):
| Santa Margarita (STR) | | | | | | | | | | | | | ○ | 32 | | 3.20 |
| Phoenix (MIL) | | | | | | | | | ○ | | | | | 44 | | 4.40 |
| Caesar (STR) | | | | | | | | | | | | | | 108 | | |
| Courageux (LEN) | ● | ○ | | | ● | | | | ○ | | | | | 102 | 15.30 | 30.60 |
| Hero (KEN) | | | | | | | | | | | | | | 93 | | |
| Aeolus (S-A) | ○ | | | | | | | | ○ | | | | ● | 39 | 3.90 | 9.75 |
| Duguay-Trouin (ELI) | ● | | | | | | | | | | | | | 67 | 3.35 | 3.35 |
| Formidable (TER) | | | | | | | | | | | | | | 78 | | |
| Mont-Blanc (MAR) | ● | ● | | | ● | | | | ● | | | | | 67 | 20.10 | 20.10 |
| Scipion (St-M) | | | | | ○ | | | | ○ | | | | | 66 | | 13.20 |
Remember that the VP columns show the points awarded to the other side. Also remember that the French non-escape VPs are doubled for this scenario.
So counting only actual section losses, the VPs totals are 38.40 to the French, 23.45 to the British. Using the almost-eliminated-sections count,
the totals are 95.90 to the French, 36.65 to the British.
In our post-game discussion, we forgot about the doubled French VPs, so the results looked closer. Since Mars was clearly going to be hors-de-combat, the British
thought they might have had the win, but Elisabeth was likely to escape, which would just about cancel out that advantage. So a lot depended on what would happen with St-Michel, who
might have been able to escape but her two opponents may have been enough to prevent that.
I think the (perhaps not unanimous) consensus was that the French eked out a win. Looking back now in light of the doubled French VPs, there seems to be an
even more solid case for that conclusion. Though it would be good to clarify exactly how the French are meant to escape in this scenario, as possibly either (or both) of my ships were
actually running away from safety!
These games are always a lot of fun. Thanks to all the participants!